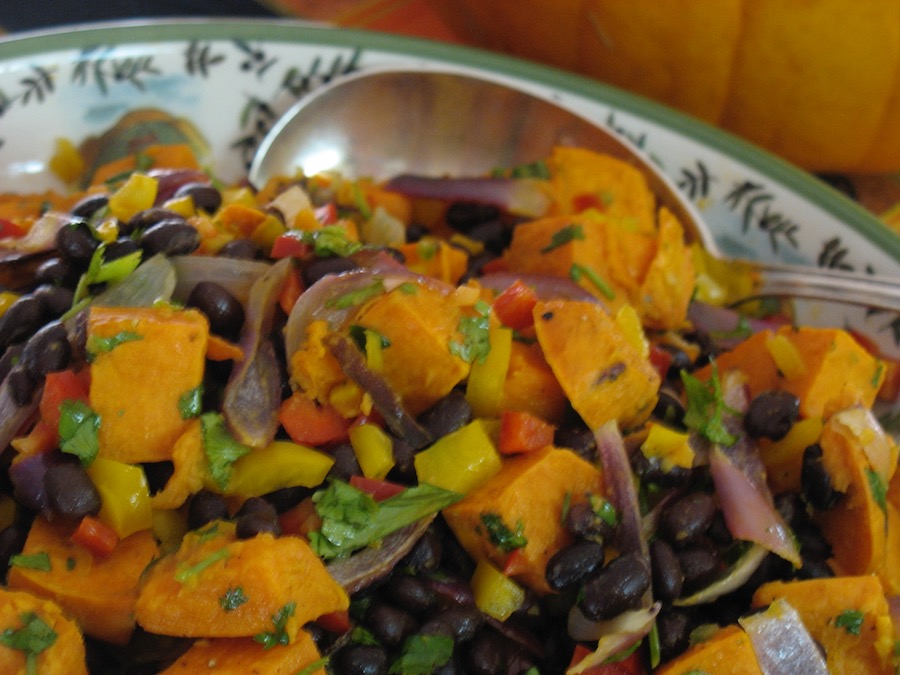
Tomato Bruschetta on Crostini

When I saw the movie Julie/Julia, I really wanted that recipe for the bruschetta Julie and her husband eat in the first scenes.  Of course, he was acting, but the way he went over the moon for the crisp slices of baguette topped with fresh tomato made it all the more appealing.

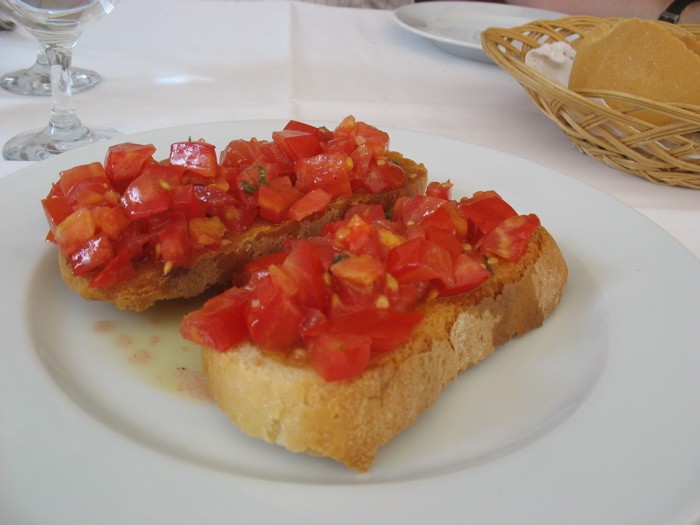
We’d had some “bruschetta pomodora” together, Dave and I, on our last trip to Italy in Montepulciano–a little town in the hills (above).
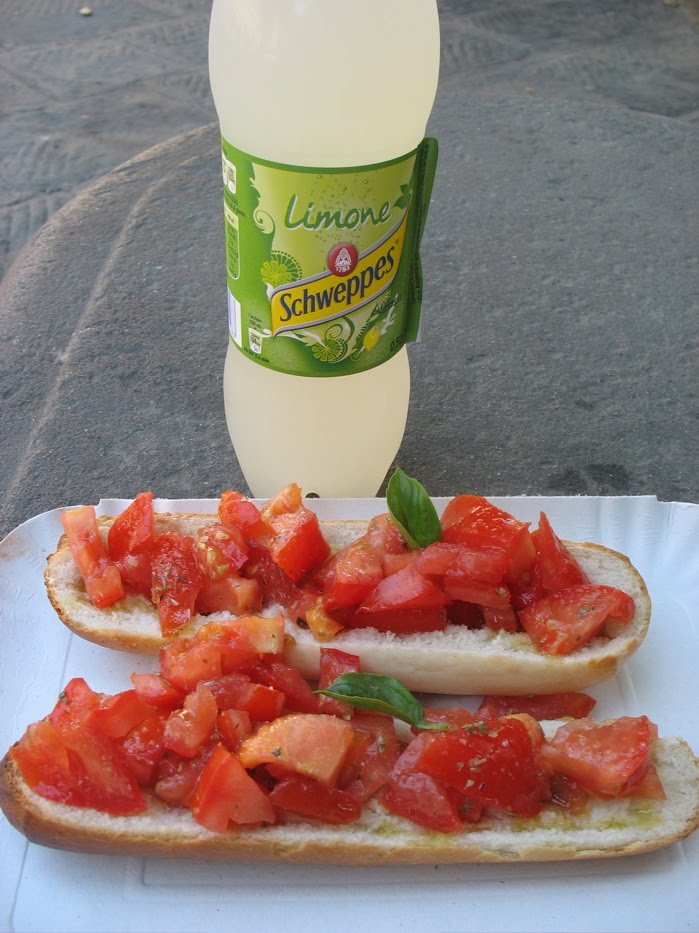
I’d also had a wonderful version earlier, while lunching in Florence (above). All of those appeared to depend on fresh tomatoes (not grocery store), good quality bread, and high-grade olive oil, and not much else.

Fast forward to today.  A perfect trio of happenings all conspired to deliver to our dinner plates the same meal.  First, some ciabatta bread from Kneaders Bakery in Orem, Utah had survived the trip home, and after a sojourn in the freezer, Dave pulled it out trying to decide what to do with it.  Second, our neighbor, Julie, had too many tomatoes and brought over two large red toms along with a handful of little yellow pears tomatoes.  Third, a version of this recipe appeared in the Sunday Magazine and I ripped it out immediately.

Ingredients:
2 large red tomatoes, handful of golden pear tomatoes, or 2 lbs. assorted heirloom/garden tomatoes, diced
2 cloves garlic, chopped or pressed through a press (if you do that, scrape what’s left behind, and press it through again)
1/4 to 1/2 cup basil leaves, thinly sliced (adjust as needed–we used about 10 leaves from our garden plant)
3 Tbsp red-wine vinegar (or several splashes)
1/4 cup olive oil
salt and fresh pepper

Crostini

Place the tomatoes, garlic, vinegar, 1/4 cup olive oil and the basil into a medium bowl and stir to combine.  Season with salt and pepper and let sit at room temperature for 30 minutes to allow the flavors to meld.

Prepare the crostini. You can either follow the directions in the linked recipe (it’s on this site), or grill it on the outside barbeque grill, or do what Dave did: lay out the thinly sliced bread (about 3/8″ thick) on a cookie sheet.  Brush with olive oil, and broil under high heat until golden brown and crisp.  He took out the center crostini that were done first and redistributed the others more evenly under the heat.

Build your bruschetta: mound the tomatoes, including some of their juices, up onto the bread and eat immediately.  We made each delicious serving at the time of eating, as the bread quickly soaks up the juices and would get soggy if it sat at all.

Optional: add in about 1/2 thinly sliced red onion.  We decided that our servings in Italy didn’t have onion, so we left it out.

Another Optional: place a slice of fresh mozzerella cheese (the kind that’s sold with liquid around it–a soggy looking thing) on top of the crostini before you place the tomatoes over it.  We had that, and the meal was amazing.  And we weren’t even acting!

History of the Terms (from Wikipedia):
Bruschetta (Italian pronunciation: [brusˈketta]) is an appetizer from central Italy whose origin dates to at least the 15th century. It consists of grilled bread rubbed with garlic and topped with extra-virgin olive oil, salt and pepper. Variations may include toppings of spicy red pepper, tomato, vegetables, beans, cured meat, and/or cheese; the most popular recipe outside of Italy involves basil, fresh tomato, garlic and onion or mozzarella. Bruschetta is usually served as a snack or appetizer.

And this interesting note: Following a semantic shift, some Americans use the word “bruschetta” to refer to the topping instead of the dish. Many grocery store chains in the United States sell bottled “bruschetta,” which is typically tomatoes, onion, garlic, and herbs.

Definitely not as good as the one we enjoyed tonight.
Quinoa, Corn and Edamame Salad

I first read this recipe in the New York Times, in a special article on summer salads with recipes by Martha Rose Shulman.  I subjected Dave, my husband, to a series of these, and he declared this one to be a winner.  It’s pretty–green and red–and crunchy, but not a wildly out of control crunch–just pleasant fresh vegetable munching.  While this is a summer salad, I could also see it served as cold side dish at a holiday buffet, as the colors are so beautiful. Regarding the “optional” feta cheese: we tried it both ways–with and without.  Adding the feta cheese brings a creaminess, a certain “mouth” satisfaction to the dish.  I recommend it.

For the salad:
1 cup quinoa, cooked (I made it with chicken broth, but water works as well.  Click **here** for basic quinoa cooking directions.)
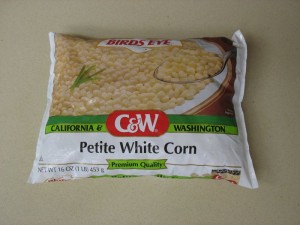
1/2  of a 16-ounce bag of WHITE frozen corn
1 small red onion (about 1/3 cup), cut in small dice
1 red bell pepper, cut in small dice
1/2 cup thinly sliced celery, from the tender inner stalks
4 or 5 radishes, sliced
1/2 cup fresh or thawed frozen edamame
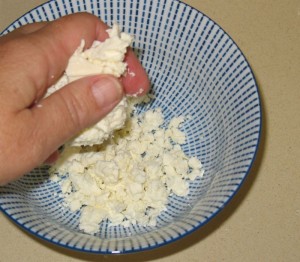
2 ounces mild feta, cut in small dice (about 1/2 cup), or crumbled.  I buy the bricks, then crumble it.
1/2  jalapeño chile, seeds and membranes removed, minced finely
1/3 cup chopped cilantro

For the dressing:
2 tablespoons fresh lime juice (about 1 small lime, depending on size)
1 garlic clove, finely minced or pureed
1/4 cup extra virgin olive oil
Salt to taste

Soak the onion in cold water to cover for five minutes. Drain, rinse and drain on paper towels.  **I have no idea why this step is here, but I did it.  Must be some kitchen chemistry.

Combine all the salad ingredients in a large bowl. Whisk together the dressing ingredients and toss with the salad. Serve.

Yield: Serves four main dish, and six side dish servings.

Advance preparation: The quinoa freezes well and the assembled salad will keep for a day in the refrigerator.

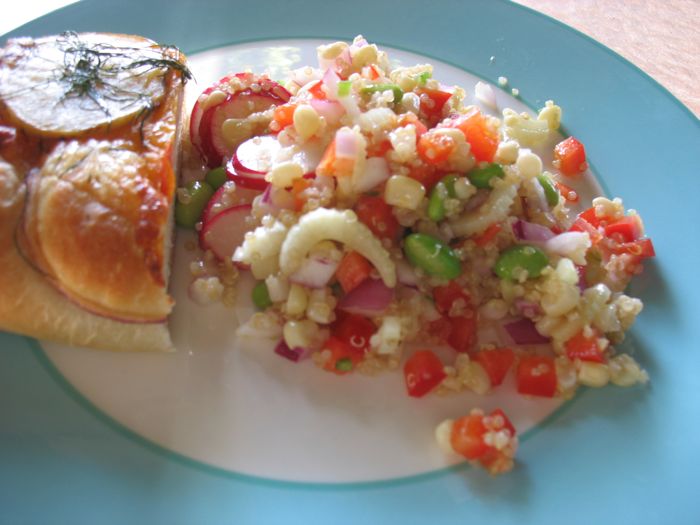
Here’s our version. I served it with a delicious foccacia from the local bakery, which was topped with tomatoes, potatoes and dill.  We were full after our meal, and our leftovers the next day were even better.

Nutritional information per serving (four servings): 359 calories; 18 grams fat; 2 grams saturated fat; 0 milligrams cholesterol; 43 grams carbohydrates; 6 grams dietary fiber; 25 milligrams sodium (does not include salt added during cooking); 10 grams protein

Confetti Pasta Salad

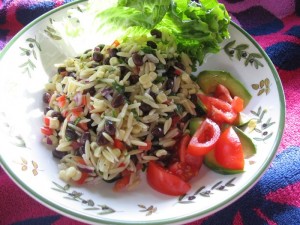
I first tasted a variant of this salad on an airplane in the glory days of airline travel, when they served real food with real utensils in-flight.  I was intrigued with the savory-sweet combo of the spices and onion against the corn kernels, and wanted to reproduce this.  It didn’t seem to really provide that perfect combination of flavors, but I couldn’t figure out what I was missing until my sister Christine came to visit: she added a shake or two of cayenne pepper to the pasta salad.  Eureka!  That was it.
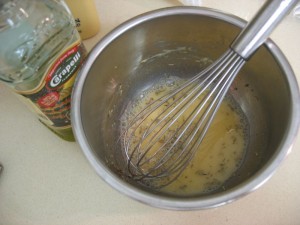
Use Lemon Vinaigrette for your dressing and then gently shake the cayenne over the top of the salad, then blend in. Caution–a little cayenne goes a long way.
Salad:
1/2 lb. (1/2 of a box) orzo (a rice-shaped pasta), cooked and drained–you may need to use a wire mesh strainer instead of a colander to drain (it’s tiny!)
1 can black beans (15 oz.), drained & rinsed
1/2 bag bag frozen WHITE tender corn, approx. 16 ounces
1 red bell pepper, finely diced
1/2 red onion, finely diced (pieces are about 1/4″ size)–roughly 1/2 to 2/3 cup
fresh cilantro leaves, chopped, to yield about 1/3 cup

Place in large bowl: cooked orzo, beans, corn, pepper, onion and cilantro; pour vinaigrette over the top and stir gently.  As you toss it over the salad, add more olive oil if it looks dry. Season with salt, pepper and a small amount of cayenne, gently fold into salad.  Be cautious: you can always add more cayenne.  Sometimes I’ll just sprinkle that over the finished dish instead.

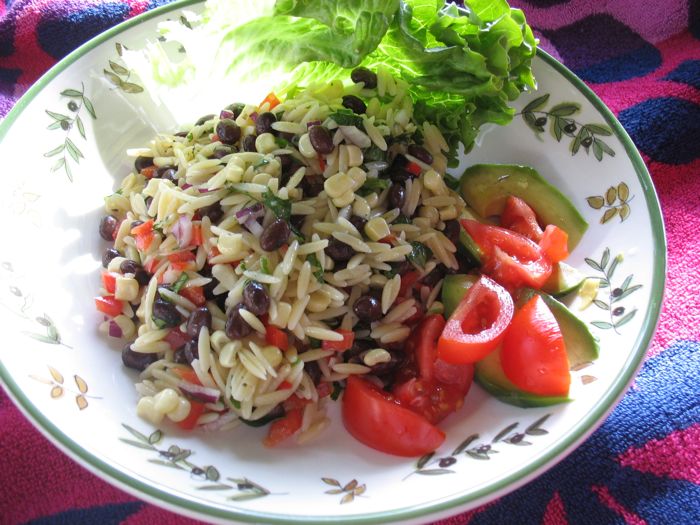
You can serve with grilled chicken breasts (marinate them also in the vinaigrette before cooking); garnish with lettuce leaf.

If you make it ahead and need to refrigerate it, bring it to room temperature to serve.  Serves 4-6 main dish servings.

For a variation: serve with crumbled mild Feta cheese and halved grape tomatoes.

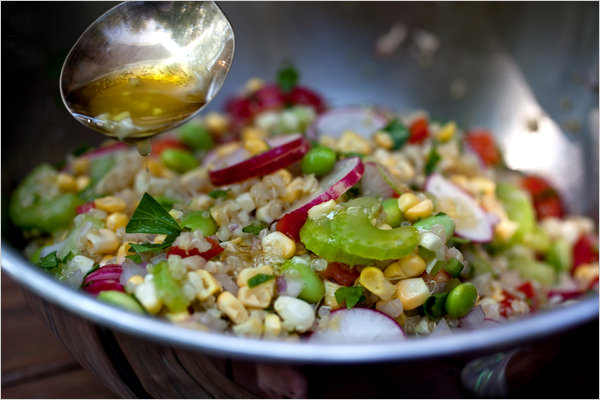
Quinoa Spring Salad

Basic directions for the Quinoa Salad for the Women’s Conference.

While I show the prep work for ONE batch of salad, please keep in mind that yours will be tripled, using the recipe amounts found below.

Thanks in advance for helping us out with the luncheon!

Shopping Preamble & Some Tips:

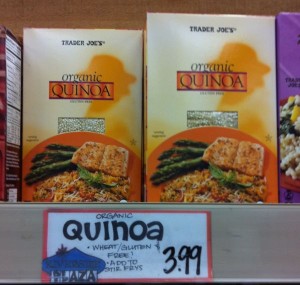
TIP #1: Quinoa (pronounced “keen-wa”) is a grain that is full of protein and is fairly mild.  You can buy it in boxes at Trader Joe’s (you’ll need 1 and 1/2 pounds or  three cups–check the box for weight; photo is above).

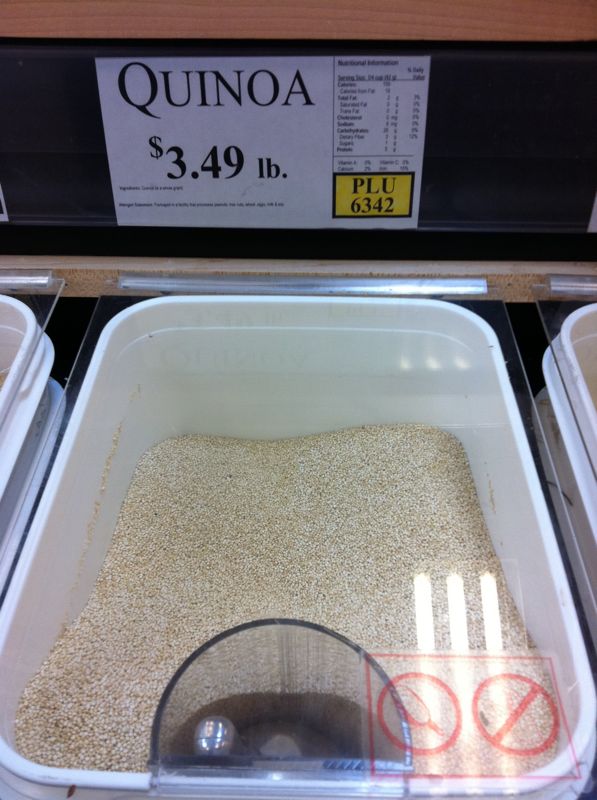
You can also buy it by the pound at Sprouts, up in the Mission Grove area.  Again, buy about a pound and half by the store’s scales; this gave me about 3 cups.  DON’T buy the red quinoa–we want the beige color quinoa.

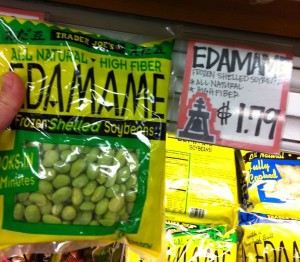
Trader Joe’s also has shelled edamame, but so does Sprouts (in the back by the produce in the flat freezer cases).
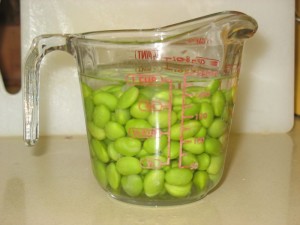
SHELLED Edamame looks like smooth little lima beans. The one above is Trader Joe’s.

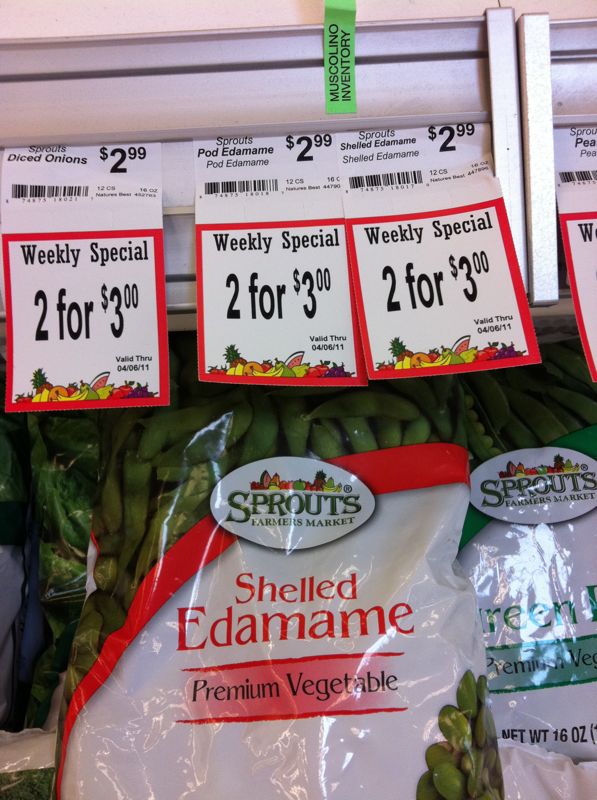
This is how the bag from Sprouts looks.  Again, get the shelled edamame.

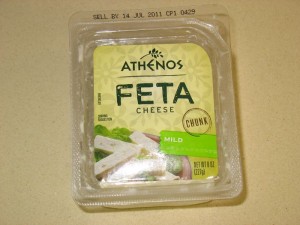
Please buy MILD Feta cheese in a block and crumble it yourself (see salad directions).  I bought this at Ralph’s–while they have it many places, I couldn’t always find the mild, as many times the feta is flavored.  Don’t buy the flavored Feta.  [Note: if you are desparate, and can’t get to Ralph’s, it is okay if you buy it pre-crumbled–you’ll need a 6 to 8 ounce package.]

TIP #2: When mincing the jalapeno, get rid of all the seeds and the membrane and then wash your hands thoroughly.  Those two parts are the “spicy-hot” parts of the jalapeno.  When I say finely minced, I mean teensy.  We don’t want any observable chunks of jalapeno in the salad.  It’s just for flavor.

TIP #3: Please use good quality olive oil.  Not that light stuff (which is blended with another vegetable oil) or any other cooking oil.  Just olive oil.  If you don’t have any, come see me.  I’ve got vats (I buy if from Costco in bulk).

If you wish to be reimbursed for your expenses, please save all your receipts–I’ll reimburse you that day, after the luncheon is over. However, we would appreciate it if you could donate your salad.

Please drop it off at the kitchen before going into the conference, and cross your name off the list, so we’ll know whose salad has arrived.  Thank you in advance for your willingness to help us out–with your contribution, this luncheon will be a big success (and delicious!).

Now to the recipe.

Recipe for Women’s Conference (The Recipe is Tripled)

SALAD:
3 cups dry quinoa
5 cups water
1 and 1/2 16 ounce bags of frozen WHITE frozen corn
1 large red onion (or about 3/4 cup), cut in small dice (about 1/4″ pieces or smaller)
3 red bell peppers, cut in small dice
1 and 1/2 cups cup thinly sliced celery, from the tender inner stalks (about 6)
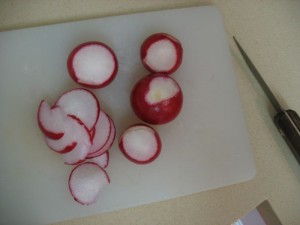
12 to 15 radishes, sliced
1 and 1/2 cups fresh or thawed frozen edamame
6-8 ounces feta, crumbled.  I buy the bricks of it at Ralph’s, then crumble it.
1 and 1/2  jalapeño chile, seeds and membranes removed, minced finely
1 cup chopped cilantro

DRESSING:
1/2 cup fresh lime juice (about 3 limes, depending on size) (I have plenty of limes that were given to me.  Holler if you want then.)
3 garlic cloves, finely minced or pureed
1  cup extra virgin olive oil
Salt to taste

For Salad:

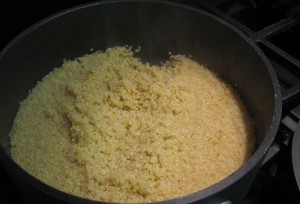
Bring the water to a boil, add quinoa and cook for about 12 minutes, or until the water is absorbed and you see the white cuticle of the grain. Set aside.

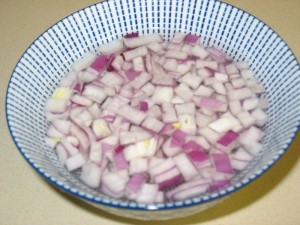
Soak the onion in cold water to cover for five minutes. Drain, rinse and drain again on paper towels.

Place the edamame in hot, but not boiling, water for about 5 minutes to thaw.

Measure out the corn and add it to a very large mixing bowl.  The corn will thaw very quickly. If yours has been kicking around in the freezer for a hundred years, perhaps you’ll want to run it under some hot water to refresh it.  Drain well.

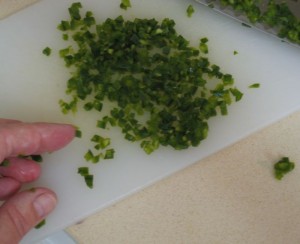
Seed and devein the jalapenos, then mince finely.    I cut the jalapeno into slices, then turn the cutting board 90 degrees, then chop again.  I then go at it again, chopping the bits like I do nuts, over and over.

My hand is there for a guide to how small it is. If you are an experienced cook, I apologize for boring you, but I wanted to be clear on the directions. Place into bowl.

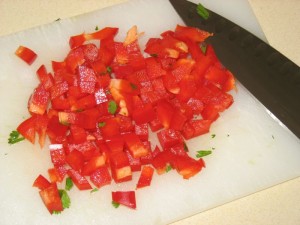
Chop the red bell pepper into fine dice (1/4 inch). Place into bowl.

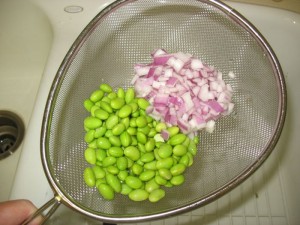
Drain the onion and the edamame, then place on paper towels to drain again, then place into bowl.

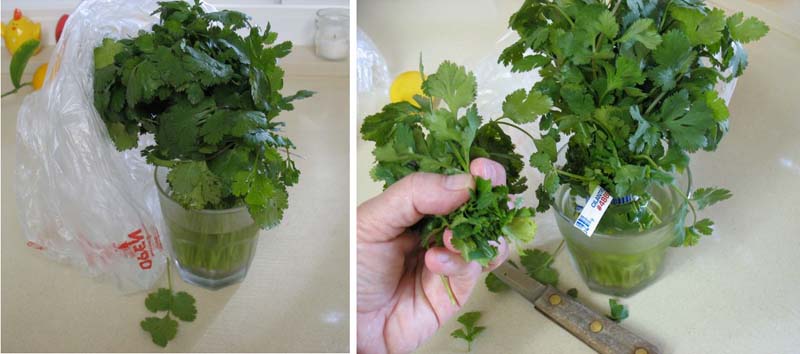
Cilantro is stored upright in the refrigerator in an glass of water, with a plastic produce bag over it to keep it fresh.  When you need some, just whack it off above the twisty-tie; a thumbs-width-worth is about 1/3 cup chopped, more or less.  For a cup, you may need about 1/2 bunch.  To measure, layer the leaves in the cup loosely–don’t pack!!  Or use the guide of three thumbs-width bunches.  Remove any gangly stems before chopping.  Add the cilantro to the bowl.

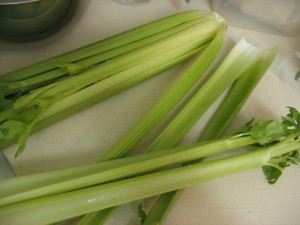
Choose celery from the inner core of the bunch; the two laying crosswise on top are representative.

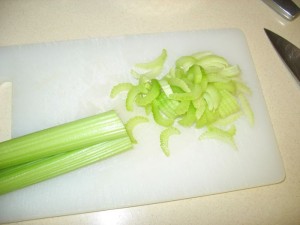
Trim off the raggedy ends and cut the rest of the stalk thinly, yielding moon-shaped slices; add to the bowl.

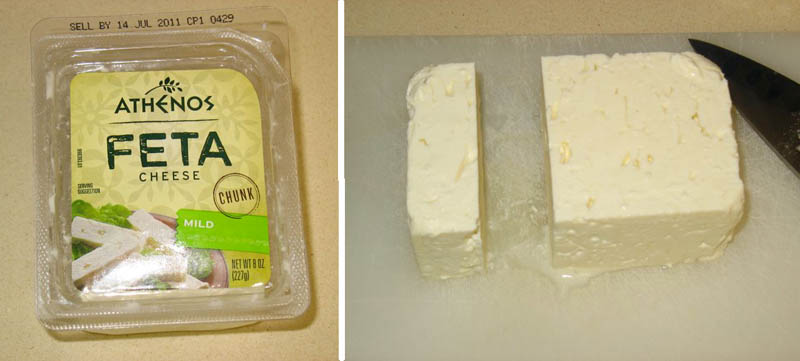
Feta cheese is sold in blocks like this: choose MILD.  Cut off what you need.

Crumble the cheese, then add to large mixing bowl.

One fun thing about this salad is the amount of crunchy vegetables.  Here’s one more: radishes.  We serve this salad all through the summer!  Add these to the large mixing bowl, then toss all ingredients together lightly.

For Dressing:

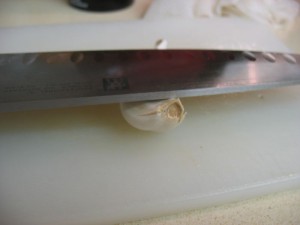
Smash a garlic clove under your knife to loosen the papery skin; peel off and discard.  You can either mince the clove finely (finer than the jalapeno), or do what I do:

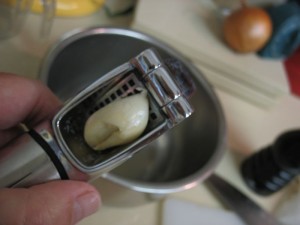
Put it in a garlic press and press it into the bowl.

Whisk together the dressing ingredients. Please use bonafide, good quality olive oil.  See Tip #3 above.  Toss with the salad. Serve.

Advance preparation: The quinoa freezes well and the assembled salad will keep for a day in the refrigerator. It’s fine to make the whole salad a day ahead and then bring it Saturday morning.  It still tastes fresh.  Please use these proportions; we’ll add more dressing if we need to, but we don’t want soggy salads.

Thanks so much!!

Recipe yield: 45 one-half cup servings.  Yes, we are counting every serving.  We currently have 285 servings coming, so I’ll be making up a batch myself to bring it up to the 300 servings that we need for that day.

If you want to make this for your family, the amounts for a single batch can be found if you click **here**.

Confetti Pasta Salad-Women’s Conference

Basic directions for the Confetti Pasta Salad for the Women’s Conference.

While I show the prep work for ONE batch of salad, please keep in mind that yours will be tripled, using the recipe amounts found below.

Thanks in advance for helping us out with the luncheon!

Shopping Preamble & Some Tips:

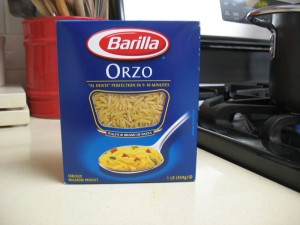
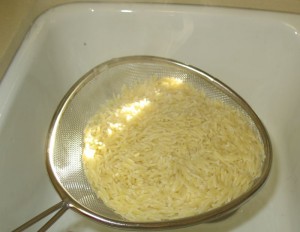
This is Orzo.  It’s a type of pasta that looks like large rice.  You’ll need a fine wire mesh strainer of some sort for draining after its cooked–it washes out of a typical colander’s larger holes.

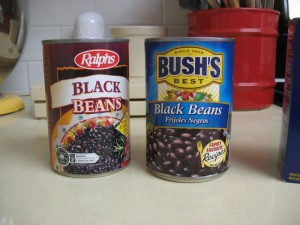
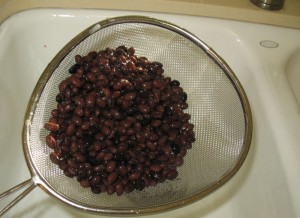
It doesn’t much matter which brand of black beans that you buy.  I’ve used both a name brand and store brand and found both to be fine.

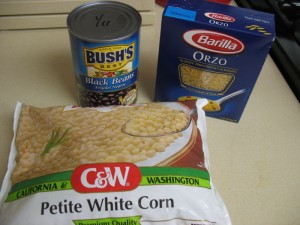
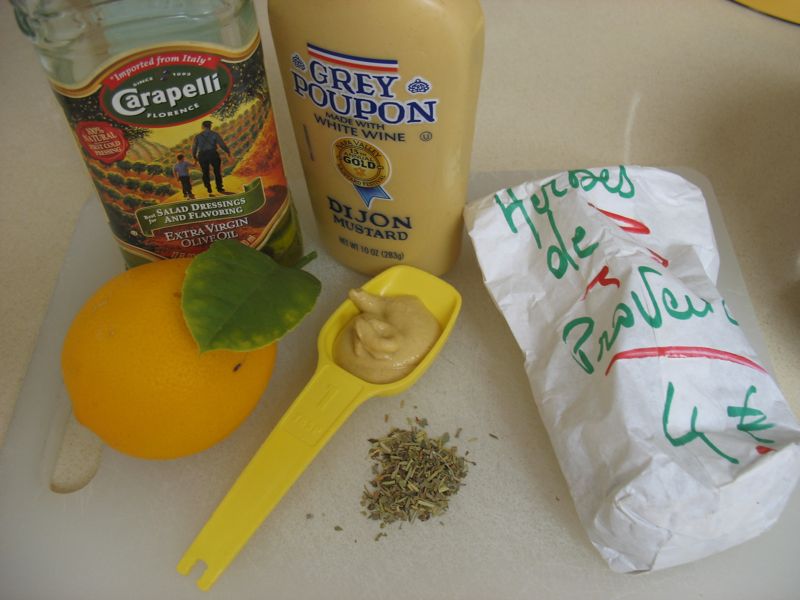
Here’s the basic round-up.

NOTE: Please use good quality olive oil.  Not that light stuff (which is blended with another vegetable oil) or any other cooking oil.  Just olive oil.  If you don’t have any, come see me.  I’ve got vats (I buy if from Costco in bulk).

If you wish to be reimbursed for your expenses, please save all your receipts–I’ll reimburse you that day, after the luncheon is over. However, we would appreciate it if you could donate your salad.

Please drop it off at the kitchen before going into the conference, and cross your name off the list, so we’ll know whose salad has arrived.  Thank you in advance for your willingness to help us out–with your contribution, this luncheon will be a big success (and delicious!).

Salad (The recipe is already tripled):

1 and 1/2 pound boxes of orzo  [NOTE: 1/2 box is about one and 1/4 cups of dry orzo.]
3 cans black beans (15 oz.), drained & rinsed
2 bags frozen WHITE tender corn, approx. 16 ounces
3 red bell peppers, finely diced
1 and 1/2 cups of red onion, finely diced (pieces are about 1/4″ size or smaller)
about 1 cup fresh cilantro leaves, chopped

Bring a large pot of water to boil; add orzo.  Cook until nearly tender (not mushy, but not crunchy).  Drain, using a fine wire mesh strainer.  This may have to be done in batches.  Place drained orzo in a large mixing bowl.  You’ll continually add ingredients to this bowl as you chop and prepare them.

Drain the cans of beans, and rinse until water is clear.  Add to bowl, along with both bags of white corn–no need to defrost. Add the rest of the ingredients:  chopped red pepper, minced onion.

A cilantro bunch is kept in a glass of water, upright and covered with a plastic bag.  To use just whack off just above the twisty tie.  It will keep like this for at least a week or two (change water as needed).  I find a thumb’s thickness yields about 1/3 cup, chopped.  To measure, place LOOSELY in a measuring cup, or use the thumb-measure method.

Add chopped cilantro to everything in the large mixing bowl; pour one batch of Lemon Vinaigrette dressing over the mixture and stir gently to mix.  This can be made one day ahead.  Please cover tightly and refrigerate.

Lemon Vinaigrette:
1 lemon (to yield about 4 tablespoons juice)
1/2 – 1 Tablespoon Dijon mustard (do NOT substitute other mustards)
2 Tablespoons water
1/2 teaspoon sugar
1 teaspoon Herbes de Provence (you can buy this in the grocery store, or see me)
salt and pepper to taste

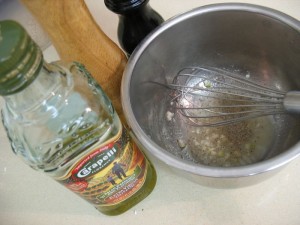
First, squeeze the juice of 1 lemon into a medium bowl.

Add the Herbes de Provence, a few grinds (or shakes) of salt and pepper, water and sugar.

Whisk to blend, then add the Dijon mustard (a healthy squirt) and whisk again.

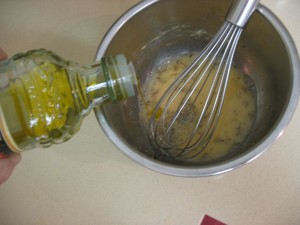
Keeping that whisk going, dribble in olive oil until it starts to thicken, then add some more.  I probably use about 1/3 to 1/2 cup in total.  Cconcentrate on it going from watery looking to slightly thicker as it emulsifies, while you are continually whisking and dribbling.  The success of this is in the two actions: dribbling and whisking.  It takes about a minute or two.

Recipe yield: 45 one-half cup servings.  Yes, we are counting every serving.  We currently have 285 servings coming, so I’ll be making up a batch myself to bring it up to the 300 servings that we need for that day.

If you want to make this for your family, the amounts for a single batch can be found if you click **here**.

Elizabeth’s Vegetable Lasagna

I don’t know how I dreamed up this dish.  I guess it was when I had to take something to a church supper, and I didn’t want another lasagna that weighed 40 tons on the plate and would send a person into cardiac arrest.  I wanted something that had a rich taste, but didn’t have the greasy, overloaded-with-cheese experience that is germane to this dish.  Now those types have their place.  Just not on my plate.

This recipe is open to variations, and is always a winner, even though that is a cliche.  I think the inclusion of the mushrooms give it a meaty taste, the vegetables bring it juiciness and the minimal cheese brings it richness.

We make this a lot in summer and it is really good leftover in lunch containers.  I like it also in winter as it is satisfying.  Okay, enough of telling you what it is and isn’t–the recipe follows with pictures.  Make it yourself and decide.

Ingredients:
about 1 pound crimini mushrooms, also known as brown mushrooms, cleaned and sliced
1 red sweet bell pepper, julienned
1 yellow sweet bell pepper, julienned
3 medium or 2 large zucchini, scrubbed clean and sliced
9 oz package of no-boil flat lasagne noodles (I use Barilla brand in a blue box)
1 jar spaghetti sauce (I use Ragu with extra mushrooms)
1/2 to 1 cup water
less than 8 oz. whole-milk mozzerella cheese, cut in thin slices (I use Precious brand, in shrink wrap)  I can’t give you an exact amount because while I use it sparingly, you may want more.

Start by sauteeing about a pound of mushrooms in a small amount of olive oil and butter (equal parts).  Don’t crowd the pan–do it in several bathes.  Then slice up the bell peppers and do the same. The zucchini needs the same workup.

Place about 1/2 cup of sauce in the bottom of a baking dish, approximately 9 by 13-inch size.  Spread the sauce to cover the bottom, then place a layer of noodles on top of that, covering the bottom of the dish.  It’s okay to break some in half if you need to do that, now, or later on.  Add water to the top of the spaghetti sauce jar, replace lid and shake to blend.

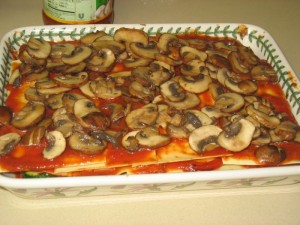
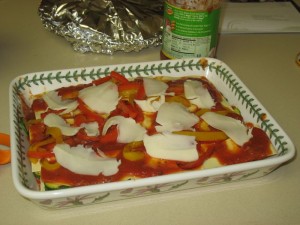
Top the noodles with about one-third of your mushrooms.  Spoon some sauce over that, then using a light touch, place the thin slices of cheese on top of that.  I do not cover the surface.  Instead it looks more like the red squares on a checkerboard, with the black squares being left devoid of cheese.

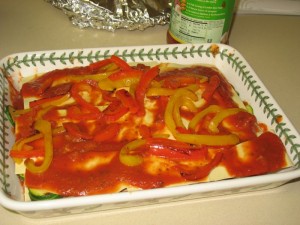
Layer in more noodles, more sauce, and then add about another 1/2 cup of water to the jar of sauce, shake to blend.  Your next layer can be the peppers, as shown above, or zucchini. There’s no set order, just alternate mushrooms, peppers, and zucchini until the pan is full.

This is how I place my cheese: sparingly. I promise you that you won’t miss the excess.

Keep layering (this is the mushroom layer–I heap those babies on) until you end with noodles.  Or mushrooms, or whatever. Place the rest of the sauce on top of that (you can always slosh in some more water if you’re running low on sauce), then cheese. Stroke the dull side of a large piece of tinfoil with a cube of butter to grease it, then place it over your lasagna, crimping to seal the edges.

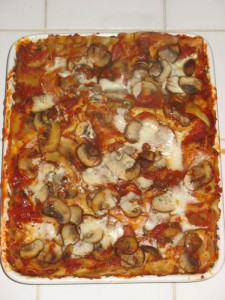
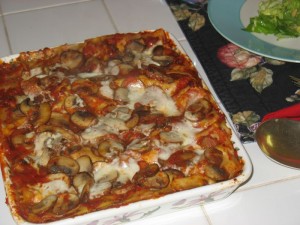
Bake in a 375-degree oven until bubbly, about 50-60 minutes.  If your cheese isn’t melted (take a peek), you can uncover your lasagna and bake for about 5 more minutes, until it is.  Let it stand for a about 10-15 minutes before serving, then enjoy!

Roasted Sweet Potatoes with Black Beans and Chili Dressing

This has to be the most beautiful fall dish I have ever made.  The combination of red onions, black beans, bits of yellow and red sweet peppers and that golden roasted sweet potato is just about the most amazing looking thing you’ll ever cook.  And it can also make your tummy rumble.  You’ve been warned. Even my husband with the cast iron stomach refused to eat it for the third time for that reason.

But boy, is it beautiful and it retains its color, even when you make too much and have to eat it for a third time (or not).

Roasted Sweet Potato Salad with Black Beans and Chili Dressing

by Mark Bittman, published in the New York Times

Time: 45 minutes

4 medium sweet potatoes (about 1 1/2 pounds–that’s two large potatoes), peeled and cut into 1-inch chunks
1 large onion, preferably red, chopped
1/2 cup extra virgin olive oil
Salt and freshly ground black pepper
1 to 2 tablespoons minced fresh jalapeño chili
1 clove garlic, peeled
Juice of 2 limes
2 cups cooked black beans, drained (canned are fine)
1 red or yellow bell pepper, seeded and finely diced
1 cup chopped fresh cilantro (opt)

1. Heat oven to 400 degrees. Put sweet potatoes and onions on a large baking sheet, drizzle with 2 tablespoons oil, toss to coat and spread out in a single layer. Sprinkle with salt and pepper. Roast, turning occasionally, until potatoes begin to brown on corners and are just tender inside, 30 to 40 minutes. Remove from oven; keep on pan until ready to mix with dressing.

2. Put chilies in a blender or mini food processor along with garlic, lime juice, remaining olive oil and a sprinkle of salt and pepper. Process until blended.

3. Put warm vegetables in a large bowl with beans and bell pepper; toss with dressing and cilantro. Taste and adjust seasoning if necessary. Serve warm or at room temperature, or refrigerate for up to a day.

Yield: 4 servings.