Panini

This year for Christmas we gave all our children panini grills.  Why?  Because we like ours so much.  It wasn’t expensive–in the $35 range–and it seems to work fine.

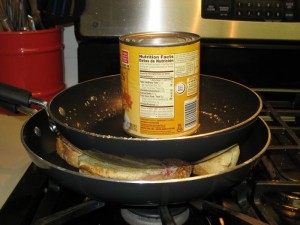
But before we had one, I used two pans and big can of food.  Improvise!

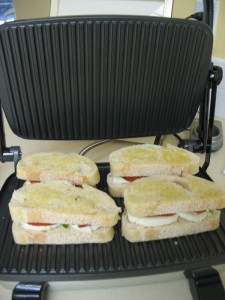
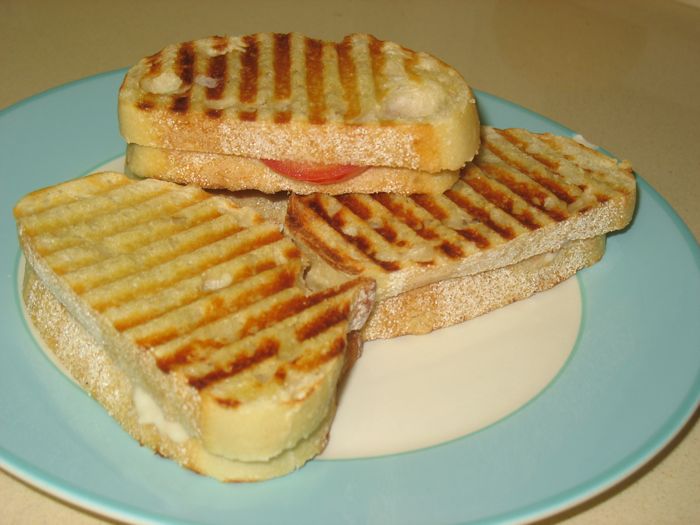
Basics are: buy good bread, creamy-melty cheese (buffalo mozzarella or baby swiss).  Brush one side with real olive oil, load it up, place another oiled piece of bread on top (oil sides out to the grill), then grill, pressing down with the handle to compress the sandwich. We keep a spatula nearby to make sure the oiled bread doesn’t come shooting out the front of the hot grill.

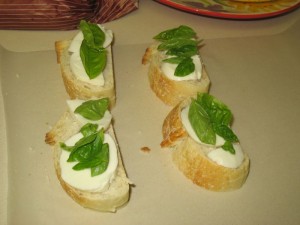
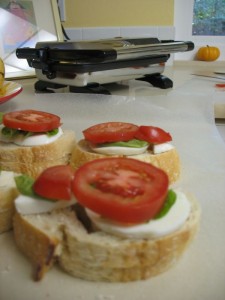
First Favorite Combination: Cheese, Fresh Basil Leaves, Roma Tomato.  This tastes just like summer.  Really.

Before Grilling–all lined up

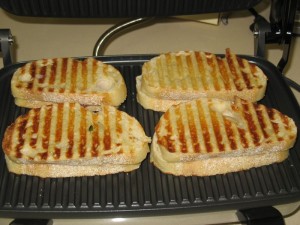
After grilling

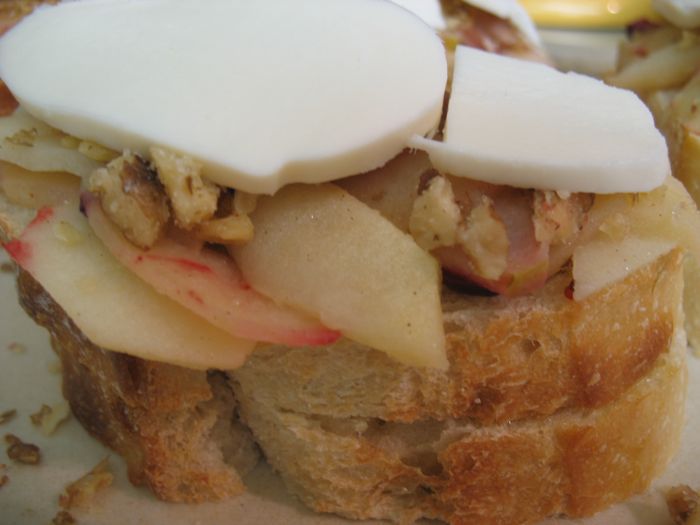
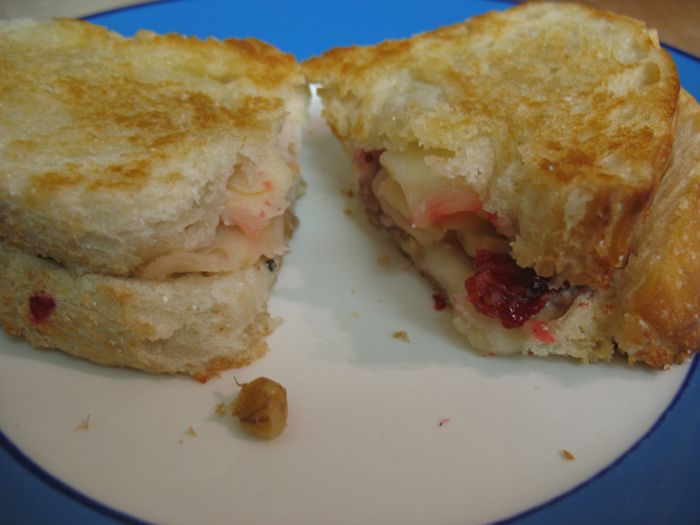
Next Favorite Combination: Cheese, Sauteed Apples, Cranberries, Prosciutto and Sugared Walnuts. I subscribe to a menu from Olive & Gourmando, an eatery in Montreal, Canada which serves lots of panini.  This was one of their combinations.
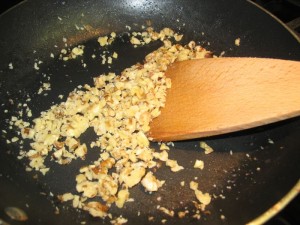
Chop some walnuts, toss into a pan over medium-low heat with some brown sugar, and stir until the sugar is cooked onto the walnuts.  Set aside.  (Or buy some sugared walnuts from Trader Joe’s.)

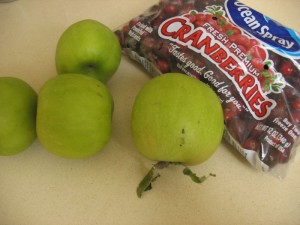
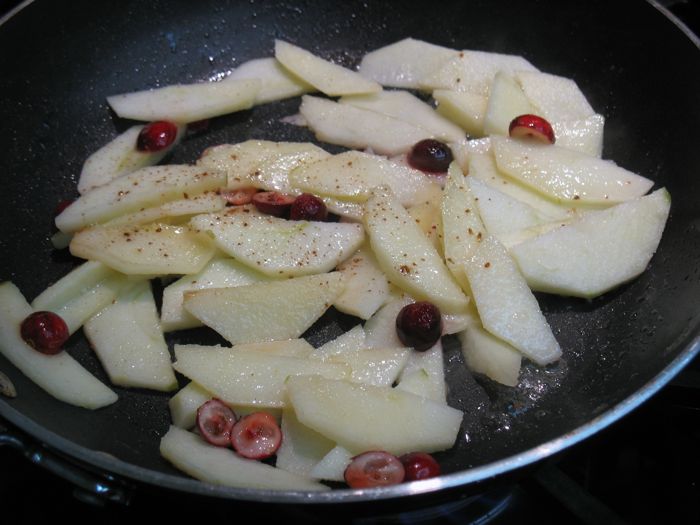
If you are lucky enough to know someone with an apple tree in their yard, beg for some of their late-harvest Granny Smith apples. Cut them up into thin slices, saute lightly in about 1 Tablespoon of real butter and some sliced cranberries.  Add a dash of cinnamon.

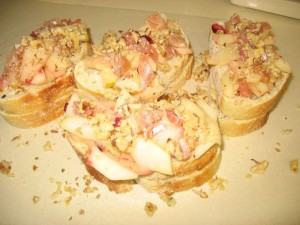
Bread loaded with apples, prosciutto, walnuts and cheese.

Don’t you love how the apples are pinky on the edges from the cranberries?

Yum!
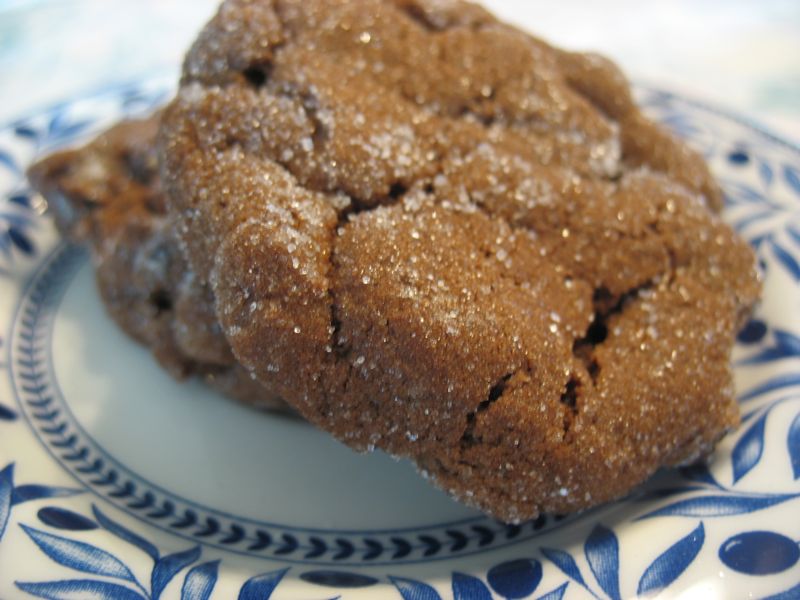
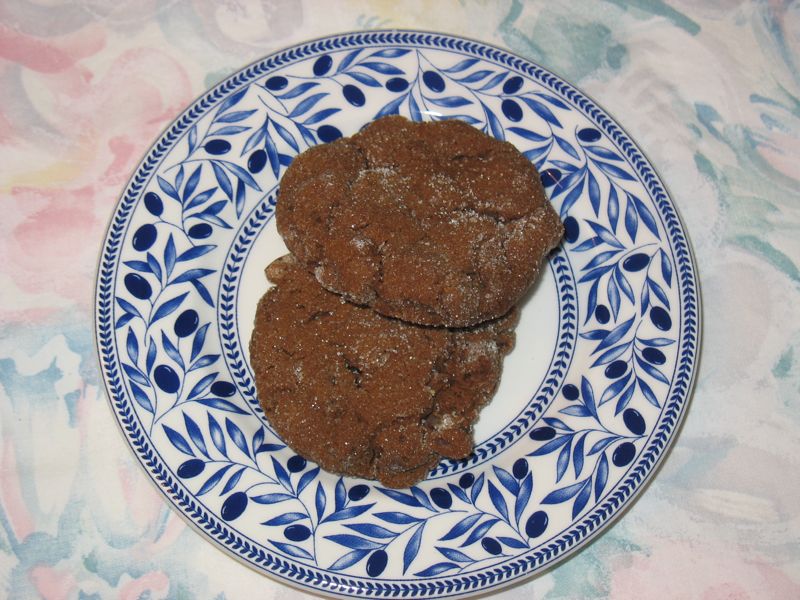
Chewy Chocolate Gingerbread Cookies

We were shopping–the Mr. and I–for Christmas, and beside the register was a brochure pushing anything Martha.  I picked it up because she had a recipe for these cookies.  I’d been thinking about trying to find a recipe like this ever since Dave and I had chewy gingerbread cookies at the Cheese Board Collective in Berkeley.  That day we’d driven down across the Delta, got stuck in horrid traffic, our tempers frayed and flared, but we made it to the Collective about 45 minutes before they closed down.  Our pizza was delicious, the salad was crisp, but the cookies–oh my–the cookies!  After we visited the Berkeley Rose Garden we went back for two more, but alas!  They’d sold out.  So they remain in my memory.  These resemble those from the Cheese Board, but I can’t remember now if the Berkeley variety had chocolate chunks in it. Oh well–these are delicious, too.
Chewy Gingerbread Cookies—yield: 30

originally from Martha Stewart, amended by me

Ingredients
14 ounces best-quality semisweet chocolate chips
3 cups plus 2 tablespoons all-purpose flour
2 tablespoons unsweetened Dutch-process cocoa powder
2 1/2 teaspoons ground ginger
2 teaspoons ground cinnamon
1/2 teaspoon ground cloves
1/4 teaspoon ground nutmeg
1 cup (2 sticks) butter, softened
1 cup packed dark-brown sugar
2 tablespoons finely grated, peeled fresh ginger
1/2 cup unsulfured molasses (I use the green label molasses)
2 teaspoons baking soda, dissolved in 1 tablespoon boiling water

2/3 cup granulated sugar, in bag (for coating)

Directions

1. Sift together flour, cocoa powder, and spices into a medium bowl. Put butter, brown sugar, and grated ginger into the bowl of an electric mixer fitted with the paddle attachment. Beat on medium speed until fluffy. Beat in molasses.

2. Beat in flour mixture in 2 batches, alternating with the baking soda mixture. Mix in chocolate chips. Shape dough into a disk, and wrap in plastic (or place in gallon-sized Ziploc bag). Refrigerate until firm, about 2 hours (up to overnight).

3. Preheat oven to 325 degrees. Shape dough into 1 and 1/2-inch balls, and drop them into a bag filled with some granulated sugar, tossing to coat. Place 2 inches apart on ungreased baking sheets, pressing down on each cookie slightly to flatten. (I used the bottom of a glass, dipped in sugar.)

4. Bake until surfaces crack slightly, 10 to 12 minutes. Let cool on sheets, 5 minutes. Transfer cookies to wire racks, and let cool completely. Cookies can be stored in an airtight container up to 3 days.

Cook’s Confessions: I left mine in the fridge for 3 days–just couldn’t get the time to bake them up.  They were fine.

Note: you can store fresh ginger in the freezer.  When needed, peel with a paring knife, then grate on the fine section of your cheese grater.

These cookies are best when warm–so set them in the sun for a few minutes to soften.

Beggar’s Linguini

Recently my sister came to visit and while I was more than happy to go out for dinner every night (my husband was gone and I like doing that), there came a time when we were both ready to stay in.  What to cook?  I’d just been reading Dorie Greenspan’s blog, where she gave the recipe for her Beggar’s Linguini, from her new book Around My French Table.

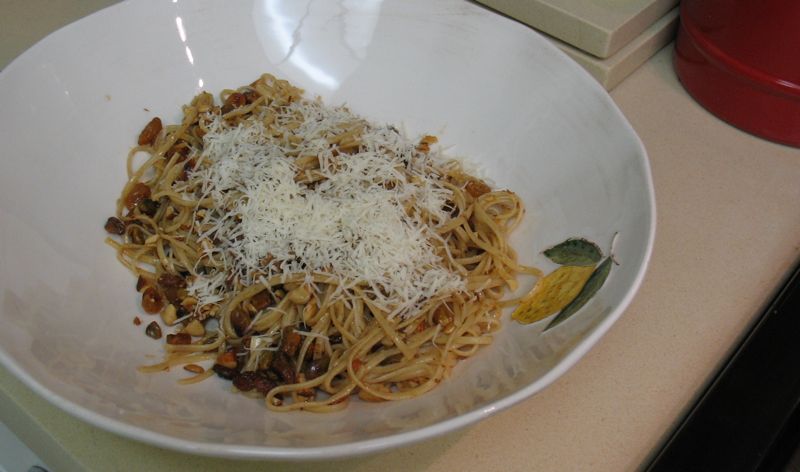
This sounded great to both of us, and I already had most of the ingredients.  Basically it’s a sauce made from browned butter, golden raisins, pistachios and chopped almonds, tossed with some Parmesan and some grated orange rind.  It has a rich, yet not overly heavy, taste.  I made it again the next week for Dave and we were both angling to have the leftovers for lunch the next day.

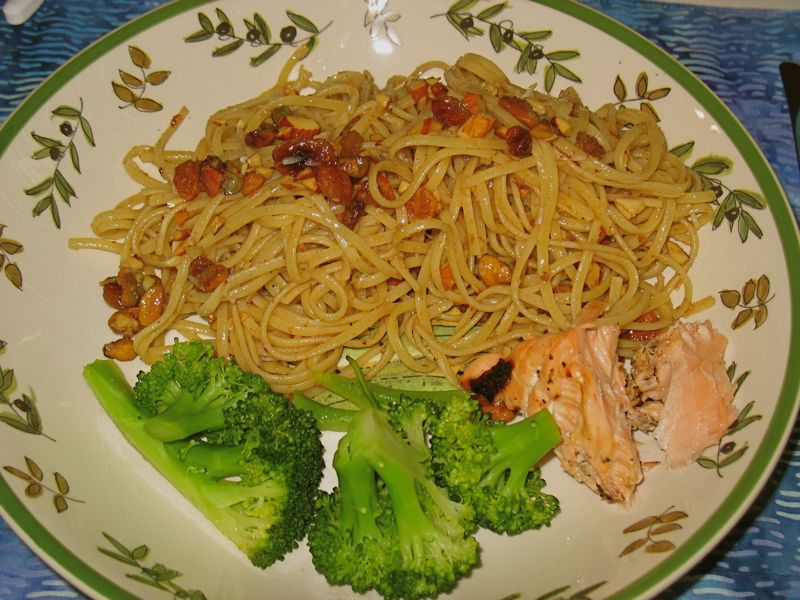
Cynthia and I served it with fresh broccoli, lightly marinated salmon, grilled on the barbeque.  One last note: even though she says it doesn’t reheat well–I liked it fine the next day for lunch.

1 box (1 lb.) linguine
1 1/2 stick butter (salted or unsalted)
1/3 cup shelled pistachios, coarsely chopped
1/3 cup almonds, coarsely chopped
8 plump dried Mission figs (or 3 dried Kadota figs), finely chopped (confession: I didn’t have any, so I used dried apricots–about 1/3 cup, chopped)
1/4 cup moist golden raisins
salt and pepper
1/2 cup freshly grated Parmesan cheese
grated zest of 1/2 orange (or more to taste)
Minced fresh chives and/or parsley, for serving (opt.)

Cook the linguine according to the package directions; drain well.

Meanwhile, about 5 minutes before the pasta is ready, melt the butter in a large high-sided skillet or casserole over medium heat, as you’ll be adding the pasta to this (so make sure it is large enough).  Whe the butter is melted and golden, stir in the nuts, figs (or dried apricots) and raisins.  Allow the butter to bubble and boil, as you want it to cook to a lovely light brown, or to turn into a beurre noisette, butter with the color and fragrance of hazelnuts.

When the butter has reached just the color you want, add the pasta and stir it around in the butter to coat it evenly and make sure the fruits and nuts are well incorporated, then season with salt and a generous amount of ground pepper.

Place in serving bowl, and add the grated cheese, tossing to blend, then dust with the orange zest, chives and/or parsley.  Taste, and add more zest/cheese if you like.  Serve immediately, but give it one more toss to blend in the zest and herbs.

Faculty Open House December 2010

The Faculty Open House 2010 menu was  little simpler than last year’s, but we still tried to have a hot dish, various cold dishes, sweets and snacks.   Our Wow item this year was Make Your Own Paninis, with a variety of toppings.  Here are some photos from that event.  Look above, in the tab marked Find the Recipes, to –um– find the recipes.

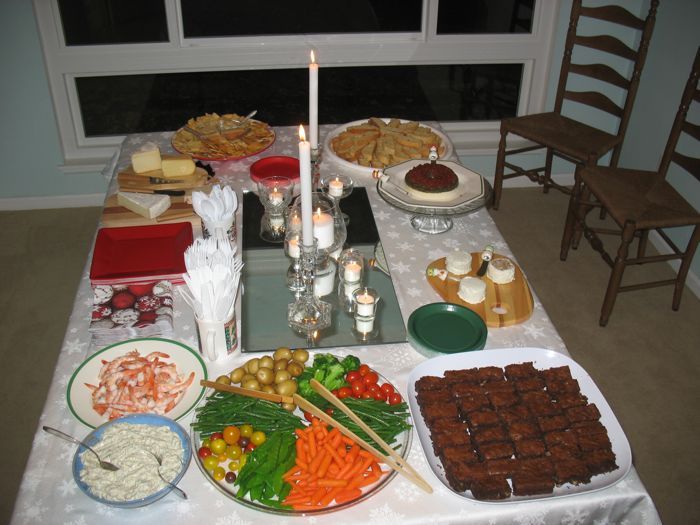
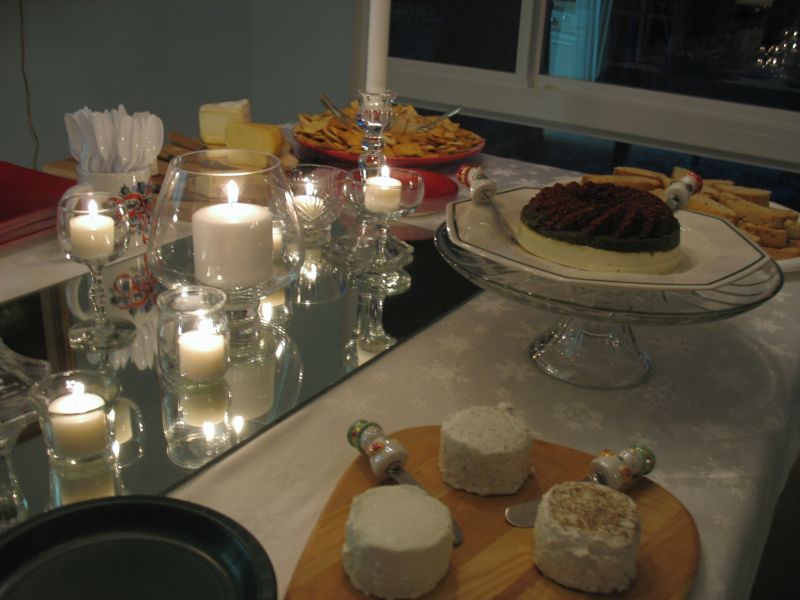
The dining room table had (from lower left, going clockwise):

Shrimp with Dill Dip
Cheeses
Chips and Hummus
Biscotti (large white round platter at upper right)
Pesto Ring (purchased from Costco–see last year for the real thing)
Trio of Goat Cheese
Outrageous Brownies
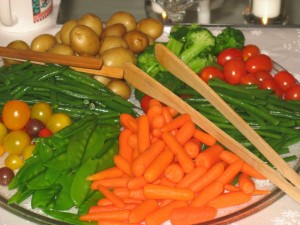
Blanched Raw Vegetables

Biscotti

Candlelit version

I blanched many of the vegetables:carrots, pea pods, green beans, broccoli, and boiled up some small white rose potatoes. I then added heirloom and regular grape tomatoes to give variety and color to the platter.

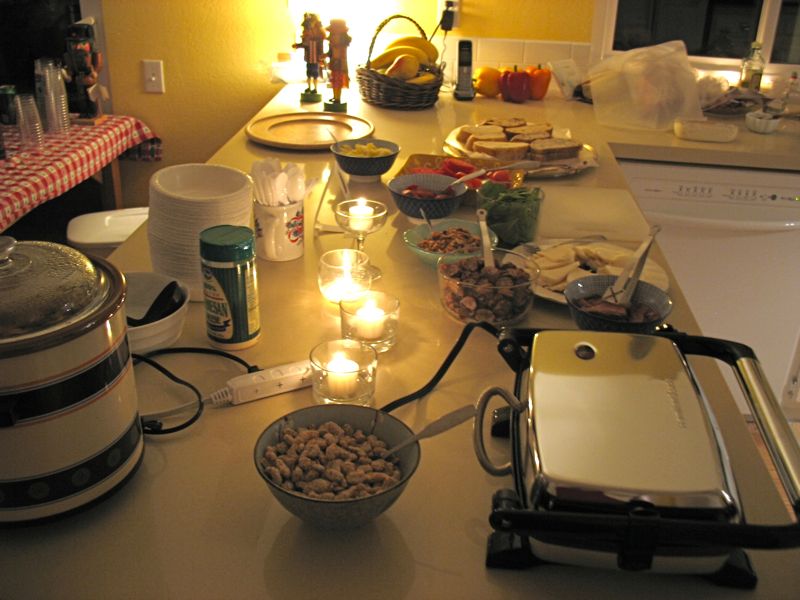
The Tortellini Soup pot is on the left, and the Make Your Own Panini grill and fixings are on the right.  In the background you can see the checkered tablecloth where we had our sodas all line up for people to try.  Yes, we are an alcohol-free party.

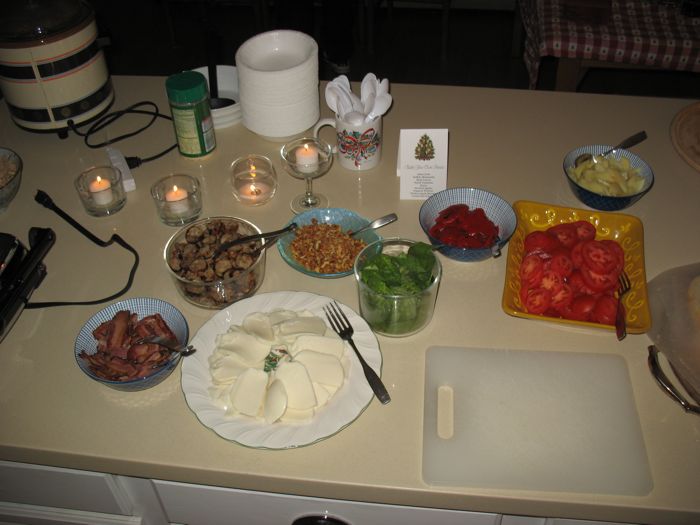
I’d prepared (boiled, then grilled) some chicken-apple sausage, then cut it up into “nickel-slices.”  We also had some crisp bacon (from Trader Joe’s–the best!), buffalo mozzarella, sugared walnuts, fresh basil leaves, sliced tomatoes, grilled red peppers, and lightly sauteed apples.  On the left we’d brushed olive oil on one side of a pair of slices of La Brea breads (Costco), placing the oiled sides in.  The idea was to build your own, then grill it.

Desserts (Barefoot Contessa’s Outrageous Brownies and Biscotti) were in the other room.  I learned that if you cut the brownies smaller, they go faster (last year they were big chunks and no one took any–this year I cut them smaller and a lot were gone by the end of the evening).

It was lovely evening of people enjoying each other’s company.

Dipped Pretzel Rods

This is no rocket science.

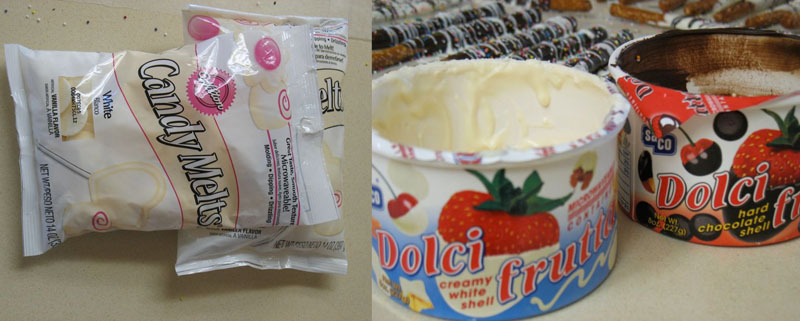
Buy chocolate blobs at Michaels (I think they have three different flavors), or melting chocolate bricks (Stater’s Brothers), or melting chocolate cups (grocery store).

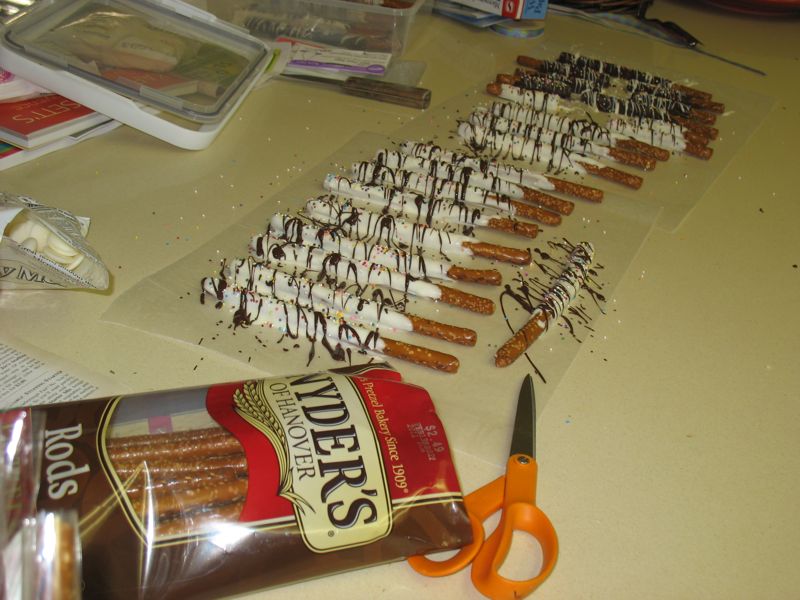
Buy pretzel rods (I found Snyders at Walmart and at Stater’s).  Look at bags and buy the bag with the least broken sticks–but after being dipped, they’re good too. Notice the mess–you can always clean up later.

Buy sprinkley things.  Buy skinny bags for pretzels (Michaels).  Follow the pictures below.


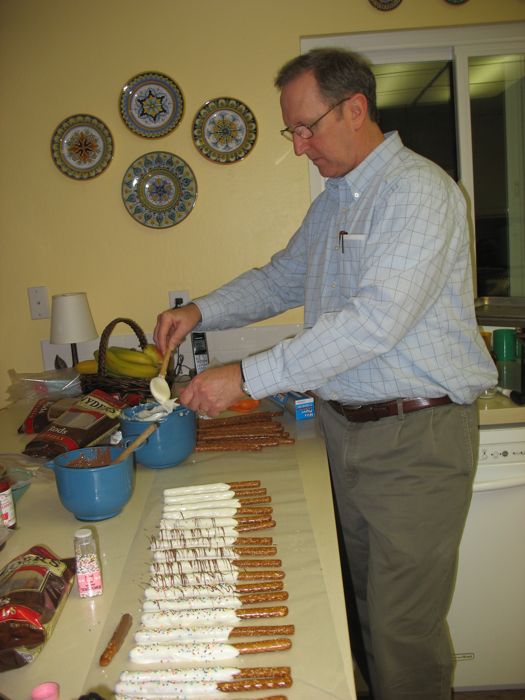
First, dip them in the melted chocolate of your choice–white or dark. We kind of hold the pretzel over the bowl and goop it on.

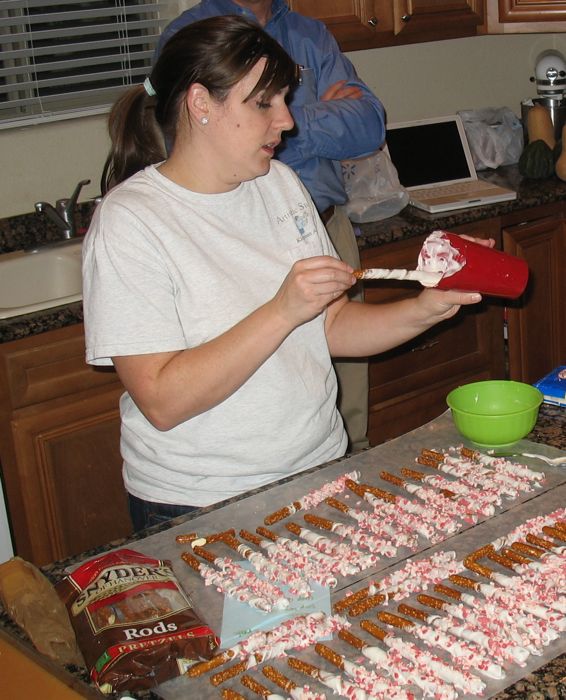
My daughter likes to use a tall cup.  Before laying them down, take a spoon and stroke the chocolate off one side, then lay the pretzel down on that side.  If you don’t stroke some off–it makes a gigantic puddle.  Sometimes I throw the cake sprinkles on right now.

Take a fork, dip it into the contrasting chocolate and wiggle it over the pretzel rods.  A thinner (warmer) chocolate consistency is better.  My mother just ate her last two from Christmas, so obviously they keep a long time.

The ONLY tricky thing here is not over-microwaving the chocolate.  Then you have sludge.  If this happens, stir in a spoonful of plain shortening into the chocolate, stirring well.  You may have to add a couple of spoonfuls if you’ve really nuked the chocolate too long.  But that should fix it.

Then after they’re set (doesn’t take too long), load them up into their little bags and tie the top with a ribbon.

Hoppin’ John

A million years and another life ago, I lived in Texas and across the street from me lived Margaret Hall, a “live one” as my Dad might say.  She lived life at full throttle, including cooking.  Because she had lived so many places with her husband, she had recipes from all over, but for some reason this one stands out–maybe it was her favorite?  She gave it to me with the admonition that I MUST eat black-eyed peas on New Year’s day–for good luck in the coming year.  (It didn’t work that year–her husband left her for another woman.  Talk about a woman scorned!  It was instructive.)

I have never made this recipe the same way twice.  I give you Margaret’s basic Hoppin’ John recipe, then directly after that, how I made this year’s version.

Hoppin’ John (to serve at New Year’s for Good Luck)

Prepare each ingredient separately:

1/2 cup brown rice (prepare according to package directions)
1/2 package Jimmy Dean Sage Sausage
1/2 lb. bacon, cut into 1/2″ pieces, cooked and drained
1/2 onion, chopped
3-4 celery stalks, chopped (I saute these last two ingredients in a small amount of the bacon grease)
1 to 1  1/2 cans black-eyes peas, undrained.

Add all to crock pot. It is ready when hot, about 2-3 hours. Rice can be white, brown or wild (I use brown rice). This is mild, add dashes of Tobasco until spicy enough or use spicy sausaage. I serve with blue corn chips or Fritos or hefty corn chips.

This Year

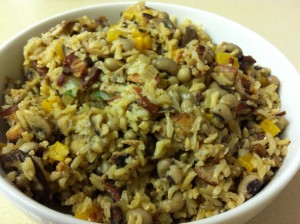
This year I sauteed up a yellow bell pepper with the onion, and used fresh black-eyed peas, found in the produce section of my grocery store. Instead of the sage sausage, I used some cooked chicken-apple sausage that we had left over from our holiday party.  I also sauteed crimini and shiitake mushrooms, and added them to the mix.

I gave it four-to-five shakes of Tobasco, added some salt and pepper and wrapped it up and put it in the fridge to mellow the flavors, while I started to take down Christmas.  I wasn’t happy with the flavor, though–too bland.  Then I remembered Bayou Blast–a comglomeration of spices that I use when I make dishes for Mardi Gras (scroll down the the bottom of the linked page for the recipe).  I added in 3/4 teaspoon of those spices–a little a time, stirring well after each–and that did the trick.

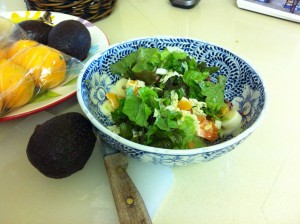
Serve it with your choice of bubbly (mine’s Martinelli’s) and an Everything Green Salad.  This one has chopped leafy green lettuce, chopped napa cabbage, mandarin oranges from my friend’s tree, pine nuts, chopped tomato, palm hearts and (soon) avocado.  A light dressing of oil, vinegar, salt and pepper will complement the ingredients.

Happy New Year!

Old-fashioned Gingerbread Cake

Merry Christmas to all!

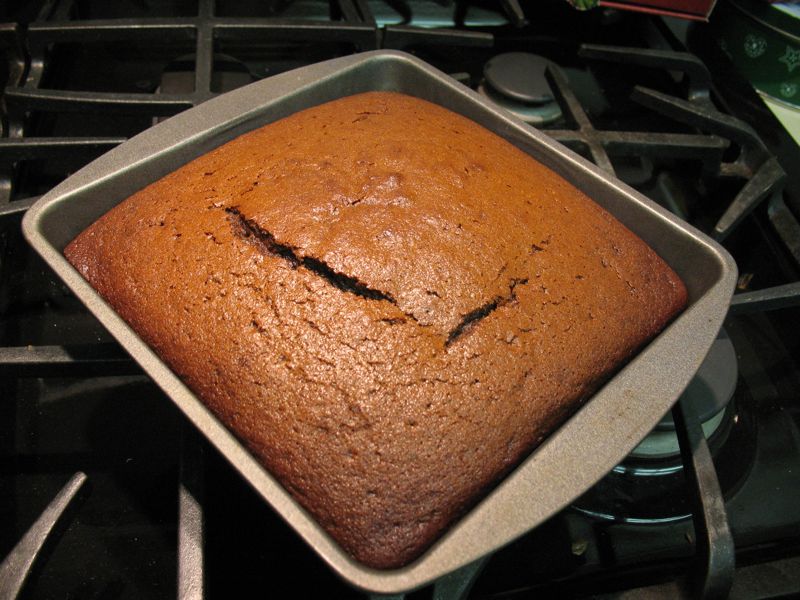
Perhaps there is no more evocative scent for Christmas than that of ginger–specifically baked into shaped cookies, houses and cakes.  I’d always made a gingerbread using oil, but this year I took on the challenge to make it without oil.  It was a switch I should have made a long time ago, and I was glad for the chance to try a new recipe.  As you can see, we haven’t cut into it yet, but the batter was yummy (yes, it’s true that I come from a long line of beater-lickers).  Serve with Elizabeth’s Lemon Butter Sauce, and maybe a dab of soft home-made whipped cream?  I wish you visions of sugarplums dancing in your head.

This is from the yellow Gourmet Cookbook, edited by Ruth Reichl.  It’s a winner to have in a collection.

Old-fashioned Gingerbread

Ingredients
2 cups all-purpose flour
1 teaspoon baking soda
1 1/2 teaspoons ground ginger
1 teaspoon ground cinnamon
1/4 teaspoon ground cloves
1/2 teaspoon salt
1 stick (1/2 cup)  real butter, softened
3/4 cup packed light brown sugar
2 large eggs
1/2 cup molasses (not blackstrap)
2/3 cup hot water

Preparation

Preheat oven to 350°F.

Sift together flour, baking soda, spices, and salt into a bowl.

Beat together butter and brown sugar in a large bowl with an electric mixer at moderately high speed until pale and fluffy, 3 to 5 minutes. Add eggs 1 at a time, beating well after each addition, then beat in molasses. (Batter may look separated.) Mix in flour mixture at low speed, then water, mixing until batter is smooth, about 1 minute.

Pour batter into a buttered 9-inch square metal baking pan (2 inches deep). Bake in middle of oven until a tester comes out clean, 35 to 40 minutes. Cool in pan on a rack, about 20 minutes, then serve warm with Elizabeth’s Lemon Butter Sauce.

Cook’s Note: When I doubled it, I put it into a greased 9″ x 13″ x 2″ pan and baked it for 45 minutes, or until it tested done with a toothpick.  There will be a slight sinking in the middle, but it’s not pronounced.

Three-Potato Gratin

This recipe was originally published in Bon Appetit in November of 2006, but of course, I’ve made some changes (which are in the recipe below).  This is so good and so perfect that people will fight over the leftovers.  I’ve never had any Thanksgiving Day recipe like that.

Ingredients
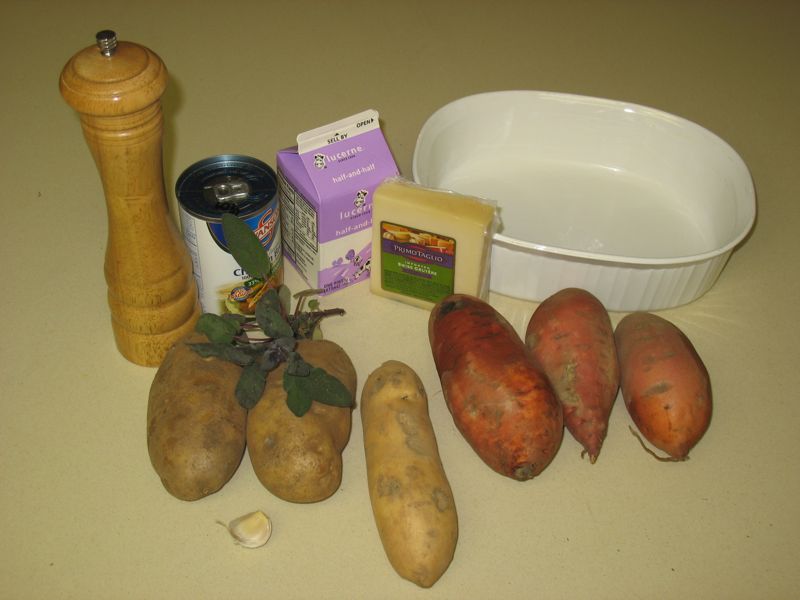
3 pounds mixed russet potatoes and sweet potatoes, peeled and very thinly sliced
[I used 3 sweet potatoes, 2 russet potatoes, and 1 yam & the color was gorgeous!]

Butter for baking dish and foil

1 1/2 cups heavy whipping cream
1/2 cup chicken broth
1 tablespoon chopped sage
1 minced garlic clove
1 teaspoon kosher salt
ground black pepper
1 cup grated Gruyère cheese (or mild Swiss cheese)

Preparation

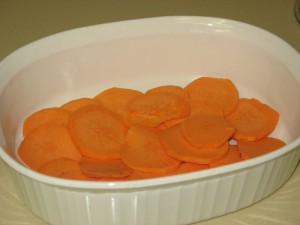
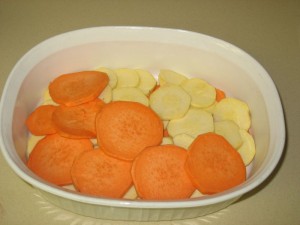
Layer potatoes in a buttered 11×7-inch baking dish, alternating the type of potato on each layer.

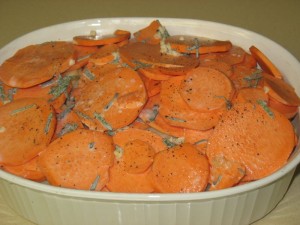
Combine heavy whipping cream, chicken broth, chopped sage, garlic, and salt; pour over potatoes. Sprinkle with pepper. Cover with buttered foil; bake at 425°F for 35-45 minutes. Sprinkle with Gruyère cheese. Bake uncovered until brown and bubbling, about 25 minutes. Let rest before serving.

I put this in the microwave for about 15 minutes first, in order to heat up the liquids and get a jump-start on the baking.

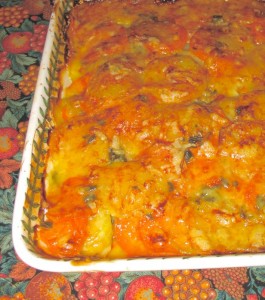
Here it is in all its cheesy, rich goodness.

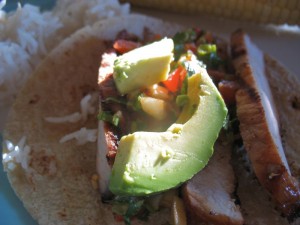
International Tacos

We wanted an interesting meal that we could cook outside on our barbecue for Labor Day.  I told my husband I wanted “to smell” Labor Day–envisioning a day where all the menfolk of the world were outside standing watch over smoking meat, the smells wafting up and over each neighbor’s fence so that our series of backyards would all meld together in a glorious burst of Backyard Barbecue. It’s the unofficial end of summer, with most of us either already back in school, or heading there soon, so I wanted our meal to be a bit festive.

However, when we chose the recipe from a New York Times grilling article, we were stymied by the ingredient “Ponzu sauce.”  We’d never heard of it, but some of the other recipes in the same article called for ingredients that seemed to be stricly East coast fare.  We hit three grocery stores looking for this and didn’t find it.  Back at home, we googled Ponzu sauce, and found a recipe and proceeded.  I’ve switched out the proportions below.

Marinade:
1/2 cup low-sodium soy sauce
1/4 cup fresh orange juice
2 tablespoons fresh lime juice
2 tablespoons fresh lemon juice
1 tablespoon water
1 tablespoon sesame oil
3 tablespoons brown sugar
1 1/2 teaspoons five spice powder
1 large clove garlic, diced or crushed
1 tablespoon honey
1/8 teaspoon crushed red pepper

Pork:
5 half-inch thick, boneless pork chops (about 1.5-2 pounds total)

Combine all marinade ingredients in a medium size bowl. Place the chops in a shallow baking dish or large zip lock bag. Evenly coat the chops with the marinade, place covered in the refrigerator to marinate for 4 to 8 hours.

Preheat grill so it has a steady heat (hot coals, not ravaging flame). Allow pork to come to room temperature (but don’t let it spoil, 30 minutes out of the fridge or cooler is perfect). Cook chops on each side until golden brown with a slight char, for about 3 to 5 minutes on each side, flipping only once. Slice and serve with warm corn tortillas, avocado, Sriracha and Ginger Scallion Salsa.

We also threw in some basmati rice that was leftover from another meal, and so we christened these “International Tacos.”  We had to go to a dinner party later that week, so we froze the leftovers, and then reheated them–they were still good!


Ginger Scallion Salsa:
1/4 c. fresh ginger diced teensily–really tiny
1/4 c. green onions diced (roots and rough green ends trimmed off)
2 Tbs cilantro finely chopped
1 cloves garlic finely diced
1 Tbs. rice wine vinegar
1/2 tablespoon Sriracha or other Asian hot sauce
dash of salt

Simply dice all ingredients and gently mix together. Cover and refrigerate for an hour or so to allow flavors to meld.


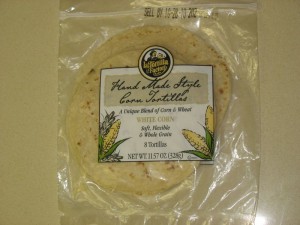
We served these on some thick, hefty corn tortillas from La Tortilla Factory, a new brand our store has been carrying.  They also come in regular corn and they don’t fall apart!  Avoid the usual and look for the best.

And lastly, when we were visiting Washington DC last month, strolling around Balducci’s Grocery Store in Alexandria, VA, look what we found.  Yep, East coast for sure.