Shortbread Cookies

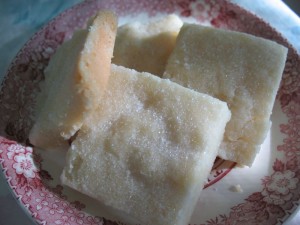
A long time ago in a galaxy far away, I pulled a recipe for shortbread cookies out of a newspaper.  It was just another one of those recipe blurbs in a Food Section in a small newspaper (I think it was in upstate New York where I ripped this out). For a while, I lost the recipe and tried to duplicate its perfect proportions and always failed.  Happily, I found it again. While I see lots of shortbread cookies out there, many of them are rolled cookies, which forces you to handle the dough in extra steps.  I think the secret to the tenderness of these cookies is the lack of dough-handling: mix, dump, press, bake.

I also liked the recipe because it was always fabulous (providing you use REAL butter), I could made it in one pan, and it made a lot of cookies.  When the children didn’t have any cookies for their lunches, I could have enough for the week in under an hour. And when I take them to church and serve them to the ladies, they LOVE them.  So do I.

Scottish Shortbread

Preheat oven to 325 degrees F.

Cream 1 pound butter (4 sticks) with 1 cup sugar until light and fluffy.  Stir, or sift together, 4 cups flour and 2 teaspoons salt (can use 2 1/2 if your butter is unsalted).  Blend into butter mixture with a light touch.  Don’t overmix–you want it barely stirred in.

Press dough into a rimmed cookies sheet, moistening your fingers with cold water if you find it too sticky.  Bake for 30 minutes, or until edges are just browning (don’t overbake) and immediately after pulling from oven, shake a hearty amount of granulated sugar over the entire surface.

Cut into “fingers,” 1″ by 3″.  Of course, you can also make them square-shaped, which is what I did.  For a pretty cookie, before baking use a cookie press to stamp a design over the top in a grid.

Summer Strawberry Cake

Oh, YUM!

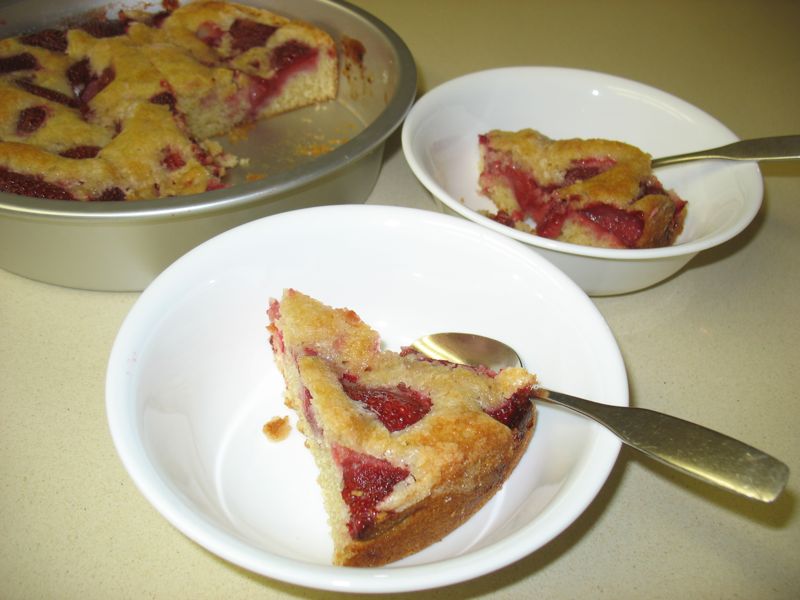
Okay, now get to work and make this light and delicious strawberry cake.  I found it on Smitten Kitchen, a blog with great recipes, who had adapted it from Martha.  I changed it again, substituting 1/2 cup whole wheat white flour for part of the regular flour.  The interesting thing about this cake is how long it cooks: about one hour, although it’s very quick to make.  The strawberries become jam spots, the sugar caramelizes, and it all is a wonderful summer dessert.  While it is best served on the day it is made, it is still really good the next day.  For breakfast, maybe? And while the recipe suggests a dollop of soft whipped cream, my husband thought that ice cream was a great topping.

6 tablespoons unsalted butter, at room temperature, plus extra for pie plate
1 1/2 cups  all-purpose flour (can swap 1/2  cup all-purpose flour with 1/2 cup of whole wheat flour)
1 1/2 teaspoons baking powder
1/2 teaspoon table salt
1 cup plus 2 tablespoons (25 grams) granulated sugar
1 large egg
1/2 cup milk
1 teaspoon vanilla extract
1 pound strawberries, hulled and halved

Preheat oven to 350°F. Butter a 9-inch deep pie (or cake) pan or 9-inch deep-dish pie pan (what I used). (Smitten Kitchen notes that this cake would also work in a 9- or 10-inch springform or cake pan. The 10-inch would make a thinner cake than pictured.)

Whisk flour or flours, baking powder and salt together in a small bowl. In a larger bowl, beat butter and 1 cup sugar until pale and fluffy with an electric mixer, about 3 minutes. Mix in egg, milk and vanilla until just combined. Add dry mixture gradually, mixing until just smooth.

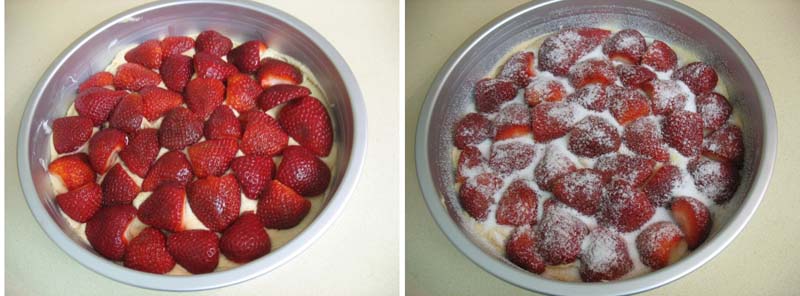
Pour into prepared pie plate. Arrange strawberries, cut side down, on top of batter, as closely as possible in a single layer (though I had to overlap a few to get them all in). Sprinkle remaining 2 tablespoons sugar over berries.

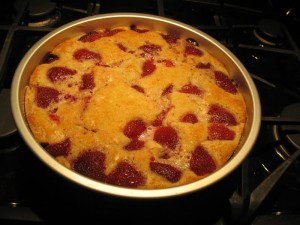
Bake cake for 10 minutes then reduce oven temperature to 325°F and bake cake until golden brown and a tester comes out free of wet batter, about 50 minutes to 60 minutes.  Let cool in pan on a rack. Cut into wedges. Serve with lightly whipped cream, or ice cream, if desired.

Chocolate Ganache Frosting

Yield: Makes about 4 cups, published by Bon Appétit, March 1999 (with some changes).  Originally made to go with Orange-Almond Cake.

Ingredients

1 3/4 cups whipping cream
3/4 cup unsalted butter
6 tablespoons unsweetened cocoa powder (I used Dutch cocoa)
4 1/2 tablespoons light corn syrup
8 ounces bittersweet (not unsweetened) chocolate chips (I used Guittard)
8 ounces semisweet chocolate chips
1 1/2 teaspoons vanilla extract
1/2 teaspoon (scant) almond extract

Preparation

Whisk first 4 ingredients in medium saucepan over medium heat until butter melts and mixture comes to simmer. Remove saucepan from heat. Add chocolate and both extracts. Whisk until chocolate is melted and smooth.  I glazed my single layer cakes while it was still warm, but if doing the triple-layer cake, refrigerate frosting until slightly thickened but still spreadable, stirring occasionally, about 45 minutes.

Note: the original recipe called for 16 ounces bittersweet, but in reading the comments from the reviewers, they all said to go with a mixture.  I did.  Yummy!  You’ll be fighting over who gets to lick the pan.

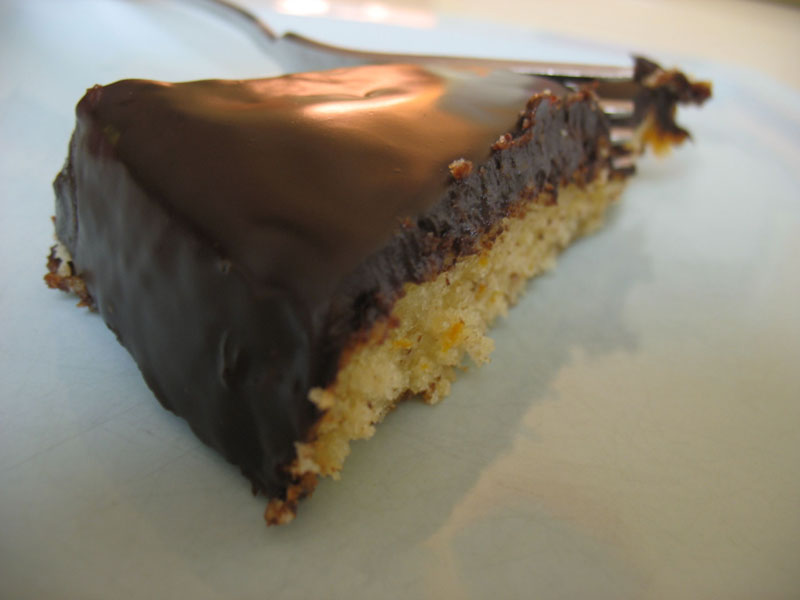
Orange-Almond Cake with Chocolate Icing

How did I learn about this recipe? My friend Andrea made this cake for her birthday.  She’s a remarkable woman, always making some new delicious confection for her birthday.  She tries a new one each year, and I love reading on her Facebook posts what she’s chosen for that year.  The reason this cake intrigued me?  She wrote about this right as I was asked to be in charge of the food for our Women’s Conference (300 people!).  I hit on the idea that instead of making a three-layer cake, I’d keep the layers single, and glaze them with the chocolate ganache and serve them that way. Instead of serving 10 with one recipe, I could serve 30 (although they may all be fighting over any leftovers on the table).

To prepare, I made them last night.  I wasn’t too sure about this, until I had brushed on the “orange jam” and coated them with the chocolate ganache.  Oh, my!  Another cooking friend, Wendy, agreed to be my partner in desert-crime and help me make batches and batches of this for the conference.  So, thanks, Andrea for the idea and thanks, Wendy for always including me in your food adventures.  Here’s one for you.

Yield: Serves 10  Originally published in Bon Appetit, March 1999.  My changes are listed below.

Ingredients for Cake
3 large oranges
2 cups plus 2 tablespoons all purpose flour, divided
1 cup whole almonds
2 teaspoons baking powder
1/2 teaspoon salt
2 cups sugar
1 cup unsalted butter, room temperature
4 large eggs
1 cup whole milk
1/2 teaspoon vanilla extract
1/4 teaspoon almond extract

Ingredients–Orange “Jam
1 1/2 cups fresh orange juice–approximately 3-4 oranges.  Use the juice from the three peeled oranges (above).  I had to add one more orange to get the juice I needed.
generous 1 tablespoon sugar

Chocolate Ganache Icing (click on link, or see below)

Additional whole almonds, small orange-slice triangles and mint leaves for garnish

Preparation

Preheat oven to 350°F.
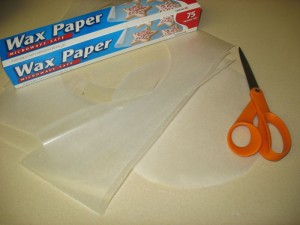
Place pan on waxed paper, and using scissors, trace around the pan.  Cut out three layers of wax paper on the circle line.
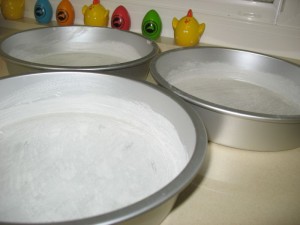
Grease (or butter) the bottom and sides of three 9-inch-diameter cake pans with 1 1/2-inch-high sides. Place the wax paper circle in the bottom of the pan and grease that.  Dust with flour; tap out excess. I say to grease the sides, because a) it comes out easier, and b) it’s prettier if you are using the cake as a single layer.
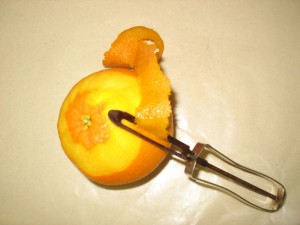
Using vegetable peeler, remove peel (orange part only) in strips from oranges.  Coarsely chop enough peel to measure 1/2 cup.

Combine flour, 1 cup almonds, baking powder and salt in food processor; blend until finely ground. Transfer to medium bowl.
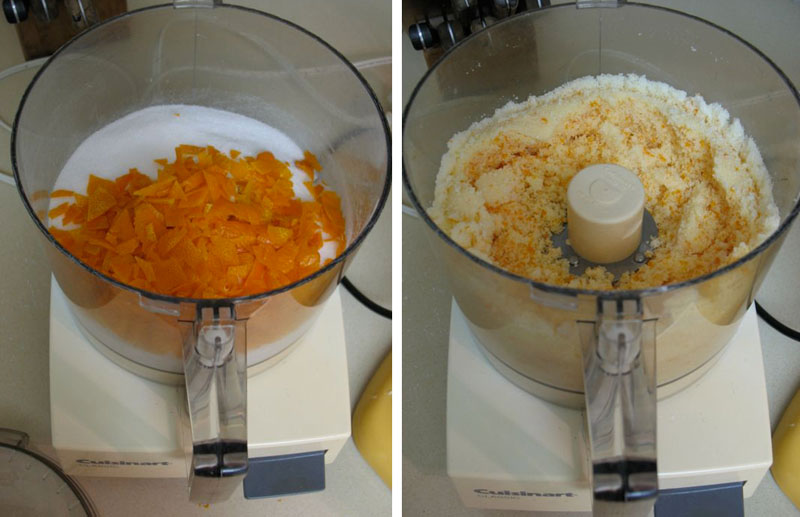
Place 2 cups sugar and orange peel in processor (left); blend until peel is finely minced (right).

Using electric mixer, beat butter in large bowl until blended. Add sugar mixture and beat until fluffy. Beat in eggs 1 at a time. Mix milk and both extracts in small bowl. On low speed, beat flour mixture into egg mixture alternately with milk mixture in 3 additions each.
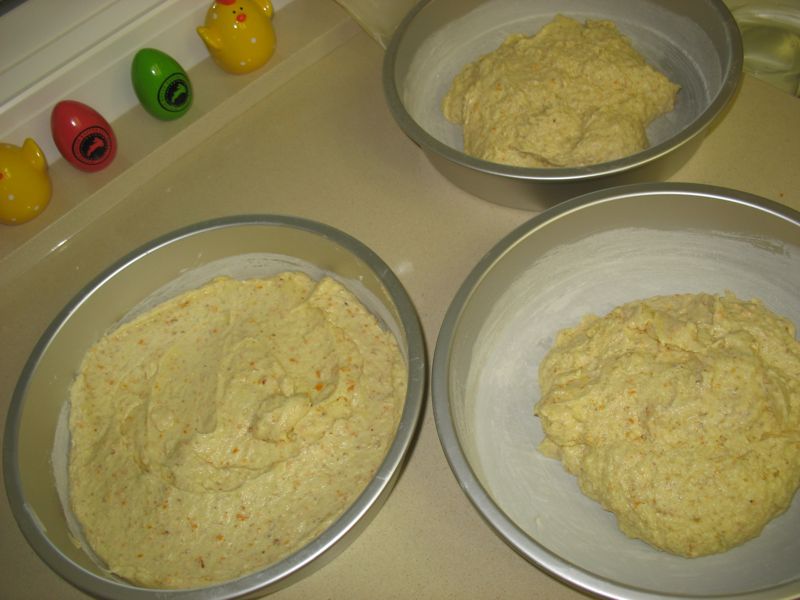
Divide batter among prepared pans. It’s pretty thick.  Smooth it out.
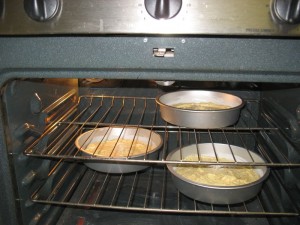
Bake cakes until tester inserted into center comes out clean, about 25 minutes, and cakes begin to pull away from sides (touch test with finger didn’t work).Don’t overbake. Cool cakes in pans on racks 8 minutes. Loosen cake around edges with narrow spatula, then turn cakes out onto racks, remove wax paper from bottom, and cool completely. They are a bit fragile when warm.
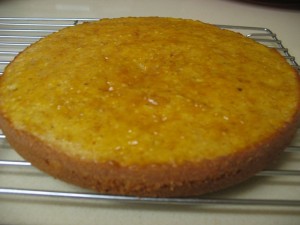
Boil 1 1/2 cups fresh orange juice and remaining generous 1 tablespoon sugar in small saucepan until reduced to 1/2 cup, about 15 minutes (watch carefully and stir occasionally). Brush warm juice mixture over tops of cooled cakes.
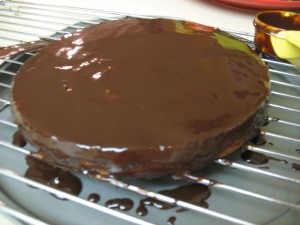
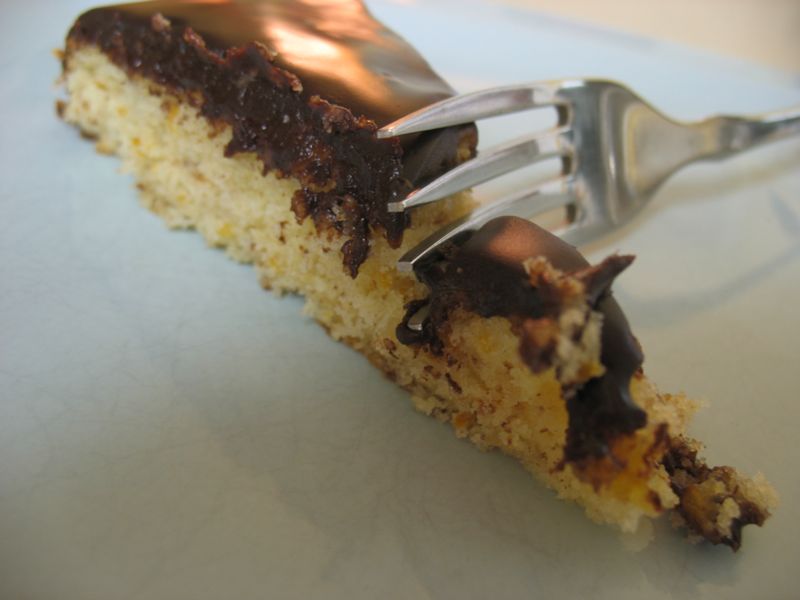
For the Women’s Conference, I poured about 1/2 cup warm ganache over the cake and using an off-set spatula, smoothed it over the cake, letting it run down the edges (I had them on a rack to do this, although not that much dripped over that you couldn’t just do it on a plate).  If you need more icing on the edges, smooth some on with the spatula.  It makes a silky-looking glaze, but who cares how it looks?  It is delicious, and sets up after about 30 minutes.  Transfer to plate, decorate with almonds and oranges, or whatever you choose.
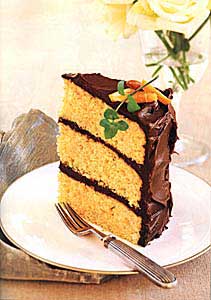
Their photo, in a three-layer cake version:

Place 1 cake layer, orange syrup side up, on cake platter. Spread 1 cup Chocolate Icing over. Top with second cake layer, then 1 cup icing. Top with third cake layer, syrup side up.

Spread remaining icing over top and sides of cake. (Can be prepared 1 day ahead. Cover with cake dome and store at room temperature.)

Arrange additional almonds, orange triangles and mint leaves around top edge of cake. Slice cake and serve.

Chocolate Icing also from Bon Appétit, March 1999

Yield: Makes about 4 cups–enough for two batches of cake.  If you are only making one cake, I advise you to double-glaze it, or else cut the ingredients down by at least 1/3.

Ingredients

1 3/4 cups whipping cream
3/4 cup unsalted butter
6 tablespoons unsweetened cocoa powder (I used Dutch cocoa)
4 1/2 tablespoons light corn syrup
8 ounces bittersweet (not unsweetened) chocolate chips (I used Guittard)
8 ounces semisweet chocolate chips
1 1/2 teaspoons vanilla extract
1/2 teaspoon (scant) almond extract

Preparation

Whisk first 4 ingredients in medium saucepan over medium heat until butter melts and mixture comes to simmer. Remove saucepan from heat. Add chocolate and both extracts. Whisk until chocolate is melted and smooth.  I glazed my single layer cakes while it was still warm, but if doing the triple-layer cake, refrigerate frosting until slightly thickened but still spreadable, stirring occasionally, about 45 minutes.

Note: the original recipe called for 16 ounces bittersweet, but in reading the comments from the reviewers, they all said to go with a mixture.  I did.  Yummy!  You’ll be fighting over who gets to lick the pan.
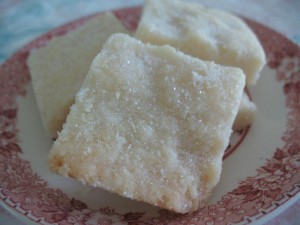
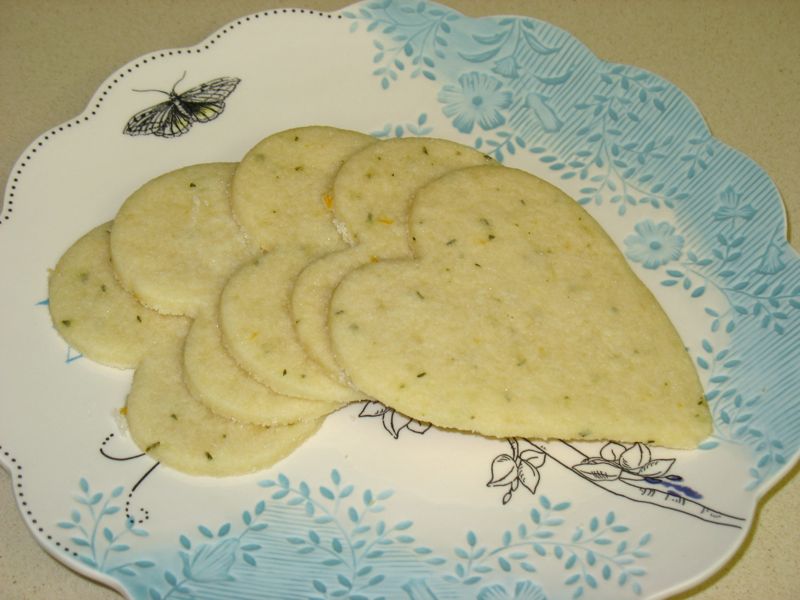
Lemon-Rosemary Shortbread

Every time I teach the women’s Sunday auxiliary class in church, I try to take a treat.  It’s a girl thing, I think, and I really should cease and desist.  But part of it is there’s only the two of us at home now, and if I want to make a sweet and share it, this is a good venue.  Why did the lemon-rosemary combination pop into my head?  Because somewhere, somehow I read about it.  I searched the web and found this recipe, but I know it wasn’t the original thought-prompter.

Rosemary? I have two kinds–the trailing and the shrubby bush.  I somehow like to cook with the trailing rosemary much better, but I can’t really tell you why. Maybe it is the sinuous tendrils that grow out from the plant.

And our Meyer lemons are coming on strong now, all golden and glossy in our backyard.  Can’t resist.  So go and get yourself some fresh rosemary, some fresh lemons, and make these cookies.  Somehow the rosemary “amps” up the taste of the lemon, so all you can identify is mmmmm. . . lemon shortbread.

Ingredients

3 sticks of butter, at room temperature
1 cup of sugar
1 teaspoon vanilla
3 cups flour
1 teaspoon salt
2 tablespoons lemon juice
zest from one lemon, or about 1 Tbs.
1 tablespoon finely chopped rosemary.  I used a rolling mincer after I’d pulled the leaves off the stem.

Directions:

In a medium bowl, using an electric mixer (or in the bowl of a stand mixer using the paddle attachment) cream together butter and sugar until pale and fluffy. Add vanilla, lemon juice and zest. Mix until combined.

In a small bowl whisk flour and salt together. Slowly add this to the butter mixture, mixing until completely incorporated.

Add the rosemary and beat until evenly distributed.

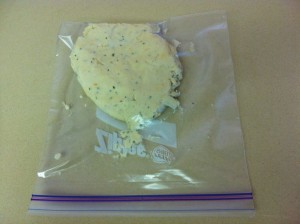
Shape the dough into a flat disk and either stow in it a  Ziploc bag, or wrap in plastic wrap. Chill in the fridge for at least 30 minutes. Meanwhile preheat the oven to 350°F.  (If you forget and leave the dough in overnight, let it warm up a few minutes before you try to roll it out.)

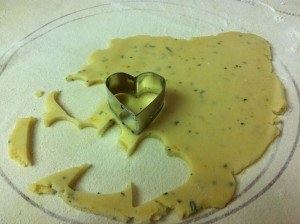
Roll out the dough on a lightly floured surface until 1/8- 1/4 inch thick.  Cut with a small cookie cutter and place on an ungreased cookie sheet about an inch apart.  Sprinkle with granulated sugar.

Bake for about 8-10 minutes, rotating half way through. They will be just golden around the edges. Watch them closely, since they can bake quickly at the end.

Cook’s Notes: If you want to roll them thicker (1/4″), cook them a little longer.  They will be pale in both cases.

If you make the larger sized cookie, let it cool 2-3 minutes on the cookie sheet before moving it to the cooling rack.  These are very tender cookies!

Here they are, all wrapped up and ready to go!

Chewy Chocolate Gingerbread Cookies

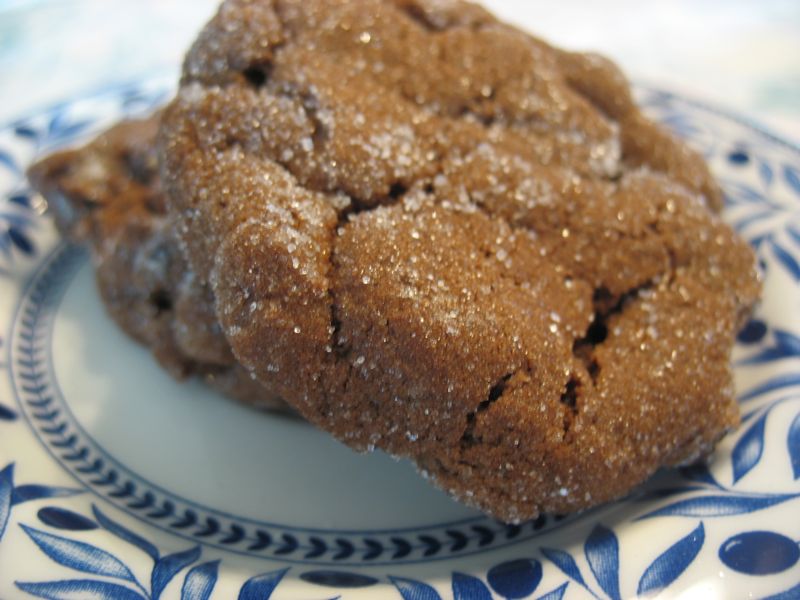
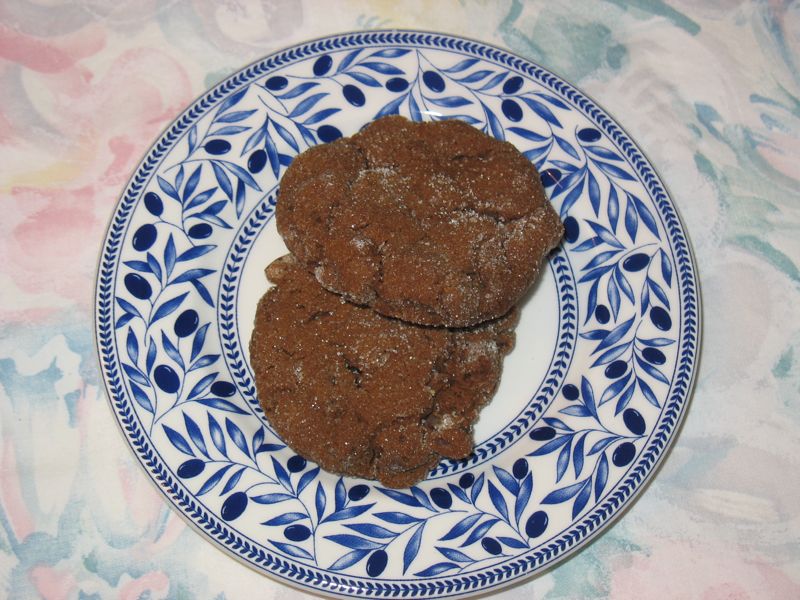
We were shopping–the Mr. and I–for Christmas, and beside the register was a brochure pushing anything Martha.  I picked it up because she had a recipe for these cookies.  I’d been thinking about trying to find a recipe like this ever since Dave and I had chewy gingerbread cookies at the Cheese Board Collective in Berkeley.  That day we’d driven down across the Delta, got stuck in horrid traffic, our tempers frayed and flared, but we made it to the Collective about 45 minutes before they closed down.  Our pizza was delicious, the salad was crisp, but the cookies–oh my–the cookies!  After we visited the Berkeley Rose Garden we went back for two more, but alas!  They’d sold out.  So they remain in my memory.  These resemble those from the Cheese Board, but I can’t remember now if the Berkeley variety had chocolate chunks in it. Oh well–these are delicious, too.

Chewy Gingerbread Cookies—yield: 30

originally from Martha Stewart, amended by me

Ingredients
14 ounces best-quality semisweet chocolate chips
3 cups plus 2 tablespoons all-purpose flour
2 tablespoons unsweetened Dutch-process cocoa powder
2 1/2 teaspoons ground ginger
2 teaspoons ground cinnamon
1/2 teaspoon ground cloves
1/4 teaspoon ground nutmeg
1 cup (2 sticks) butter, softened
1 cup packed dark-brown sugar
2 tablespoons finely grated, peeled fresh ginger
1/2 cup unsulfured molasses (I use the green label molasses)
2 teaspoons baking soda, dissolved in 1 tablespoon boiling water

2/3 cup granulated sugar, in bag (for coating)

Directions

1. Sift together flour, cocoa powder, and spices into a medium bowl. Put butter, brown sugar, and grated ginger into the bowl of an electric mixer fitted with the paddle attachment. Beat on medium speed until fluffy. Beat in molasses.

2. Beat in flour mixture in 2 batches, alternating with the baking soda mixture. Mix in chocolate chips. Shape dough into a disk, and wrap in plastic (or place in gallon-sized Ziploc bag). Refrigerate until firm, about 2 hours (up to overnight).

3. Preheat oven to 325 degrees. Shape dough into 1 and 1/2-inch balls, and drop them into a bag filled with some granulated sugar, tossing to coat. Place 2 inches apart on ungreased baking sheets, pressing down on each cookie slightly to flatten. (I used the bottom of a glass, dipped in sugar.)

4. Bake until surfaces crack slightly, 10 to 12 minutes. Let cool on sheets, 5 minutes. Transfer cookies to wire racks, and let cool completely. Cookies can be stored in an airtight container up to 3 days.

Cook’s Confessions: I left mine in the fridge for 3 days–just couldn’t get the time to bake them up.  They were fine.

Note: you can store fresh ginger in the freezer.  When needed, peel with a paring knife, then grate on the fine section of your cheese grater.

These cookies are best when warm–so set them in the sun for a few minutes to soften.

Dipped Pretzel Rods

This is no rocket science.

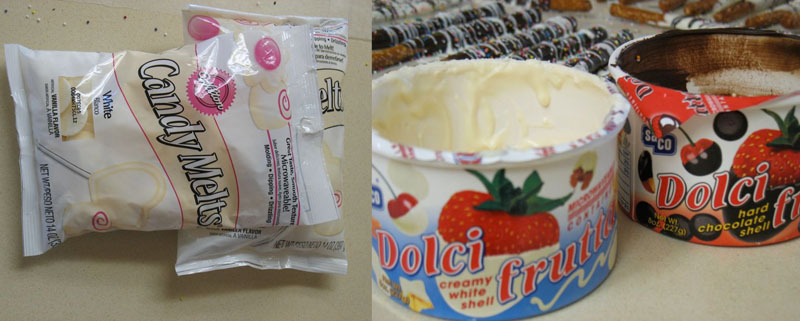
Buy chocolate blobs at Michaels (I think they have three different flavors), or melting chocolate bricks (Stater’s Brothers), or melting chocolate cups (grocery store).

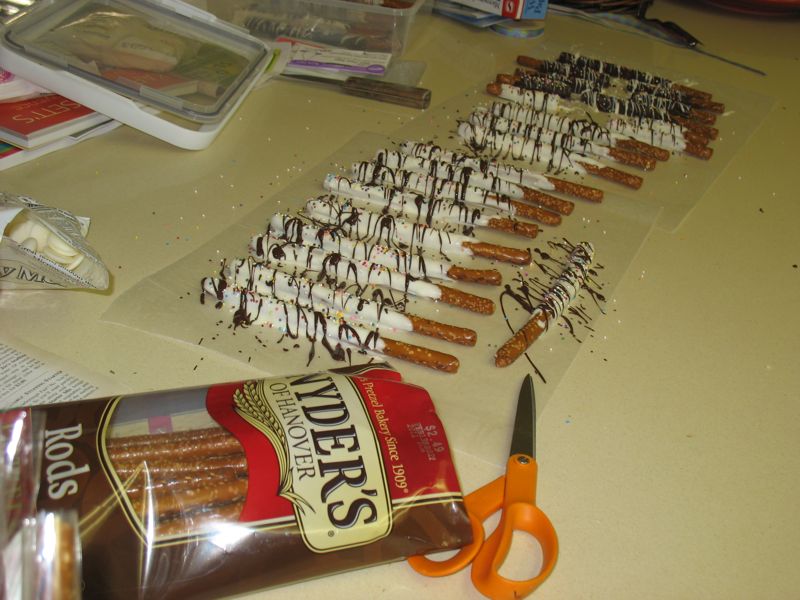
Buy pretzel rods (I found Snyders at Walmart and at Stater’s).  Look at bags and buy the bag with the least broken sticks–but after being dipped, they’re good too. Notice the mess–you can always clean up later.

Buy sprinkley things.  Buy skinny bags for pretzels (Michaels).  Follow the pictures below.


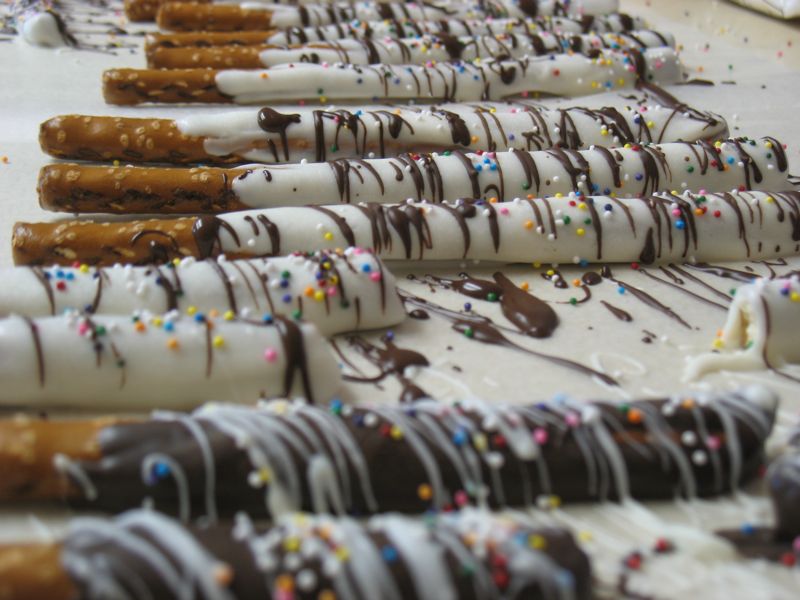
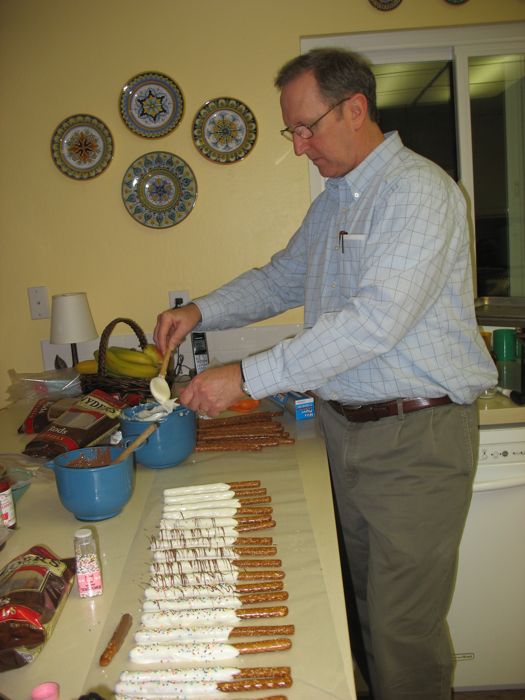
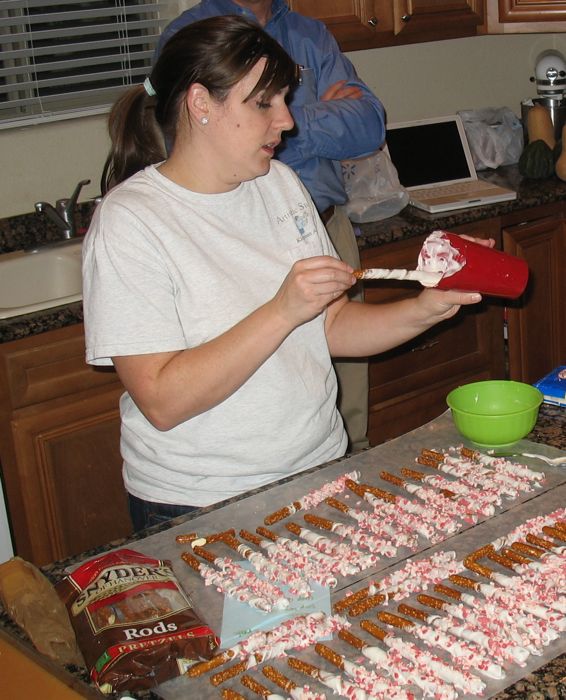
First, dip them in the melted chocolate of your choice–white or dark. We kind of hold the pretzel over the bowl and goop it on.

My daughter likes to use a tall cup.  Before laying them down, take a spoon and stroke the chocolate off one side, then lay the pretzel down on that side.  If you don’t stroke some off–it makes a gigantic puddle.  Sometimes I throw the cake sprinkles on right now.

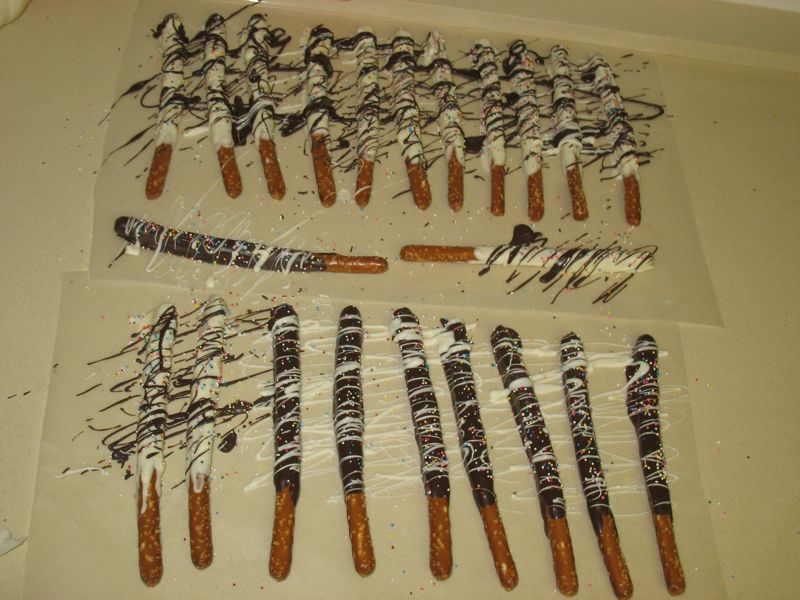
Take a fork, dip it into the contrasting chocolate and wiggle it over the pretzel rods.  A thinner (warmer) chocolate consistency is better.  My mother just ate her last two from Christmas, so obviously they keep a long time.

The ONLY tricky thing here is not over-microwaving the chocolate.  Then you have sludge.  If this happens, stir in a spoonful of plain shortening into the chocolate, stirring well.  You may have to add a couple of spoonfuls if you’ve really nuked the chocolate too long.  But that should fix it.

Then after they’re set (doesn’t take too long), load them up into their little bags and tie the top with a ribbon.

Old-fashioned Gingerbread Cake

Merry Christmas to all!

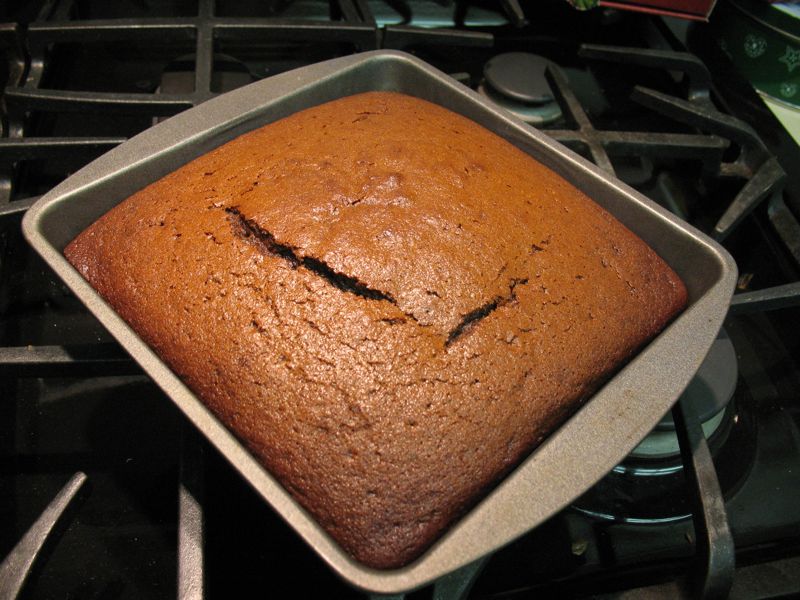
Perhaps there is no more evocative scent for Christmas than that of ginger–specifically baked into shaped cookies, houses and cakes.  I’d always made a gingerbread using oil, but this year I took on the challenge to make it without oil.  It was a switch I should have made a long time ago, and I was glad for the chance to try a new recipe.  As you can see, we haven’t cut into it yet, but the batter was yummy (yes, it’s true that I come from a long line of beater-lickers).  Serve with Elizabeth’s Lemon Butter Sauce, and maybe a dab of soft home-made whipped cream?  I wish you visions of sugarplums dancing in your head.

This is from the yellow Gourmet Cookbook, edited by Ruth Reichl.  It’s a winner to have in a collection.

Old-fashioned Gingerbread

Ingredients
2 cups all-purpose flour
1 teaspoon baking soda
1 1/2 teaspoons ground ginger
1 teaspoon ground cinnamon
1/4 teaspoon ground cloves
1/2 teaspoon salt
1 stick (1/2 cup)  real butter, softened
3/4 cup packed light brown sugar
2 large eggs
1/2 cup molasses (not blackstrap)
2/3 cup hot water

Preparation

Preheat oven to 350°F.

Sift together flour, baking soda, spices, and salt into a bowl.

Beat together butter and brown sugar in a large bowl with an electric mixer at moderately high speed until pale and fluffy, 3 to 5 minutes. Add eggs 1 at a time, beating well after each addition, then beat in molasses. (Batter may look separated.) Mix in flour mixture at low speed, then water, mixing until batter is smooth, about 1 minute.

Pour batter into a buttered 9-inch square metal baking pan (2 inches deep). Bake in middle of oven until a tester comes out clean, 35 to 40 minutes. Cool in pan on a rack, about 20 minutes, then serve warm with Elizabeth’s Lemon Butter Sauce.

Cook’s Note: When I doubled it, I put it into a greased 9″ x 13″ x 2″ pan and baked it for 45 minutes, or until it tested done with a toothpick.  There will be a slight sinking in the middle, but it’s not pronounced.

Peach Upside-down Cake

Once again, Dorie Greenspan writes a winner recipe.  This time it is a recipe for a peach upside-down cake, but it’s lighter than usual, and uses a granulated sugar mix for the fruit, rather than a brown-sugar mixture.  We had a few extra peaches (okay–confession–I bought extra just so I could make this), a few raspberries and when it came out of the pan, Dave and I couldn’t resist taking a small slice.  (Okay.  Confession.  We each had one more right then, promising to save the rest for later on tonight.)  I like the lightness of this–not so gooey, sicky sweet like that old pineapple standby.  (But I confess I liked that too, in its day.)

Ingredients:
1 cup all-purpose flour
1 teaspoon baking powder
1 teaspoon ground cinnamon
1/4 teaspoon salt
1 3/4 sticks (14 Tablespoons) unsalted butter, at room temperature (mine was neither unsalted nor room temperature)
granulated sugar, divided into 6 Tablespoons (part I) and 1/2 cup (part II)
2 large eggs
1/4 teaspoon almond extract
3/4 teaspoon vanilla extract
1/3 cup whole milk (we only have skim milk around here, so I poured in about 1 Tablespoon cream into a measuring cup and filled up the rest with skim milk)

3 large peeled and pitted peaches, sliced
a few raspberries for color (optional)

Center a rack in the oven and preheat the oven to 350 degrees F.  Put an 8×2-inch pan on a baking sheet.  Warning!  This is taller than the usual pan we have in our cupboards.  I bought mine at Michaels last time they included a coupon in the newspaper.

Whisk together dry ingredients.

Melt 6 TBLS of the butter in a small saucepan.  Sprinkle in 6 TBlS of the sugar and cook, stirring, until the mixture comes to a boil.  Pour this evenly over the bottom of the cake pan, then scatter the raspberries over the butter mixture.
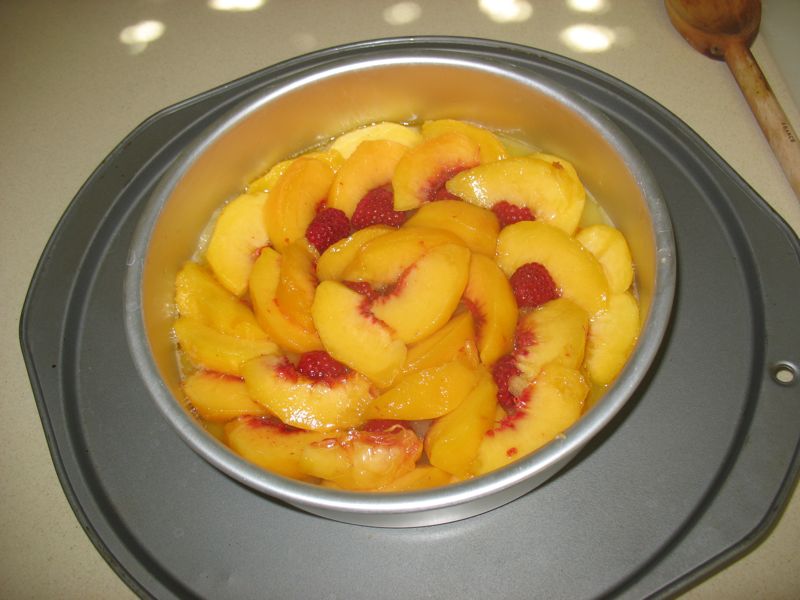
Beginning at the outer edge, ring the pan with the peach slices, ending at the center, fitting the raspberries in and around as you go.  (I had to take a picture of this step–it looks very pretty just sitting there.)  Set aside.

Working with a stand mixture, fitted with a paddle attachment (or with a hand mixer in a large bowl), beat the remaining stick (8TBLS) of butter on medium speed until smooth.  Add in the remaining 1/2 cup of sugar and continue to beat until pale and creamy, about 3 minutes.  (Don’t fret if yours doesn’t do this–mine didn’t either, but I think it was because the butter was cold.)  Add the eggs one at a time, beating for 1 minute after each addition and scraping down the bowl as needed.  Pour in the vanilla/almond extract.

Reduce the mixer speed to low and half of the dry ingredients, mixing only until they disappear into the batter. Mix in the milk, then the rest of the dry ingredients, scraping the bowl as needed.  Spoon the batter over the fruit, and smooth the top with a rubber spatula.

Bake for 40-45 minutes, or until the cake is golden and a thin knife inserted into the center of the cake comes out clean.
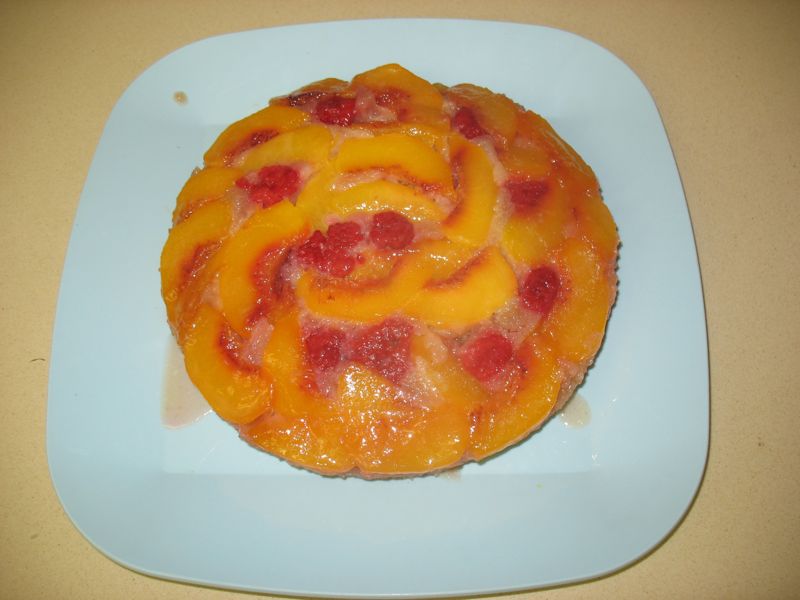
Remove it from the oven and run a blunt knife between the sides of the pan and cake.  Let sit for at least 15 minutes to allow the peach juices to absorb into the cake, then invert on a serving platter.

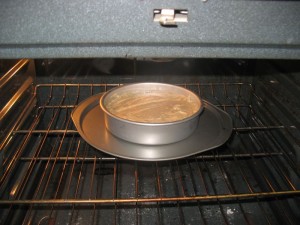
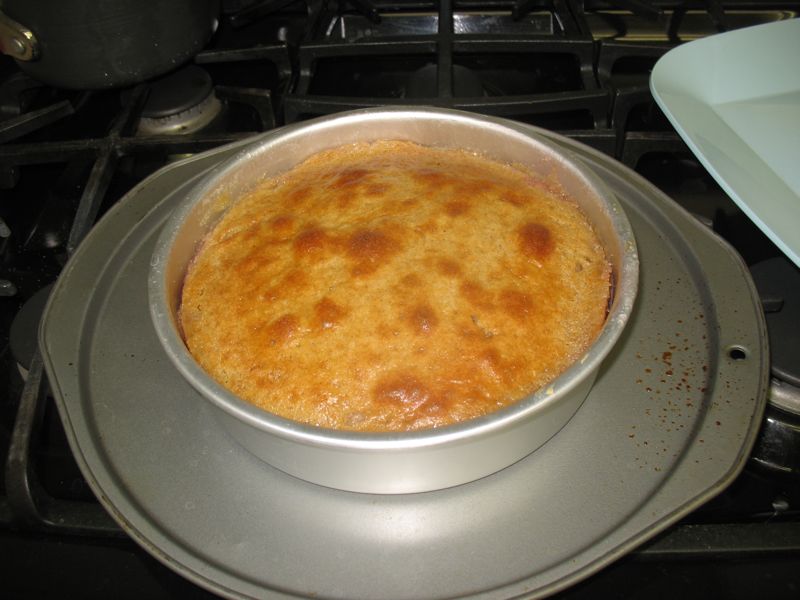
Yum! This is one of those recipes that isn’t terribly glamorous, but that will disappear very quickly, as you can see by our photo above.  Very quickly.  Greenspan, who wrote the book from which this recipe was taken (Baking From My Home to Yours), made this first in a cranberry-nut version.  You can bet I’m going to try that come fall, when the cranberries hit the shelves.  Check back for that one, but in the meantime, go buy Dorie Greenspan’s book.
Angel Food Cake

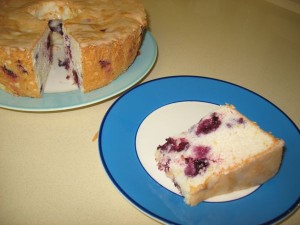
The first time I made this was when my parents were visiting.  It was summer and we needed a light dessert for a hot day.  Gale Gand’s recipe seemed to fit the bill: it’s a from-scratch angel food cake speckled with fresh blueberries with a bit of lemon to freshen the flavors.

Dave has requested it often for his birthday, preferring this to his other old favorite of German Chocolate Cake (I never could make that one very well–his mother did it better than I, I’m sure).

The taste of the homemade angel food cake is different than the store bought, although that one has its merits.  It’s like the difference between any manufactured object and something that has had a human touch.  Try it and see what you think.

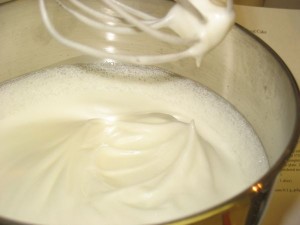
I’ve included a lot of photos to show how the mixture begins to peak; my apologies to those who find photos tiresome.

Blueberry Angel Food Cake–yield 8 servings (although we always get more out of it)
Gale Gand, from Cooking Light

Cake:
1 1/2 cups sugar, divided
1 cup sifted cake flour (I used regular)
12 large egg whites (about 1 1/2 cups)
1 1/4 teaspoons cream of tartar
1/2 teaspoon salt
1 teaspoon vanilla extract
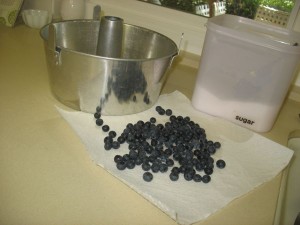
1 1/2 cups fresh or frozen blueberries
2 Tablespoons sifted cake flour
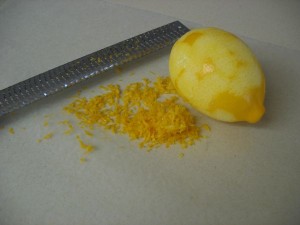
1 Tablespoon grated lemon rind

Note on grating rind: you want to just skim the yellow rind off the lemon, leaving the white pith behind (it can be bitter).  If I have a whole crop of lemons, I grade the rind onto a square of wax paper, then fold it up to the inside, place the packet into a small ziploc sandwich baggie and label it with the date.  I’ve used frozen rind for as long as 9 months without noticeable drop in quality.

Glaze:
1 cup powdered sugar
3 Tablespoons fresh lemon juice

Preheat oven to 375°F.

Sift together 1/2 cup sugar and 1 cup flour (I just whisked them together).

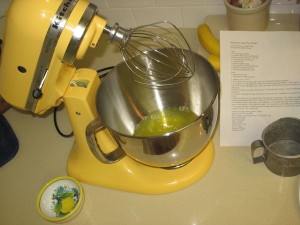
In a large bowl, beat egg whites with a mixer at high speed until foamy.

Add cream of tartar and salt; beat until soft peaks form.

Add 1 cup sugar, 2 Tablespoons at a time, beating until stiff peaks form.

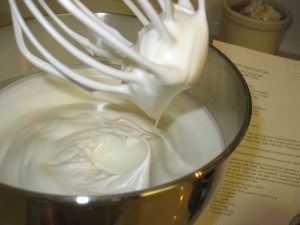
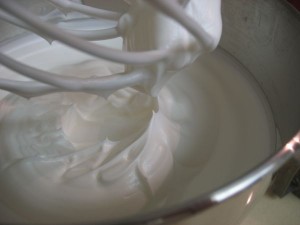
See the tip of the peak bending over like a wave?  Not quite done.

This peak stands straight up–it’s done.

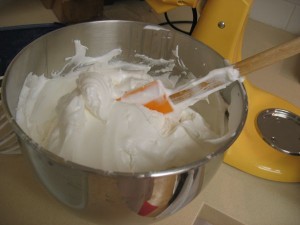
Sift flour mixture over egg white mixture, 1/4 cup at a time; fold in.  Here’s a video on folding egg whites into another mixture; it’s the same technique.

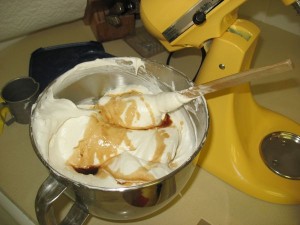
Fold in vanilla. . .

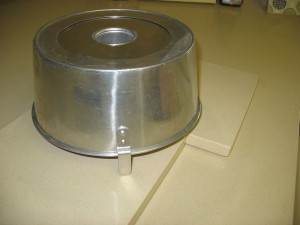
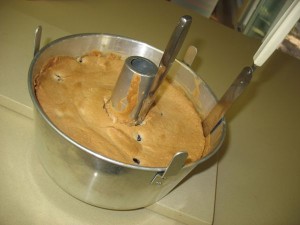
. . . and blueberries. If you’ve never seen an angel food cake pan before, it has three tabs sticking up from the sides, and a removable bottom (to which the center tube is attached).


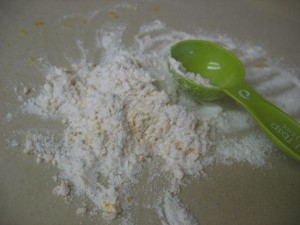
Combine 2 Tablespoons flour and lemon rind; toss to coat. Sprinkle over egg white mixture; fold in.

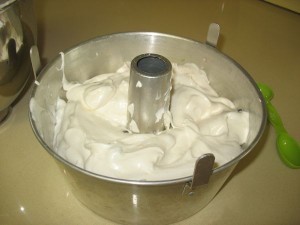
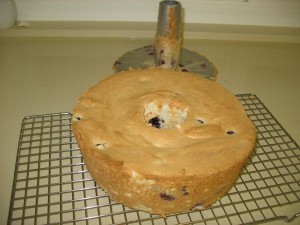
Spoon the batter into an UNGREASED 10-inch tube pan, spreading evenly. (Note:the recipe says to smooth out the top, but I like mine with more peaks and valleys, as shown here.  But I was a good girl, and smoothed it out so you could see what the end result looks like in a later photo.)

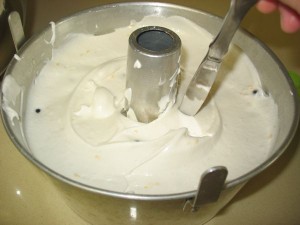
Break air pockets by cutting through batter with a knife. Bake at 375°F for 40 minutes or until cake springs back when lightly touched.

Invert pan; cool completely.  Yes, turn it upside down and balance it on those tabs until it is REALLY COOL to the touch.  No warmth anywhere.  That’s why it’s best to make this in the morning, if you plan to serve it that night.

Loosen the cake from sides of pan using a narrow metal spatula.

Invert cake onto plate. (I re-invert it so the top will show.)

To prepare the glaze, combine powdered sugar and lemon juice in a small bowl; stir well with a whisk. Drizzle over cooled cake.

Calories: 297 (1% from fat)
Fat: 0.2 grams (sat. fat 0g, mono 0.1 g, poly 0.1 g)
Protein: 6.6 grams
Carb: 68.2 grams
Fiber: 1 gram
Cholesterol: 0 mg
Iron: 1.1 mg
Sodium: 232 mg
Calcium: 8 mg