Christmas Kiss Cookies

Cream together:

1/2 cup peanut butter
1/2 cup shortening
1/2 cup white sugar
1/2 cup brown sugar.

Add:

1 egg
2 Tablespoons milk
1 teaspoon vanilla extract (not flavoring, use extract!).

Mix together then add to creamed mixture:

1 3/4 cup flour  (I use 3/4 cup whole wheat flour, and 1 cup white flour)
1 teaspoon baking soda
1/2 teaspoon salt

Form into balls about 1 inch in diameter, roll in granulated (white) sugar.  Bake in 350 oven for about 8-10 minutes or until set.  Take out of oven and immediately press a chocolate kiss into center.  Remove to wire rack  to cool.  Kisses will get soft as they take on the heat of the cookies, but will firm up again as the cookies cool.

Cranberry, White Chocolate Chip and Oatmeal Cookies

I found this on the web, and decided to try it out for my monthly treat for the ladies at church.  That’s usually never a good idea, but it turned out fine.  I do think, though, that these could benefit from a little something or other to make them pop: maybe a touch of cinnamon?  nutmeg?  If you figure it out, leave a comment and let me know.

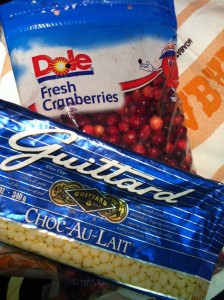
I had just purchased a huge bag of fresh cranberries and wanted to bake something using them.  I found scads of recipes on the web using dried cranberries, but few with fresh cranberries.  I adapted one to make these cookies.

I think these bake up best when the dough is cold, so if you are going to have everything at room temperature, please leave time to chill the dough before baking.

1 cup cold butter, or barely softened
1 1/2 cups granulated sugar
2 large eggs
1 teaspoon vanilla extract
rind of one orange, grated (about 1 Tablespoon)
1 1/2 cups old-fashioned oatmeal
1/2 cup whole wheat flour
1 1/2 cups white flour
1 teaspoon baking powder
1/2 teaspoon salt
1/4 teaspoon baking soda
1 cup coarsely chopped walnuts
1 bag (12 oz) white (or vanilla) chocolate chips
1 1/2 cups fresh cranberries, washed & picked over, then coarsely chopped

Preheat oven to 375 degree F.

Measure out cranberries, then place in a wire mesh strainer and rinse, picking out the wrinkled or barely ripe berries.  Place in a food processor and pulse one or two times, or until coarsely chopped.  If you don’t have a food processor, it can be done by using a heavy knife, but it is tricky.  Be of good courage.

In a mixing bowl, cream butter and sugar until it is light, about 5 minutes.  Add eggs, one at a time, beating well after each addition.  Add in vanilla extract and orange rind.  Mix well, then add in oatmeal.  In a separate bowl, stir together the flours, baking powder, salt and baking soda.  Add to the butter mixture until blended, but don’t overbeat.  Add chopped fresh cranberries, walnuts, and white chocolate chips, stirring well to incorporate throughout.

Drop by large tablespoonfuls onto parchment-covered cookie sheet about 2 inches apart; cookies will be about the size of a small plum.  (I put the cookie sheet in the refrigerator at this point to chill before baking, but if you chilled the dough after mixing, you should be fine.)

Bake for 19 minutes, or until edges are lightly brown.  Let set 1 minute outside of the oven, then drag the parchment sheet with cookies on it, onto a rack to let them cool.  Yield: about 24 large (3″) cookies.

Cook’s Note:  Parchment paper can be purchased at any grocery store. I noticed that Costco carried it last time I was there.  One recipe said you could just grease the pan, but be vigilant during baking so the cookies don’t burn.

Lemon-Poppyseed Sugar Cookies

It’s baking time again, not only because I’m completely thrashed from grading papers and need a break, but also because this Sunday I teach the women in my church.  The lesson is on Faith and we have a saying that Faith is like a seed (that needs to be nourished and fed).  And there’s also that connection between faith and mustard seed which we all know about, but I wasn’t going to make mustard.  So poppyseed it had to be.  I got the base recipe from a Cooks Illustrated book, but sometimes they can over-analyze a recipe, so I tried to be easy with this one, and just enjoy the making of it. My changes are incorporated into the recipe below.

How much flour you use may be a bit of a guesstimate.  The dough should be soft, but not sticky. The overall yield was about 54 cookies, but those first warm ones go fast.  This is a light, delicately flavored cookie.

1 pound butter, or 4 sticks, softened by sitting them out on the counter (resist the temptation to use margarine!) If you microwave the butter, it may get too runny, so be careful.
2 cups white sugar
2 Tablespoons light brown sugar
2 large eggs
2 teaspoons vanilla extract
1 teaspoon freshly squeezed lemon juice
1 Tablespoon lemon rind (one medium lemon)
4-5 cups flour (I used all five)
1 teaspoon baking powder
1/2 teaspoon salt
1 Tablespoon poppy seeds

1/2 cup sugar for outside of cookies

Prepare your oven by adjusting the oven racks to the upper- and lower-middle positions, then preheating your oven to 375 degrees.  Prepare the sheets by lining them with parchment paper (now sold at Costco!).

Cream the butter and sugars together on medium speed, scraping as needed, until light and fluffy, about 3 minutes.

Add the eggs, extract, lemon juice, lemon rind.  Beat at medium speed until well combined, less than a minute.

Stir together the 4 cups flour, salt, baking powder and poppyseeds.  Add to creamed mixture and mix until just blended together.  A light hand will yield a tender cookie. Test for stickiness.  I ended up adding about another 3/4-1 cup flour.  You don’t want them so stiff they turn out to be cardboard, but you do have to shape them for baking.

Place the 1/2 cup sugar in a large bag.  Using a 1 1/2″ cookie scoop, scrape them out of the bowl and dump into the bag of sugar.  Shake gently, then reach in and with your hand, shake the extra sugar off and put the rounded mounds onto the parchment-covered cookie sheet.  (They say that if you don’t have parchment, you can use a nonstick cooking spray, but be aware that the bottoms of your cookies will be darker.)

Using one of those papers from your butter cube, butter up the bottom of a drinking glass that’s about 2″ across, then dip the glass into the sugar.

Flatten the cookies just until they reach the edge of the glass. (They will be about 5/8″ thick.)

Bake for 16 minutes, switching the cookie sheets mid-way through baking, as well as turning them around, so the cookies bake evenly.

Bake until the edges are golden brown and the middles are just set and very lightly colored.  The range the book gave was 15-18 minutes, but 16 was about right for us.

If you are using parchment paper, slide the entire sheet — cookies and all — onto a wire rack for cooking.  If you are not using parchment paper, let them cool on the sheets for about 3 minutes, then move them to the wire rack.

Note: the original recipe called for 2 Tablespoons poppyseed, so if you really like it, you can add some more.  I was happy with the amount we had.
Snickerdoodles

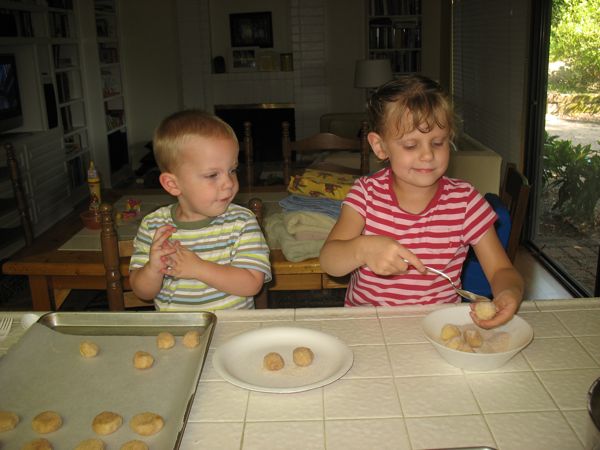
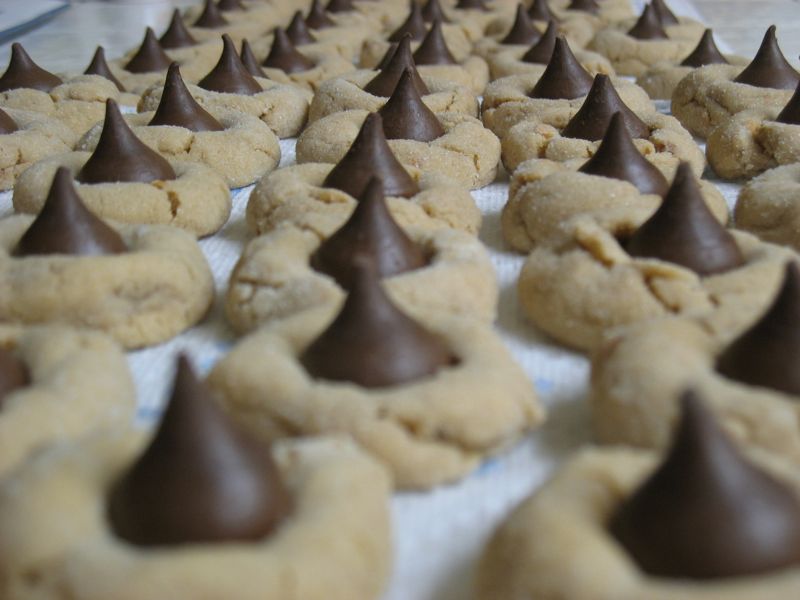
These are best made if a couple of grandchildren can be around to help you douse the balls of dough with some cinnamon-sugar and put them on the cookie sheet.  Barring that, you can always place the cinnamon-sugar mixture in a bag, drop the balls of dough in that way, then put them on the cookie sheet.  Shown here is a cookie sheet covered with parchment paper.  If you don’t have that, just lightly grease the pan for the first batch, then keep cooking along.

Snickerdoodles!

from the King Arthur Flour Cookie Companion book

1/2 cup shortening
1/2 cup butter (1 stick)
1 1/2 cups sugar
scant 1/2 teaspoon ground nutmeg
1 teaspoon vanilla extract
2 teaspoons baking powder
1 large egg
3/4 teaspoon salt
2 3/4 cups flour

Coating:
1/2 to 1 cup sugar
1-2 teaspoons cinnamon

Preheat oven to 400 degrees F. Lightly grease cookie sheets or line with parchment paper.

In a mixer bowl cream together the shortening, butter, sugar, vanilla and baking powder, beating until smooth. Add the eggs, again beating until smooth. Add the nutmeg, salt and flour (mixed together), scraping the bowl occasionally.

Mix together the sugar and cinnamon in a separate bowl (or a large plastic bag).

Roll the dough (about 1 Tbls each cookie for regular size, double that for larger cookies) into balls, then roll it in the cinnamon-sugar (or toss it lightly in the bag, very gently). Place on prepared cookie sheets and bake for 8 minutes (10 minutes for the large), or until golden brown around the edges. Cool on rack and store in air-tight containers.

Yield: about 7 dozen cookies.

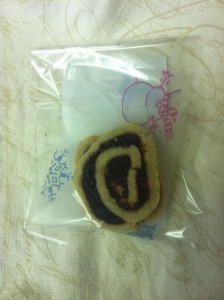
Cranberry-Cherry Pinwheels

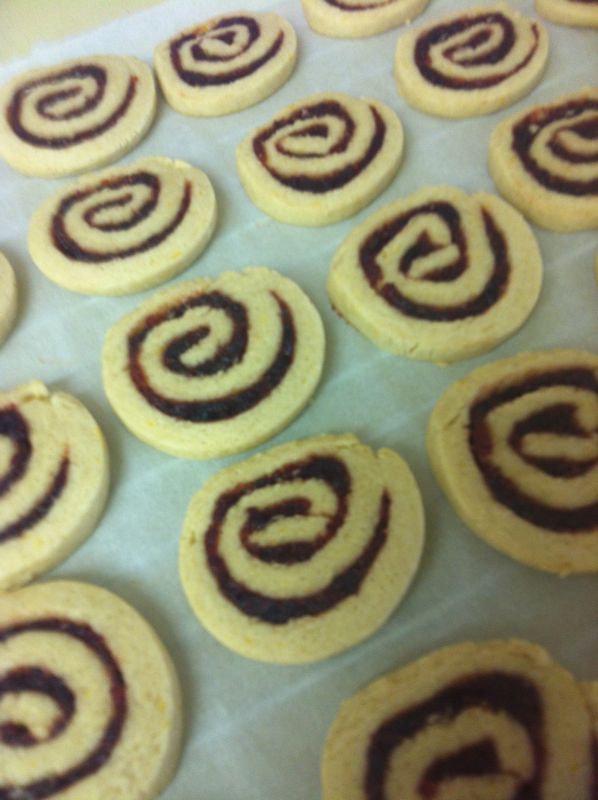
A few years ago I bought this sliver of a book, Joy of Cooking Christmas Cookies, and thumbed through it to find a cookie or two to try.  I placed little pieces of torn paper as bookmarks–which the book still has.  But I don’t need one for this page, as I’ve made it so much, it opens by itself exactly here.  I like these cookies because you can make them ahead of time and store them in the freezer.  Some slicing and a quick bake and they’re ready to go.  They are also one of the few things on the holiday table that is lower in fat, but they still have a delicious flavor with the sweet-tangy cherry-cranberry filling and the dough with its grated orange zest. There are a few steps to this recipe, but it’s not difficult.

Filling
Combine in a medium saucepan:
1 and 1/2 cups dried cranberries ( 6 ounces)
1 jar (10 ounces) cherry preserves
1/4 cup water
1/2 teaspoon ground cinnamon

Simmer, stirring frequently, for 5-8 minutes, or until the mixture is soft and most liquid is absorbed.  Transfer to a food processor and process until smooth.  Cover and refrigerate until cool.  Filling may be stored up to 48 hours.  Let return to room temperature and stire well before using.

Dough
Using a wire whisk, thoroughly stir together and set aside:
3 and 1/3 cups all-purpose flour (16.75 ounces)
3/4 teaspoon baking powder
1/8 teaspoon baking soda
1/2 teaspoon ground cinnamon

Using an electric mixer, beat together until very well blended:
1/4 cup butter, softened (2 oz.)
3 tablespoons corn or canola oil
1 and 1/4 cups sugar (8.75 oz.)
3 large egg whites
2 tablespoons milk
2 teaspoons vanilla extract
1-1/2 teaspoons grated orange peel (about 1 small orange)

Beat in half of the dry ingredients until just incorporated, then stir in the remainder until well blended.

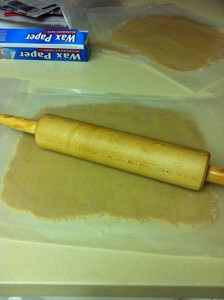
Divide the dough in half.  Form each half into a rough oblong shape about 6 inches long.  Center each log on a 12-inch-long sheet of wax paper.  Cover with a second 12-inch-long sheet of wax paper.  Press, then roll each log into an even 11-inch square, occasionally checking the underside of the dough and smooth out any creases.  Patch the dough as necessary to make the sides relatively straight.

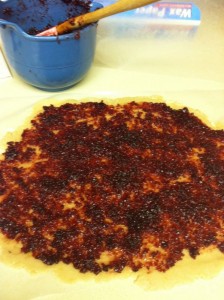
Working with one square of dough at a time, peel away and discard the top sheet of wax paper.  Spread half of the filling evening over the entire surface of the dough; the filling layer will be thin.

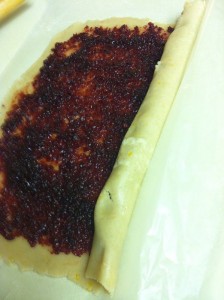
Using the second sheet of wax paper, roll up the pinwheel, by easing the dough onto itself; use the paper to assist you.

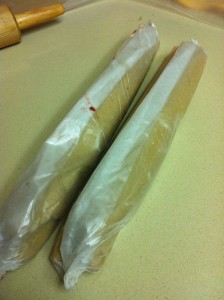
Wrap the roll in wax paper (I use the existing sheet), and twist the ends to prevent unrolling.  Place on a tray or cookie sheet.  Repeat with the remaining dough.  Freeze for at least 2 and 1/2 hours or until the rolls are firm enough to be cut neatly.  (If you wish to bake them much later, place the rolls in a plastic bag for up to a month.)

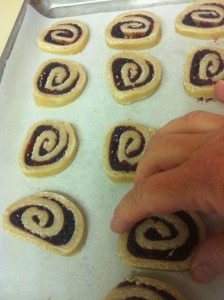
Preheat the oven to 375 degrees F.  Line a cookie sheet with a sheet of parchment paper.  Cut the rolls crosswise into scant 1/4″ slices.  Place them on the prepared cookie sheets, spacing them about 1 1/2 inches apart.  Try as I might, my cookies are always misshapen, so I kind of squeeze them into shape at this point.   Bake in the upper third of the oven for 10-12 minutes, or until the edges are browned and the tops are VERY lightly colored.  One of the attractions for this cookie is that they are pale with that brilliantly colored red filling.

Drag the entire sheet of parchment paper from your baking sheet to a cooling rack, and let them cool.  Store, airtight, for 10 days, or freeze for up to one month.  I promise you no one will complain that yours are as lopsided as mine.

I made them up into favors for my lesson to the church ladies at Christmastime.  Here’s the front, and then the back.

Some time ago I had purchased 8 1/2 by 11- inch sheets of “sticker” paper.  I print out what I want to say, cut them into shape then peel and stick them on the treat bags.  The filling is kind of sticky sometimes, so I sandwiched a piece of fancy wax paper between the two cookies.

Shortbread Cookies

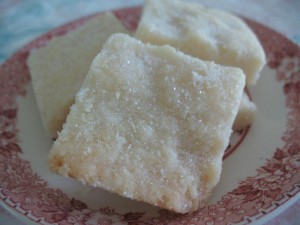
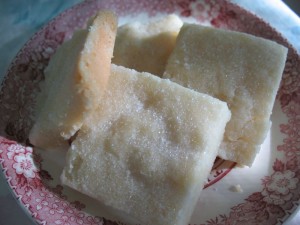
A long time ago in a galaxy far away, I pulled a recipe for shortbread cookies out of a newspaper.  It was just another one of those recipe blurbs in a Food Section in a small newspaper (I think it was in upstate New York where I ripped this out). For a while, I lost the recipe and tried to duplicate its perfect proportions and always failed.  Happily, I found it again. While I see lots of shortbread cookies out there, many of them are rolled cookies, which forces you to handle the dough in extra steps.  I think the secret to the tenderness of these cookies is the lack of dough-handling: mix, dump, press, bake.

I also liked the recipe because it was always fabulous (providing you use REAL butter), I could made it in one pan, and it made a lot of cookies.  When the children didn’t have any cookies for their lunches, I could have enough for the week in under an hour. And when I take them to church and serve them to the ladies, they LOVE them.  So do I.

Scottish Shortbread

Preheat oven to 325 degrees F.

Cream 1 pound butter (4 sticks) with 1 cup sugar until light and fluffy.  Stir, or sift together, 4 cups flour and 2 teaspoons salt (can use 2 1/2 if your butter is unsalted).  Blend into butter mixture with a light touch.  Don’t overmix–you want it barely stirred in.

Press dough into a rimmed cookies sheet, moistening your fingers with cold water if you find it too sticky.  Bake for 30 minutes, or until edges are just browning (don’t overbake) and immediately after pulling from oven, shake a hearty amount of granulated sugar over the entire surface.

Cut into “fingers,” 1″ by 3″.  Of course, you can also make them square-shaped, which is what I did.  For a pretty cookie, before baking use a cookie press to stamp a design over the top in a grid.

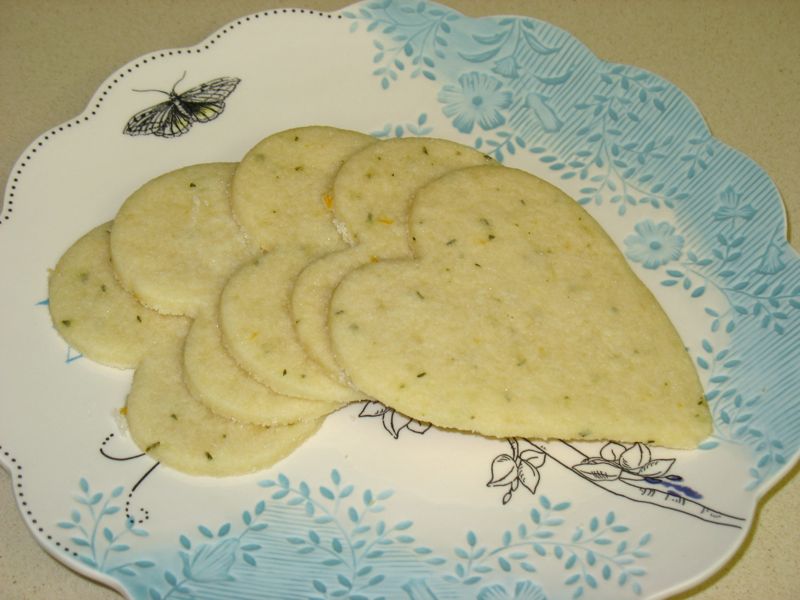
Lemon-Rosemary Shortbread

Every time I teach the women’s Sunday auxiliary class in church, I try to take a treat.  It’s a girl thing, I think, and I really should cease and desist.  But part of it is there’s only the two of us at home now, and if I want to make a sweet and share it, this is a good venue.  Why did the lemon-rosemary combination pop into my head?  Because somewhere, somehow I read about it.  I searched the web and found this recipe, but I know it wasn’t the original thought-prompter.

Rosemary? I have two kinds–the trailing and the shrubby bush.  I somehow like to cook with the trailing rosemary much better, but I can’t really tell you why. Maybe it is the sinuous tendrils that grow out from the plant.

And our Meyer lemons are coming on strong now, all golden and glossy in our backyard.  Can’t resist.  So go and get yourself some fresh rosemary, some fresh lemons, and make these cookies.  Somehow the rosemary “amps” up the taste of the lemon, so all you can identify is mmmmm. . . lemon shortbread.
Ingredients

3 sticks of butter, at room temperature
1 cup of sugar
1 teaspoon vanilla
3 cups flour
1 teaspoon salt
2 tablespoons lemon juice
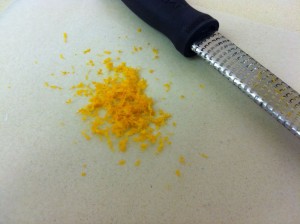
zest from one lemon, or about 1 Tbs.
1 tablespoon finely chopped rosemary.  I used a rolling mincer after I’d pulled the leaves off the stem.

Directions:

In a medium bowl, using an electric mixer (or in the bowl of a stand mixer using the paddle attachment) cream together butter and sugar until pale and fluffy. Add vanilla, lemon juice and zest. Mix until combined.
In a small bowl whisk flour and salt together. Slowly add this to the butter mixture, mixing until completely incorporated.
Add the rosemary and beat until evenly distributed.

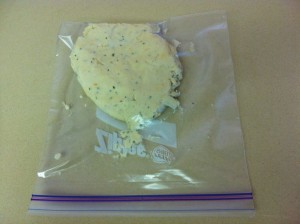
Shape the dough into a flat disk and either stow in it a  Ziploc bag, or wrap in plastic wrap. Chill in the fridge for at least 30 minutes. Meanwhile preheat the oven to 350°F.  (If you forget and leave the dough in overnight, let it warm up a few minutes before you try to roll it out.)

Roll out the dough on a lightly floured surface until 1/8- 1/4 inch thick.  Cut with a small cookie cutter and place on an ungreased cookie sheet about an inch apart.  Sprinkle with granulated sugar.

Bake for about 8-10 minutes, rotating half way through. They will be just golden around the edges. Watch them closely, since they can bake quickly at the end.

Cook’s Notes: If you want to roll them thicker (1/4″), cook them a little longer.  They will be pale in both cases.

If you make the larger sized cookie, let it cool 2-3 minutes on the cookie sheet before moving it to the cooling rack.  These are very tender cookies!

Here they are, all wrapped up and ready to go!

Chewy Chocolate Gingerbread Cookies

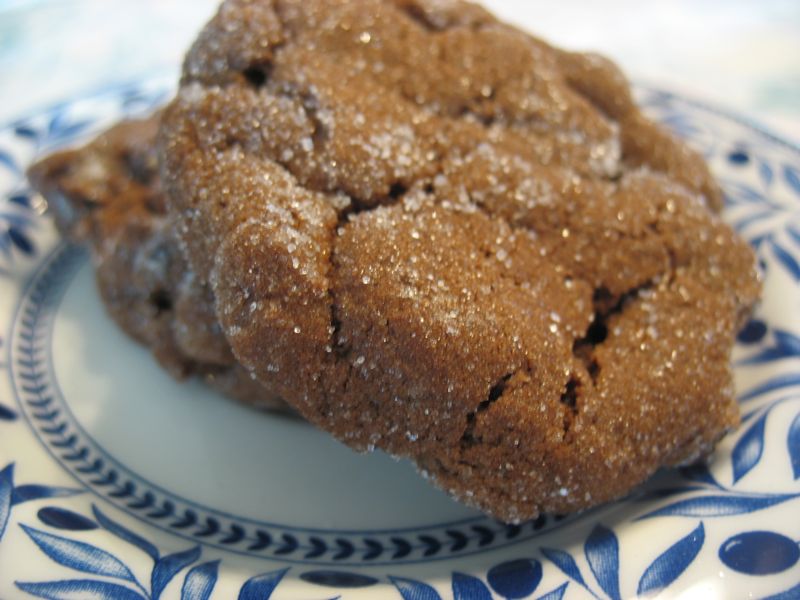
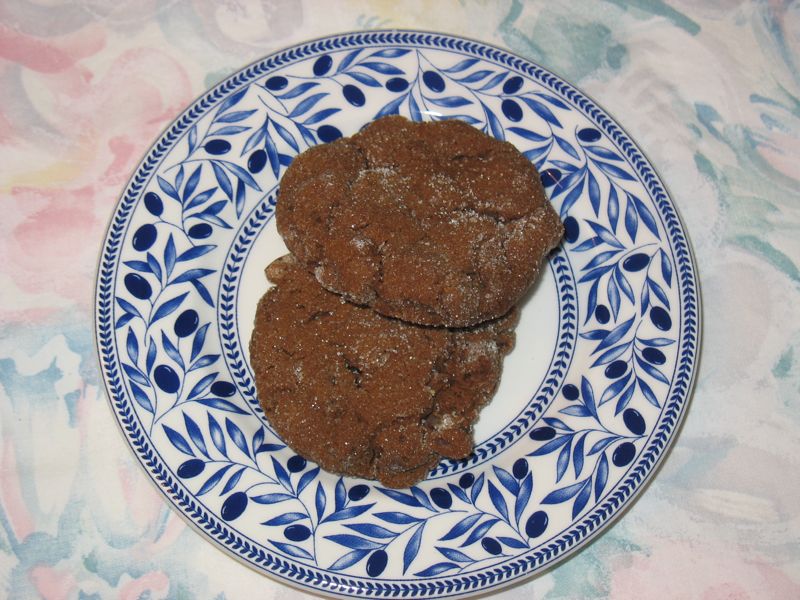
We were shopping–the Mr. and I–for Christmas, and beside the register was a brochure pushing anything Martha.  I picked it up because she had a recipe for these cookies.  I’d been thinking about trying to find a recipe like this ever since Dave and I had chewy gingerbread cookies at the Cheese Board Collective in Berkeley.  That day we’d driven down across the Delta, got stuck in horrid traffic, our tempers frayed and flared, but we made it to the Collective about 45 minutes before they closed down.  Our pizza was delicious, the salad was crisp, but the cookies–oh my–the cookies!  After we visited the Berkeley Rose Garden we went back for two more, but alas!  They’d sold out.  So they remain in my memory.  These resemble those from the Cheese Board, but I can’t remember now if the Berkeley variety had chocolate chunks in it. Oh well–these are delicious, too.

Chewy Gingerbread Cookies—yield: 30

originally from Martha Stewart, amended by me

Ingredients
14 ounces best-quality semisweet chocolate chips
3 cups plus 2 tablespoons all-purpose flour
2 tablespoons unsweetened Dutch-process cocoa powder
2 1/2 teaspoons ground ginger
2 teaspoons ground cinnamon
1/2 teaspoon ground cloves
1/4 teaspoon ground nutmeg
1 cup (2 sticks) butter, softened
1 cup packed dark-brown sugar
2 tablespoons finely grated, peeled fresh ginger
1/2 cup unsulfured molasses (I use the green label molasses)
2 teaspoons baking soda, dissolved in 1 tablespoon boiling water

2/3 cup granulated sugar, in bag (for coating)

Directions

1. Sift together flour, cocoa powder, and spices into a medium bowl. Put butter, brown sugar, and grated ginger into the bowl of an electric mixer fitted with the paddle attachment. Beat on medium speed until fluffy. Beat in molasses.

2. Beat in flour mixture in 2 batches, alternating with the baking soda mixture. Mix in chocolate chips. Shape dough into a disk, and wrap in plastic (or place in gallon-sized Ziploc bag). Refrigerate until firm, about 2 hours (up to overnight).

3. Preheat oven to 325 degrees. Shape dough into 1 and 1/2-inch balls, and drop them into a bag filled with some granulated sugar, tossing to coat. Place 2 inches apart on ungreased baking sheets, pressing down on each cookie slightly to flatten. (I used the bottom of a glass, dipped in sugar.)

4. Bake until surfaces crack slightly, 10 to 12 minutes. Let cool on sheets, 5 minutes. Transfer cookies to wire racks, and let cool completely. Cookies can be stored in an airtight container up to 3 days.

Cook’s Confessions: I left mine in the fridge for 3 days–just couldn’t get the time to bake them up.  They were fine.

Note: you can store fresh ginger in the freezer.  When needed, peel with a paring knife, then grate on the fine section of your cheese grater.

These cookies are best when warm–so set them in the sun for a few minutes to soften.

Anise-Almond Biscotti

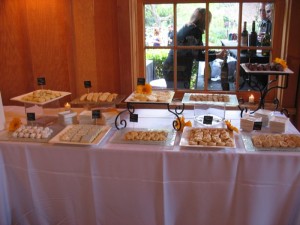
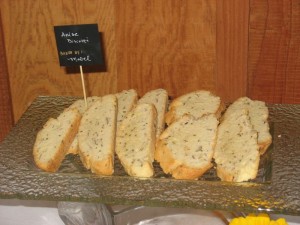
When we went to Drew and Lisa’s wedding in March of 2010 we enjoyed their cookie table, a traditional touch for those from Philadelphia (the groom is from that city).

We fell in love with these cookies, so I looked for a recipe for them.  I ended up combining two: one from the website Epicurious and one from the Cookies & Biscotti cookbook by Williams-Sonoma.

Ingredients
3 1/4 cups all purpose flour
1 tablespoon baking powder
1/3 teaspoon salt
1  and 1/4 cups sugar
10 tablespoons (1 1/4 sticks) unsalted butter, melted
3 large eggs
1 tablespoon vanilla extract
2 teaspoons aniseed, ground or crushed
1 Tablespoon lemon rind (optional)
1 cup whole almonds, toasted, coarsely chopped

Preparation
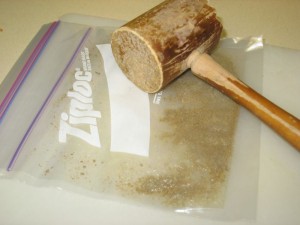
Crush or grind the anise seed.  Here’s my high-tech version: an old kitchen mallet that has been used for playdoh creations for 20 years and two zip-loc bags.

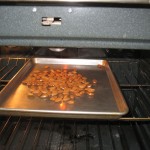
Toast the almonds, then chop.  And here’s the toasting the almonds business–some do it in a pan on top of the stove, but I’ve burned them too many times.  So I do it under broiler–this also works for when you make Butternut Crunch Toffee at Christmastime.

Position rack in center of oven and preheat to 350°F. Line baking sheet with parchment paper.

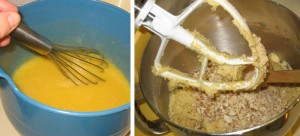
In mixer, mix sugar, melted butter, 3 eggs, vanilla extract, lemon rind and ground aniseed. In another bowl, sift (or stir together) flour, baking powder and salt into medium bowl.  Add flour mixture to egg mixture and stir on low speed, scraping when needed until well blended. (Yes, I know I did it backwards–I fixed it for you.) Mix in almonds.

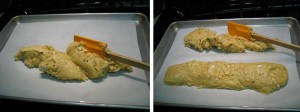
Glop half of the dough onto the parchment-lined cookie sheet.  Dough is kind of gooey–so I used my spatula to shape each dough half into 13 1/2-inch-long, 2 1/2-inch-wide log. Mine got a little wide, so the final biscotti were a little flat.  Remember that, when you shape them.  Space the logs 2-3 inches apart.

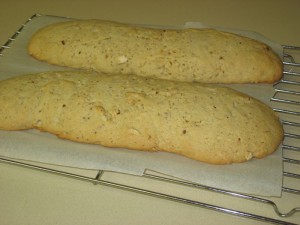
Bake logs until golden brown (logs will spread), about 30 minutes. They should be firm to the touch. Cool logs completely on sheet on rack, about 20 minutes. I dragged mine over onto a baking rack by using the edge of the paper, and tilting the cookie sheet a little bit.  Don’t turn off the oven!

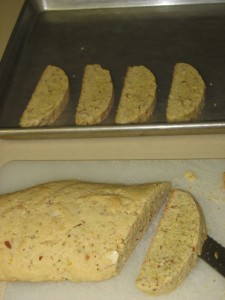
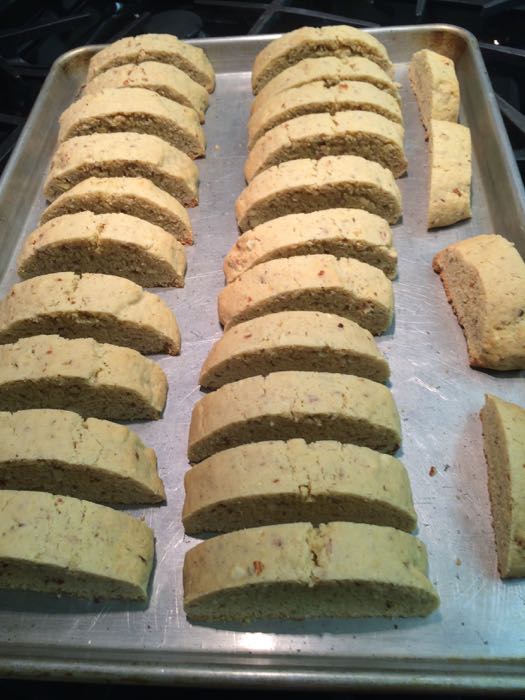
Transfer logs to work surface; discard parchment paper. Using serrated knife, cut logs on diagonal into 1/2-inch-wide slices.  I used to lay them down, like those in the above photo, but now I just stand them up:

biscotti

If you do it this way, you don’t have to turn them over, and you can get it all on one baking sheet.  Bake 10-14 minutes.

Transfer to rack and cool. These can be prepared 1 week ahead of your Big Party. Store in airtight container at room temperature, that is if they last that long.  These have a melt in your mouth crispness that are typical of homemade biscotti.

I’ll never go back to store-bought again.

Note: One interesting thing about the Epicurious website is the community, and their many comments.  From those, I gleaned that some have changed this by adding 1 Tbs. orange zest, cranberries, chocolate.  Some say okay not to crush the seeds. Others say to substitute 1 tsp. anise extract.

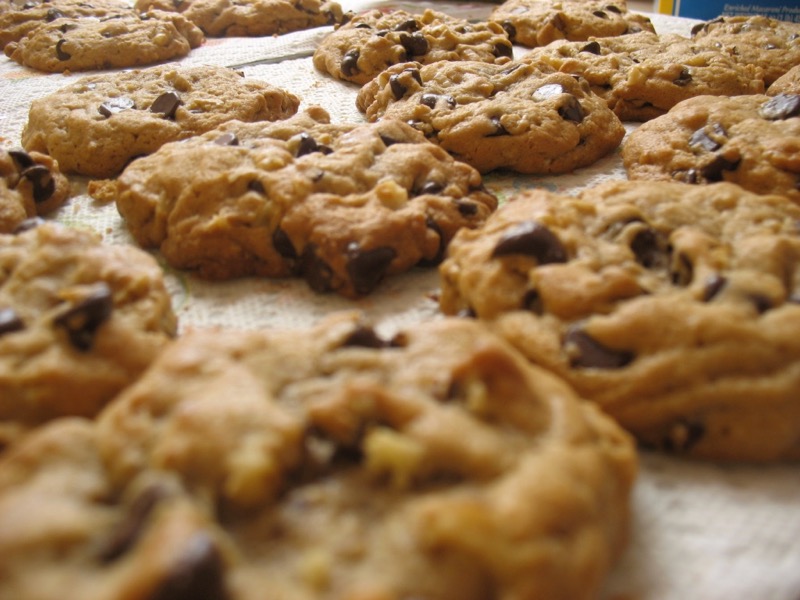
The Best Chocolate Chip Cookies


(My Favorite Recipe—from Sunset)
I’ve been making this for more than two decades and have made some changes along the way. Please see notes at the end of the recipe. Many changes I have incorporated into the recipe below.

1 cup solid shortening
1/2 cup (1 stick) butter or margarine, softened
1 cup granulated sugar
1 cup firmly packed brown sugar
4 extra-large eggs
1 Tablespoon vanilla
1 teaspoon lemon juice (freshly squeezed!!)
2 teaspoons baking soda
1 1/2 teaspoons salt
1 teaspoon ground cinnamon
1/2 cup old-fashioned oats (I use Quaker Oats brand.)
2 to 2 1/2 cups all-purpose flour
1 cup whole wheat flour
2 large packages (12 oz. each) semisweet chocolate chips–that’s about 4 cups [Note: I use 2 cups of regular semisweet chocolate chips, and 2 cups of Guittard Semi-Sweet Maxi Baking Chips, or similar. Sometimes I use the dark chocolate version.]
2 cups chopped walnuts

In a large bowl of an electric mixer, beat shortening, butter, granulated sugar and brown sugar at high speed until light and fluffy (about 5 minutes).  Add eggs, one at a time, beating well after each addition.  Beat in vanilla and lemon juice.

Add oats.  Mix together soda, salt, whole wheat flour, cinnamon.  Beat into creamed mixture until well combined; add rest of flour until dough is not too sticky when you pick up bit with your fingers.  Stir in chocolate chips and nuts.

For each cooky, drop a scant 1/4 cup dough on a lightly greased baking sheet, spacing cookies about 3 inches apart.  If you have one, use a cookie scoop, about 2-inch size.

Line one cookie sheet with parchment paper. Scoop out all the dough onto the cookie sheet, letting each scoop touch each other. Cover. Freeze, or give it a heavy chill in the freezer. When ready to bake, line a second cookie sheet with parchment paper, and place cookie balls about 3″ apart. I can get about 12-15 on one cookie sheet.

Bake in a 350 oven for 16-18 minutes or until golden brown.  (If they are just out of the freezer, it may take longer.) Remove from oven and set on a rack; let cool for 2 minutes (approx.). Grabbing the edge of the parchment paper, slide the cookies onto a wire rack, and let cool.  Makes about 3 dozen large cookies.

*Note: if you don’t have whole wheat flour, you can use all white (all-purpose) flour.