Breakfast Casserole

This breakfast casserole is an homage to one Julia Child dreamed up, and known as Râpée Morvandelle. Which means a gratin of grated cheese and potatoes. And other things. There are a million recipes for this, but here’s mine with all the changes I made.
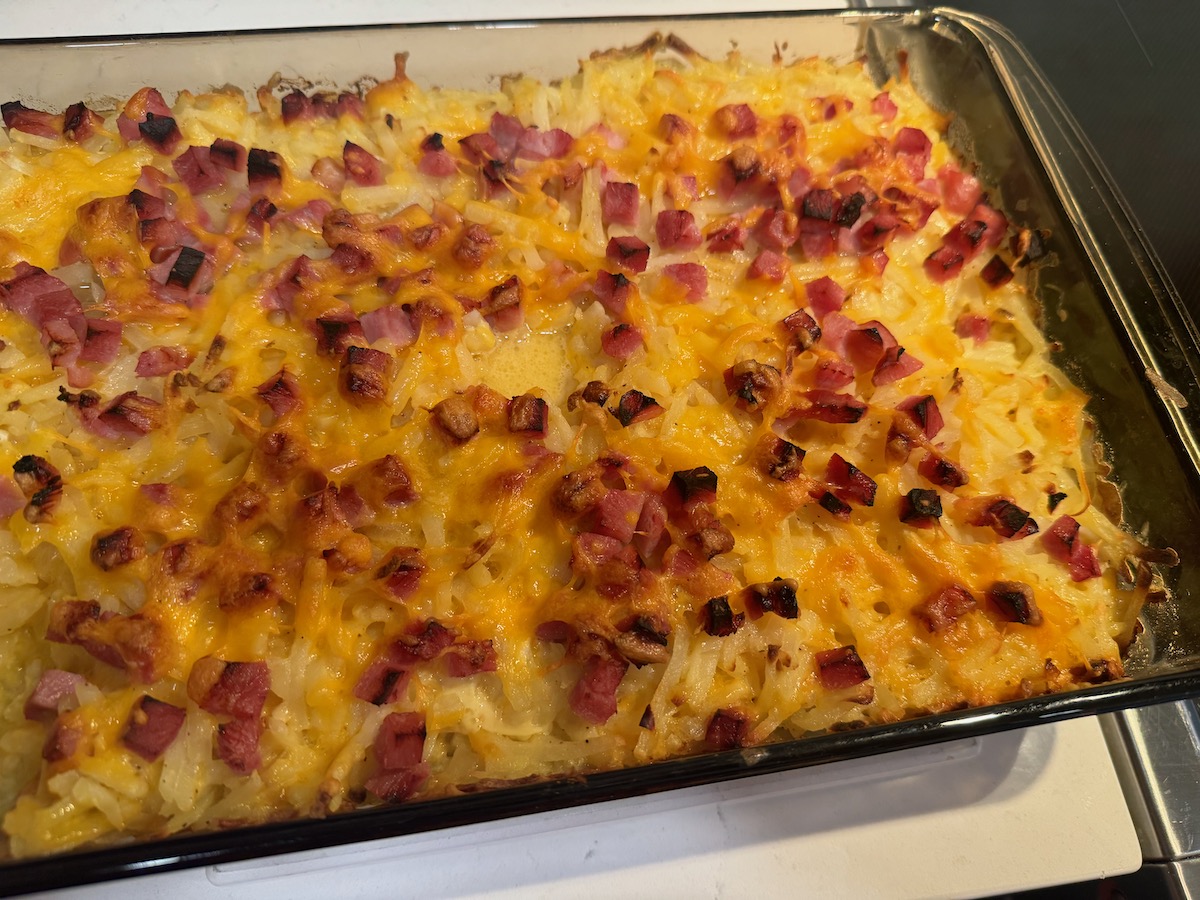
If you are cooking this for our ward Christmas Party, please make it that morning, and bring it — covered in foil — HOT to the church by about 9:30 a.m.

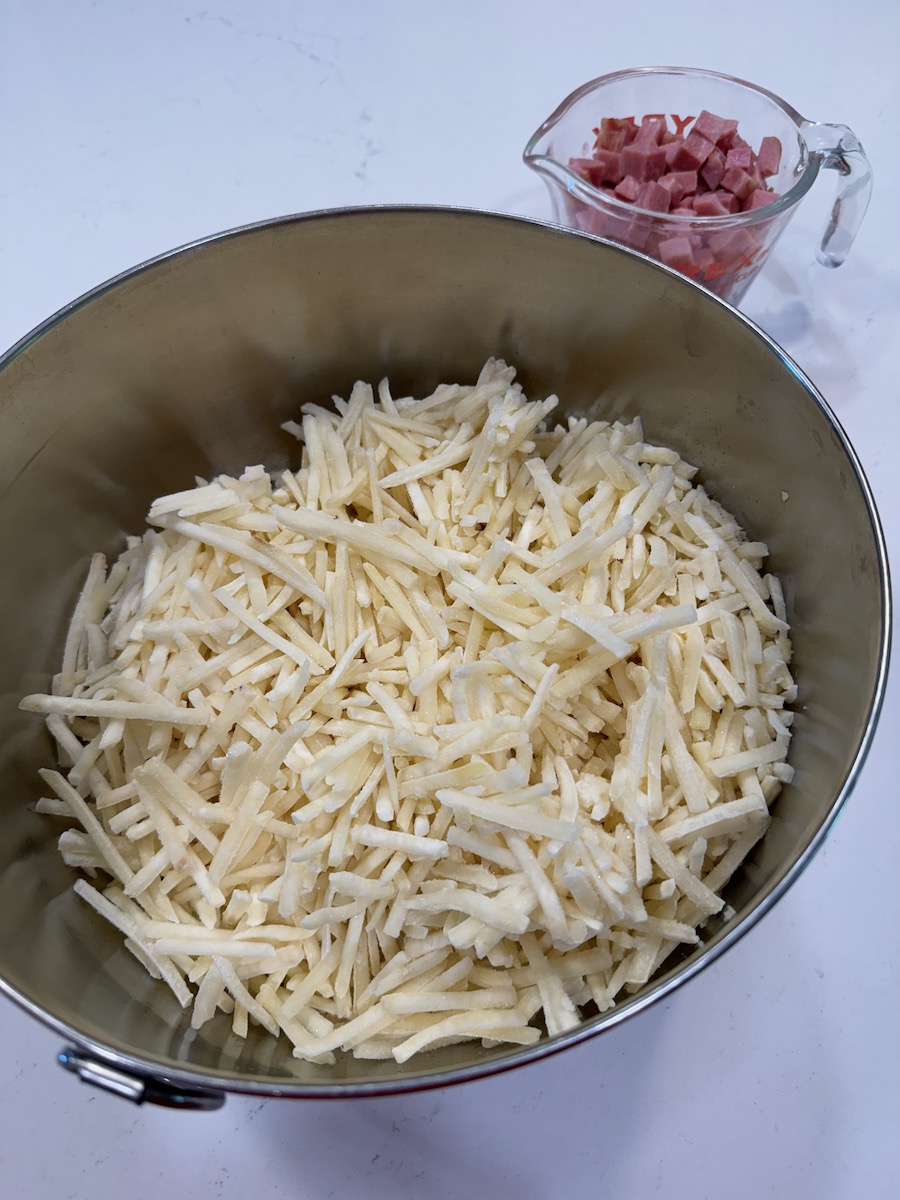
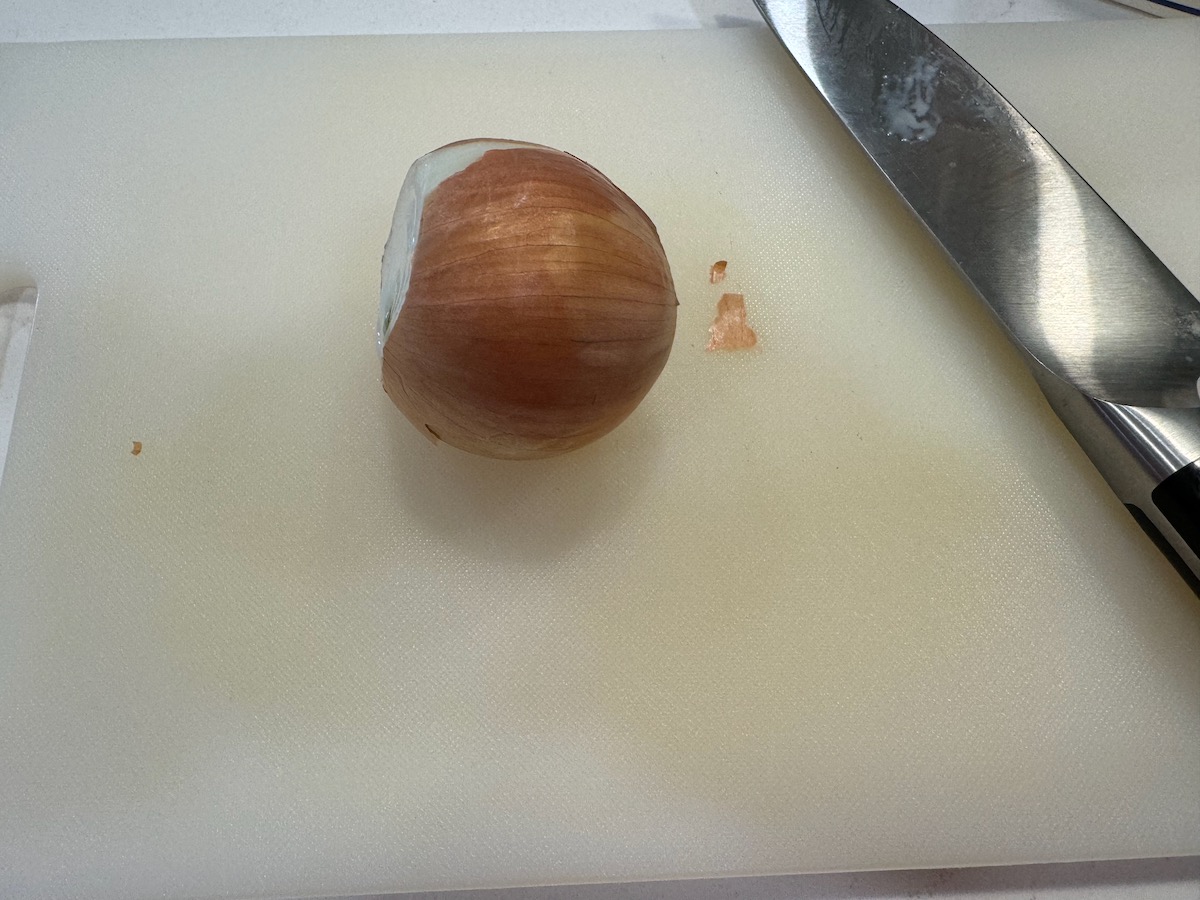
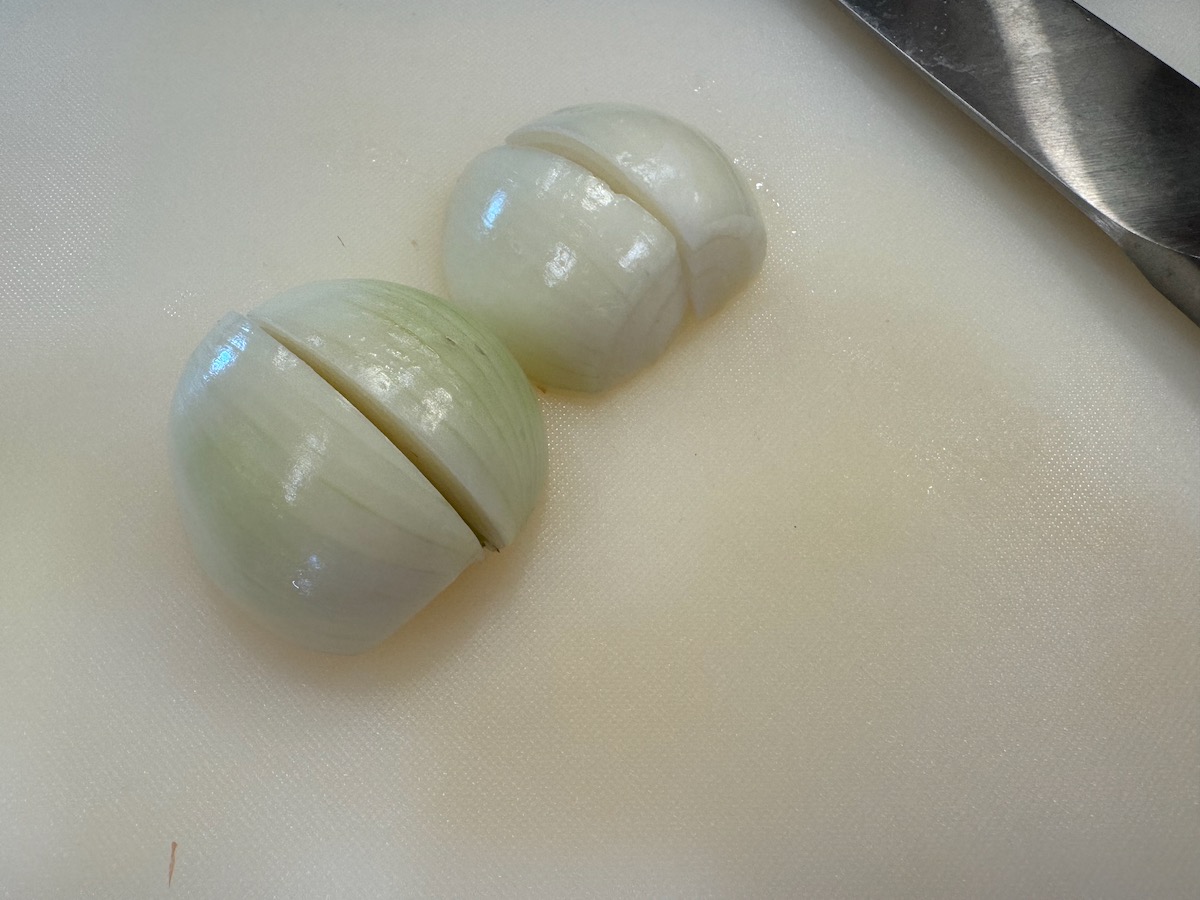
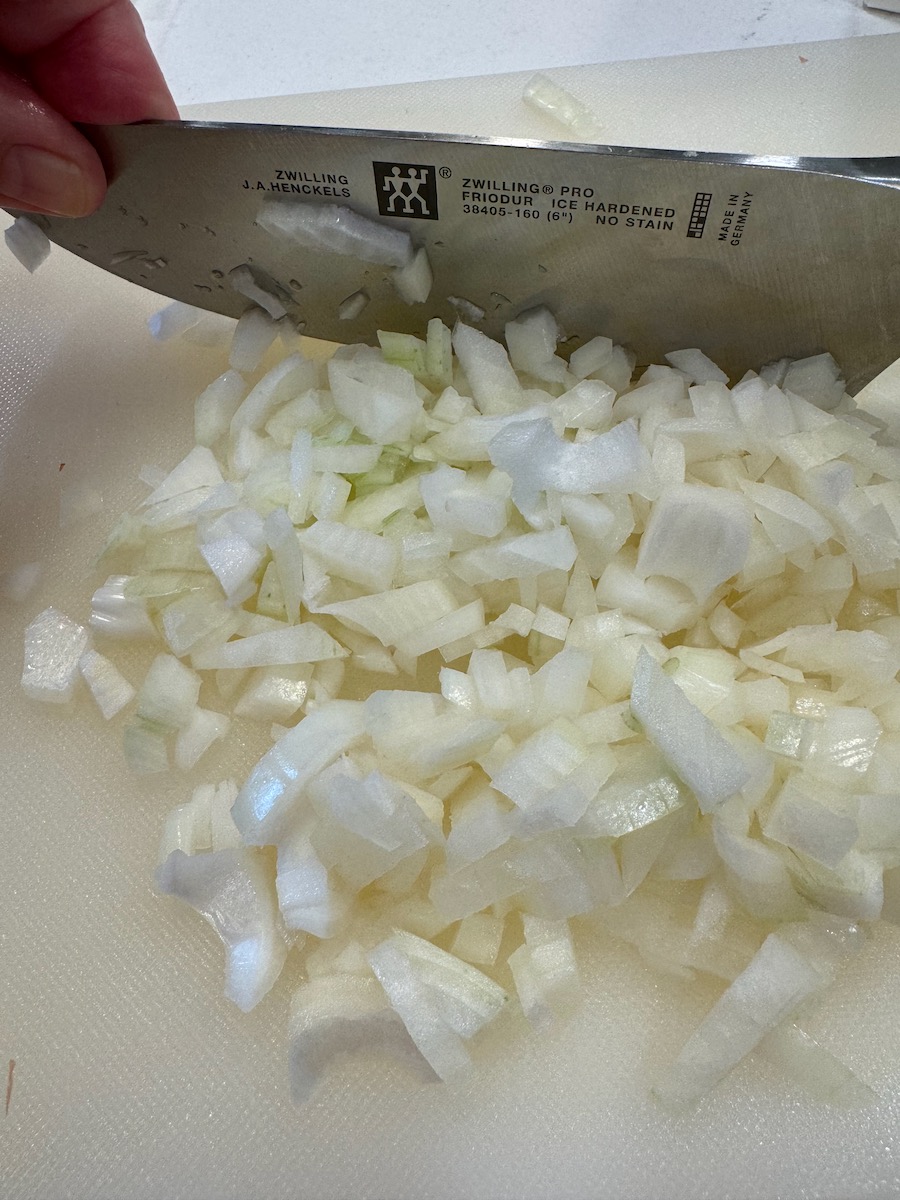
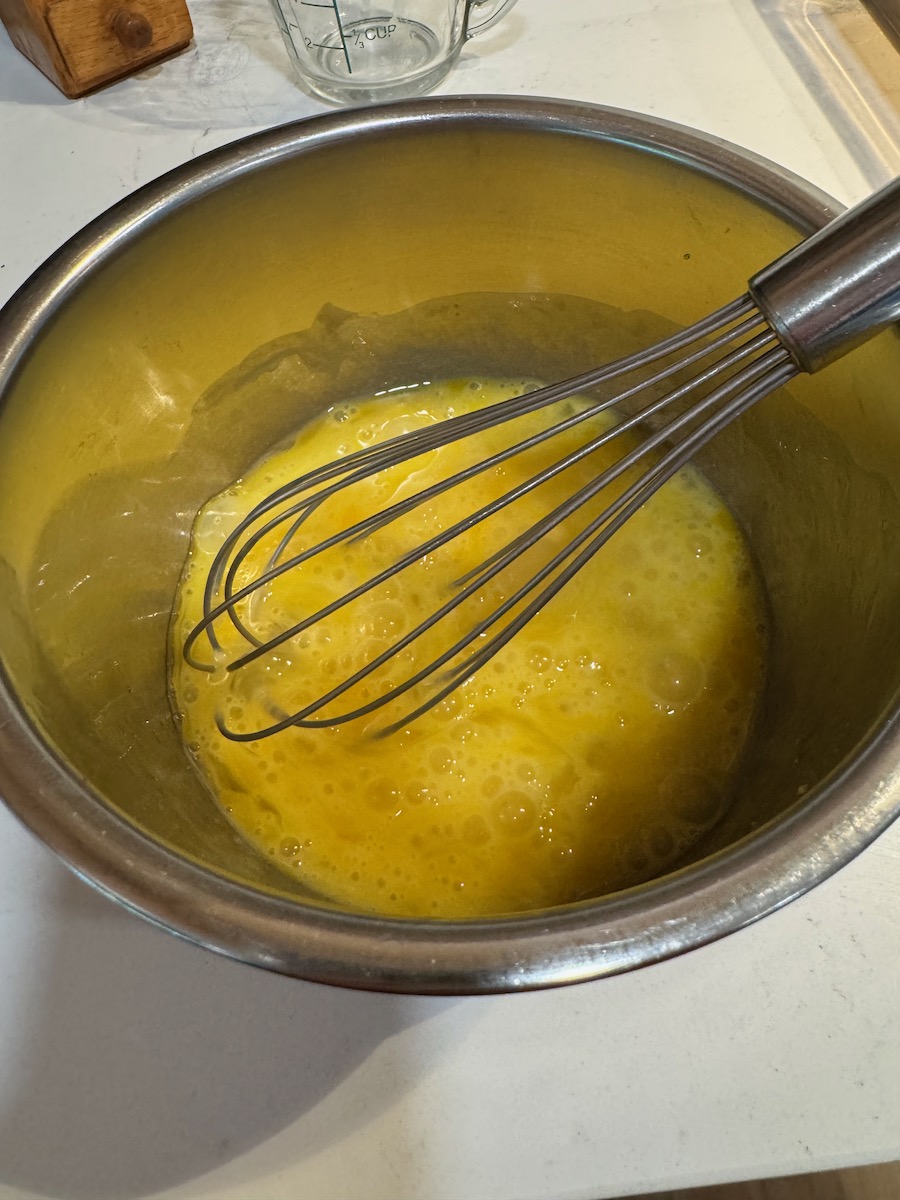
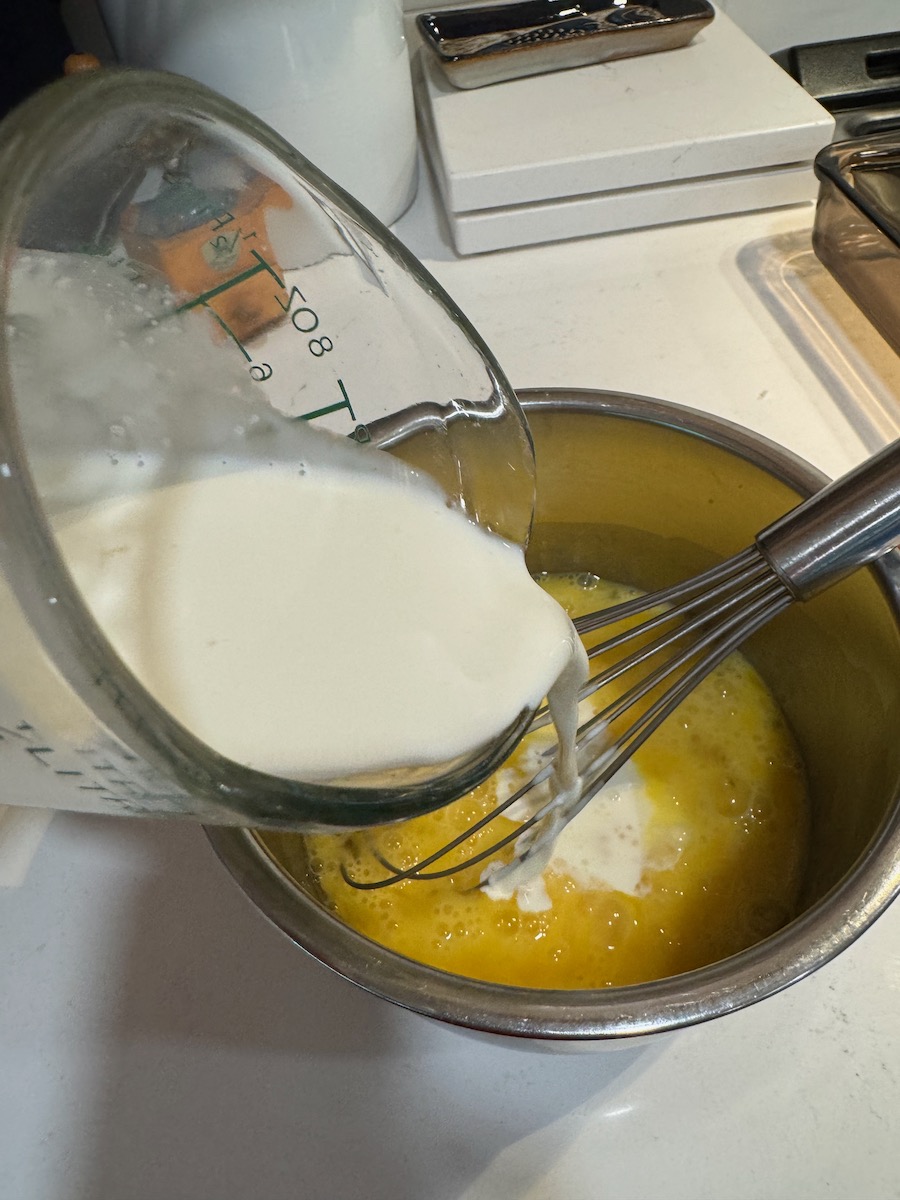
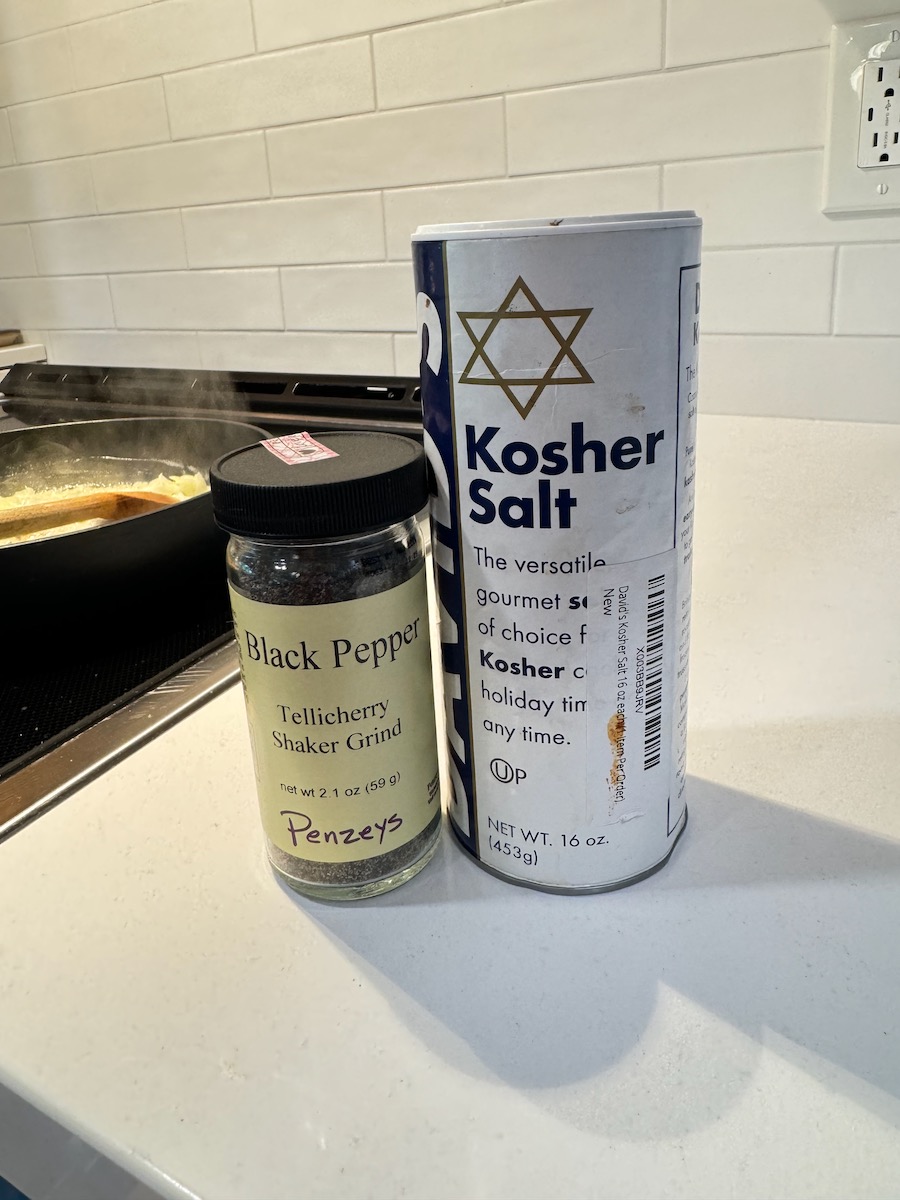
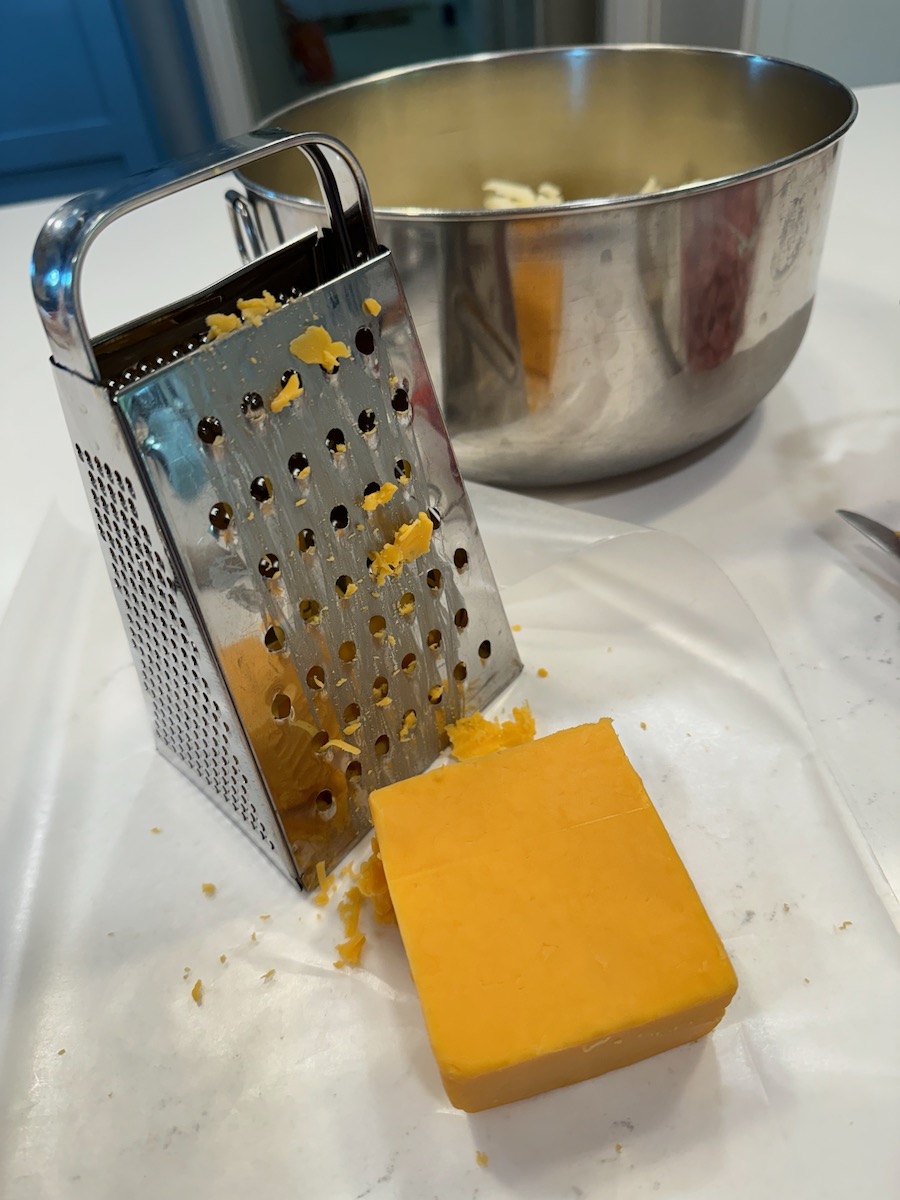
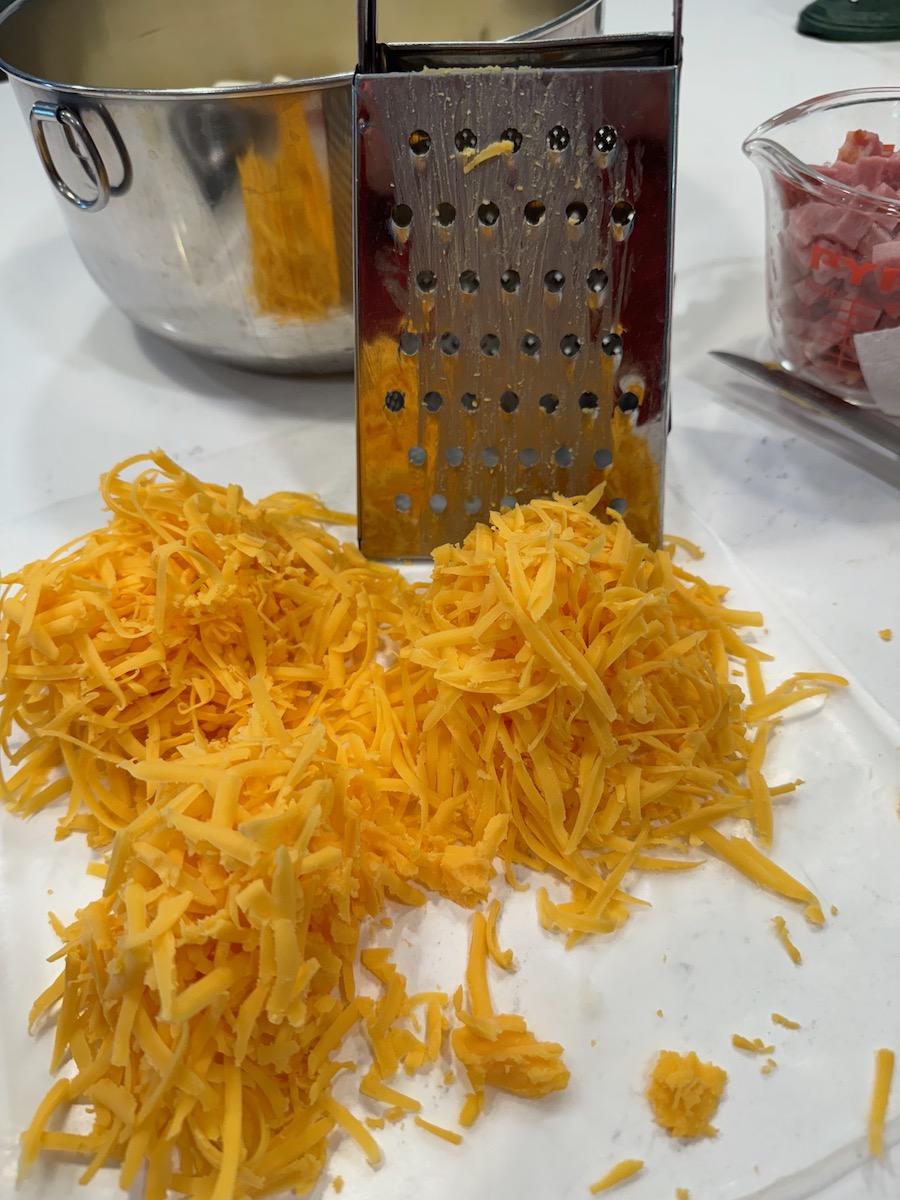
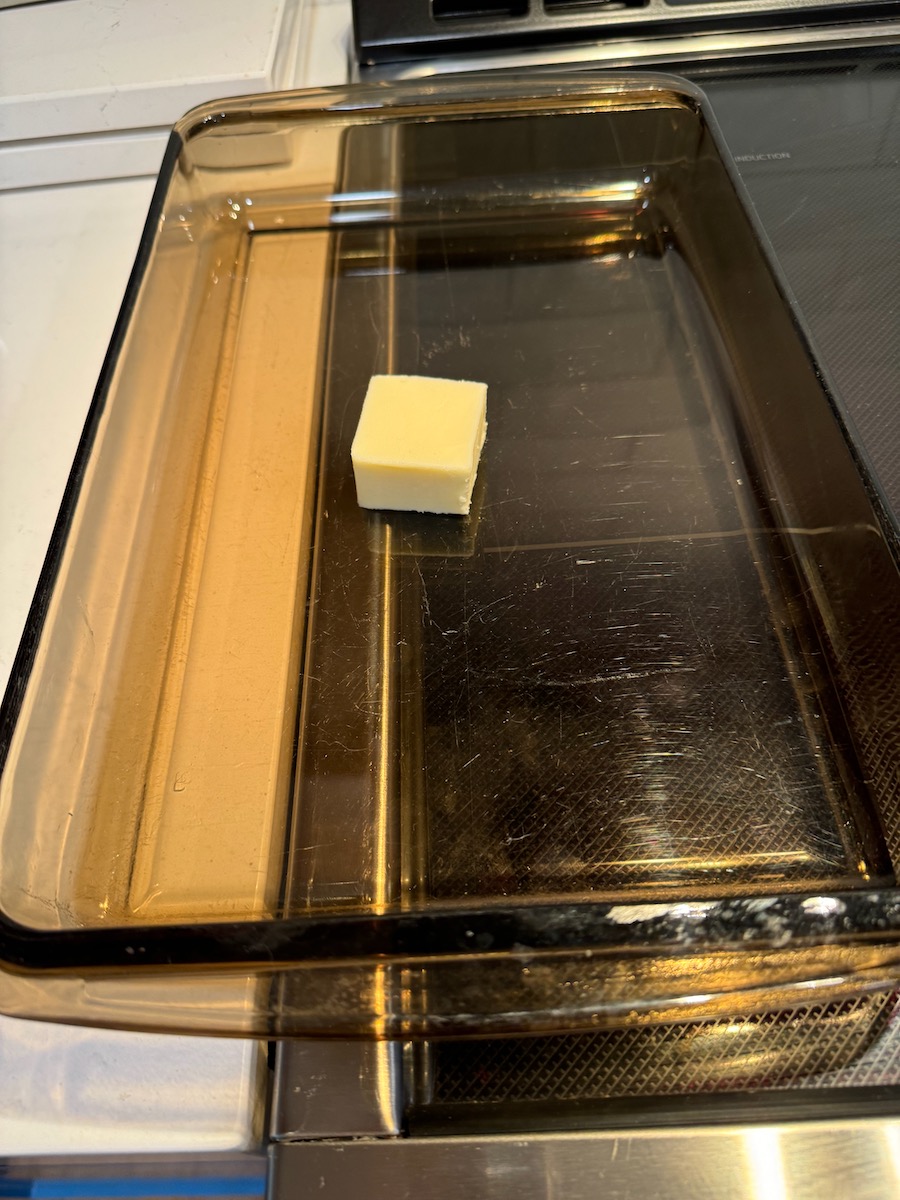
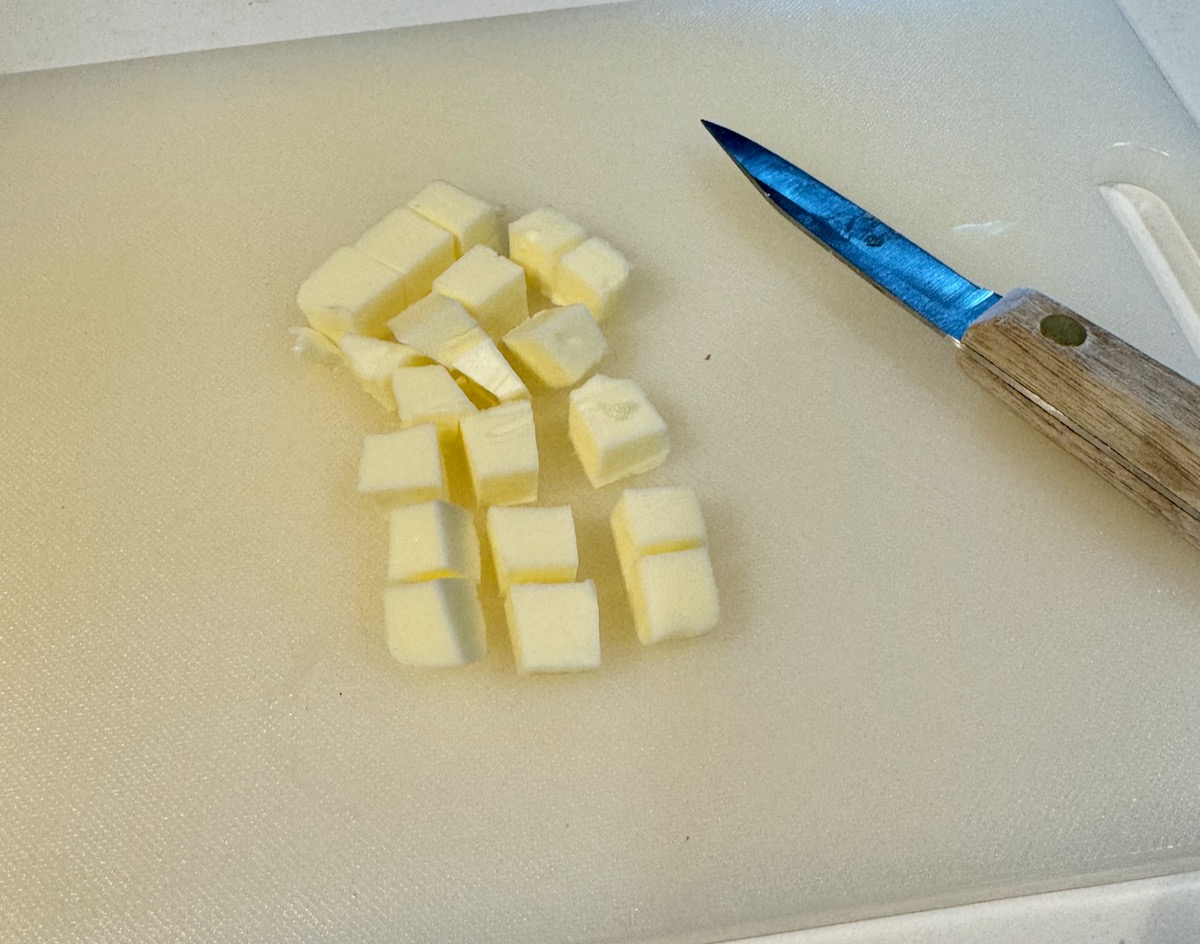
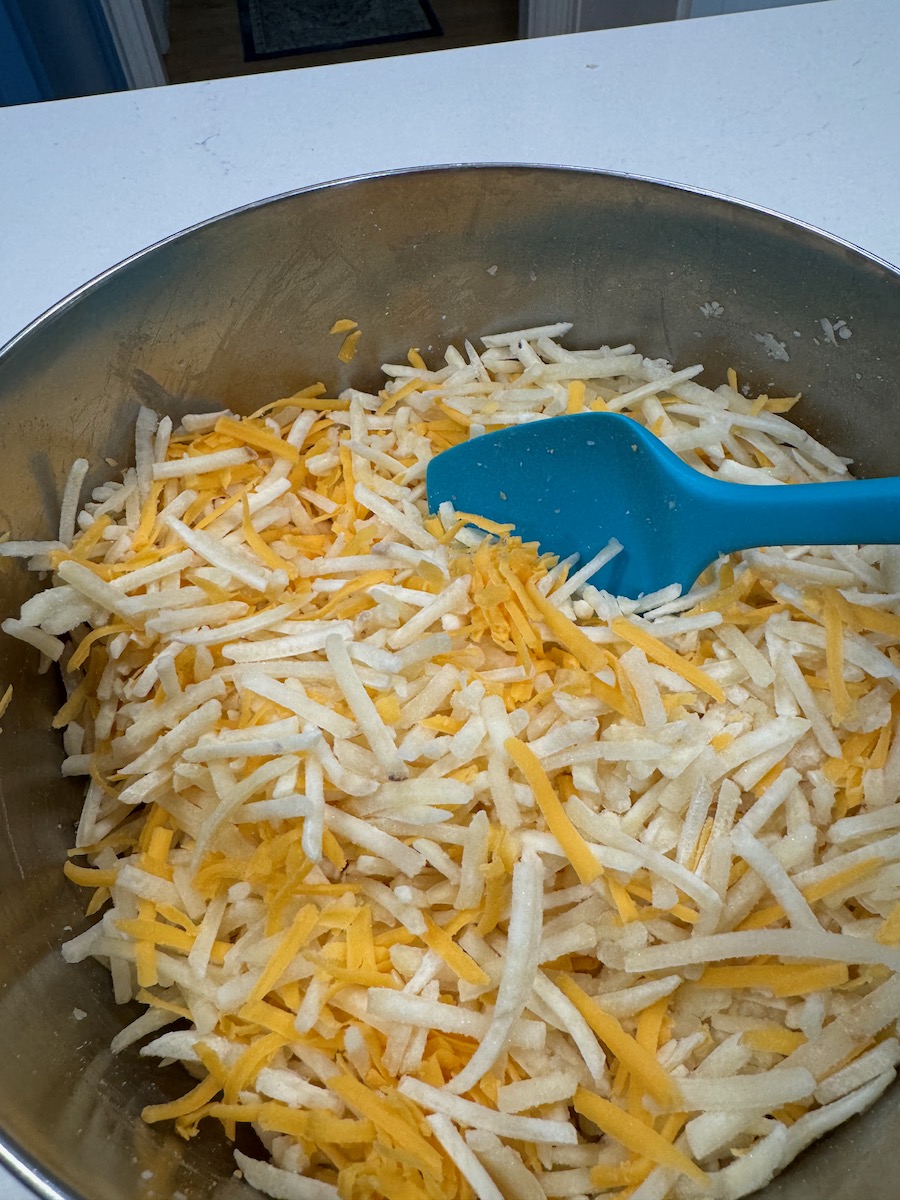
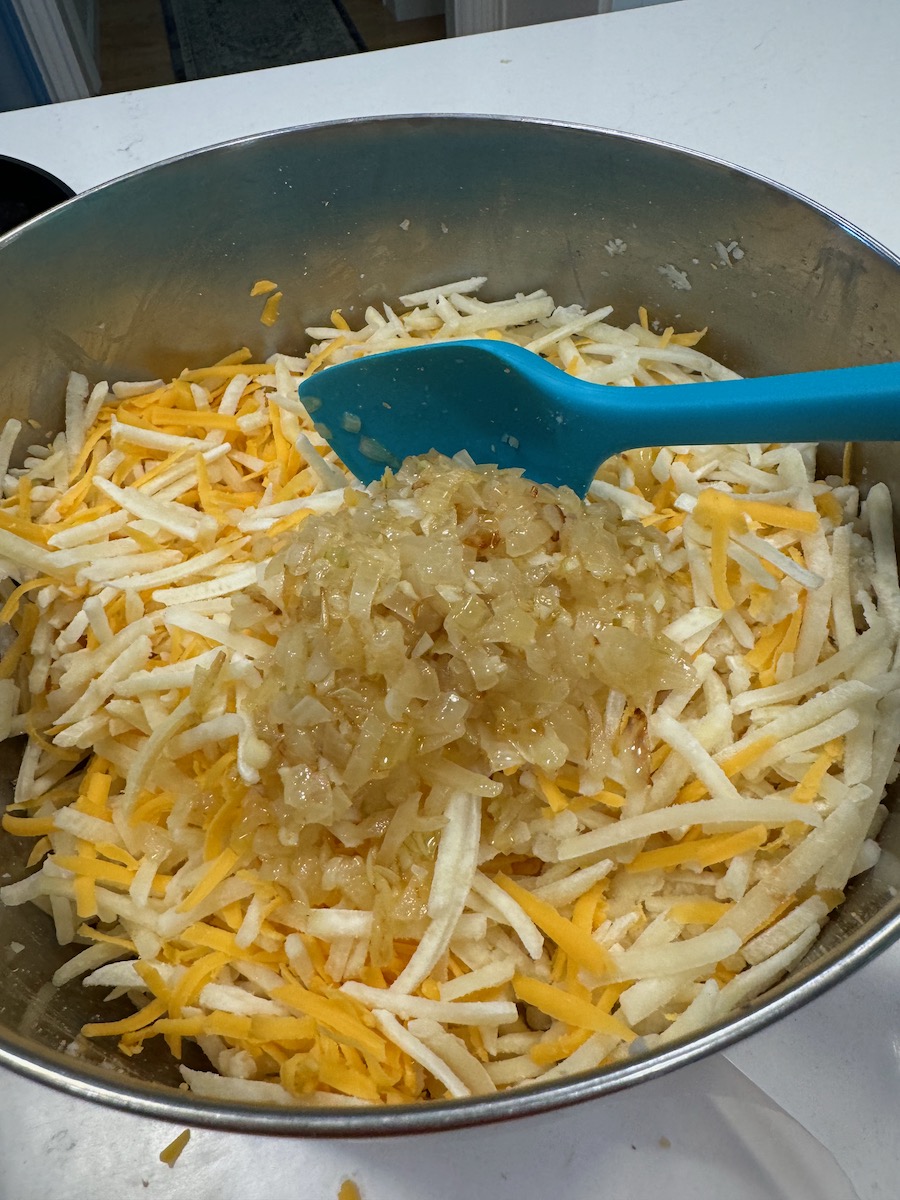
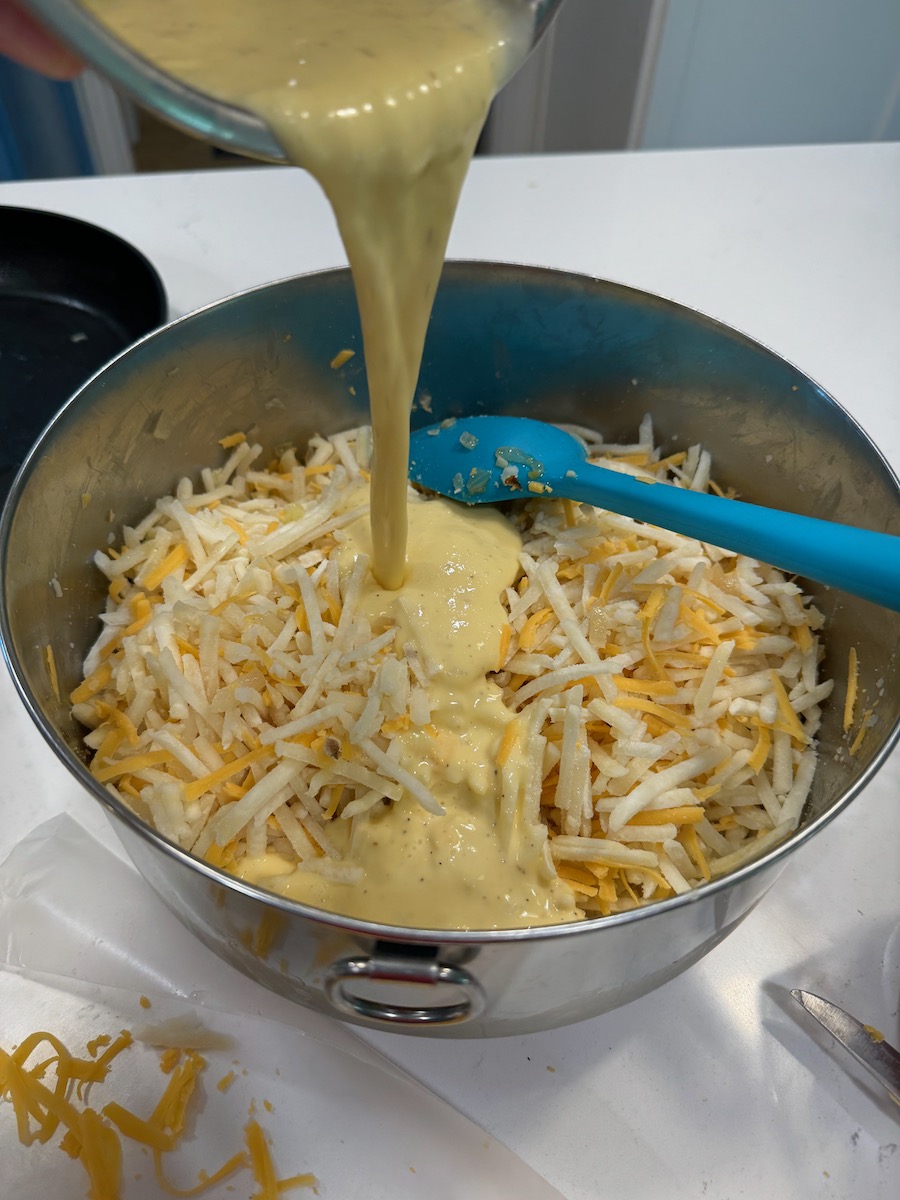
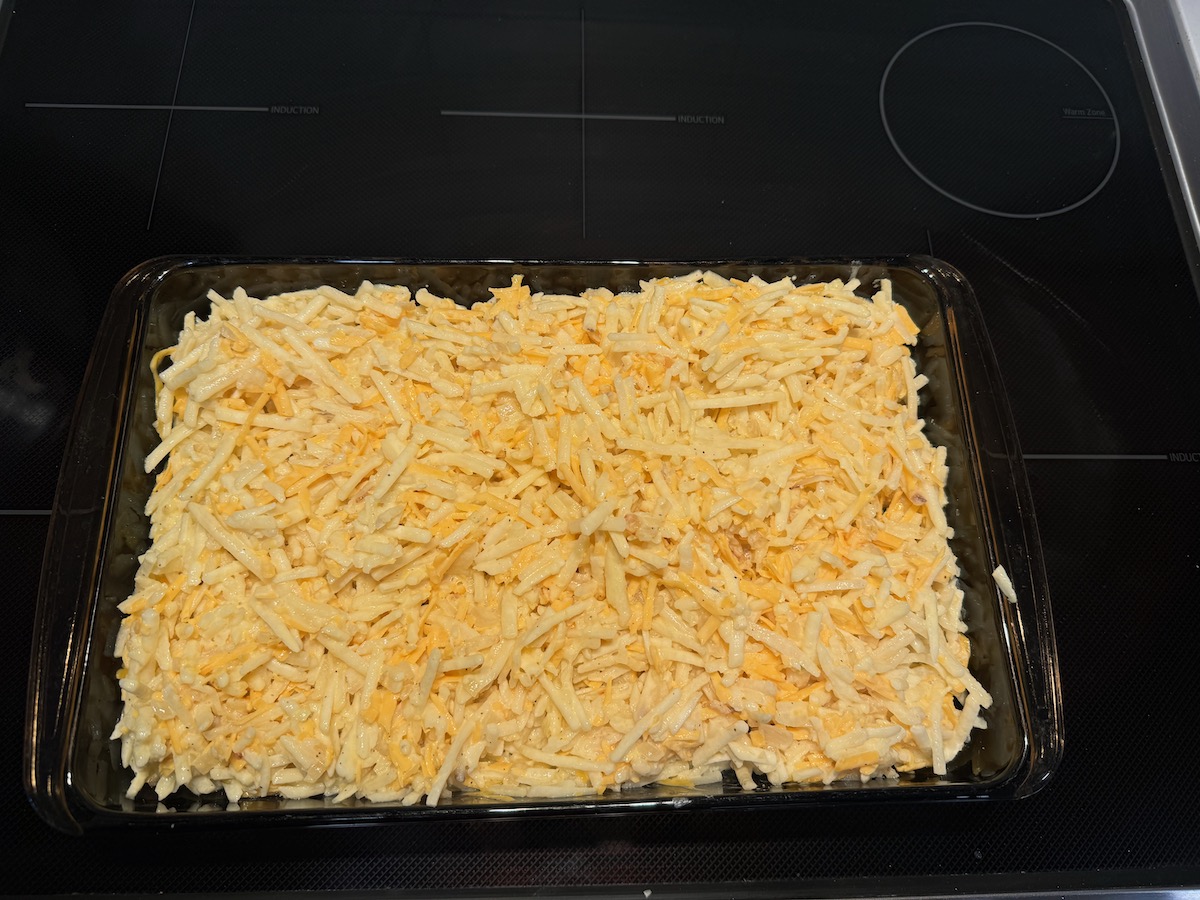
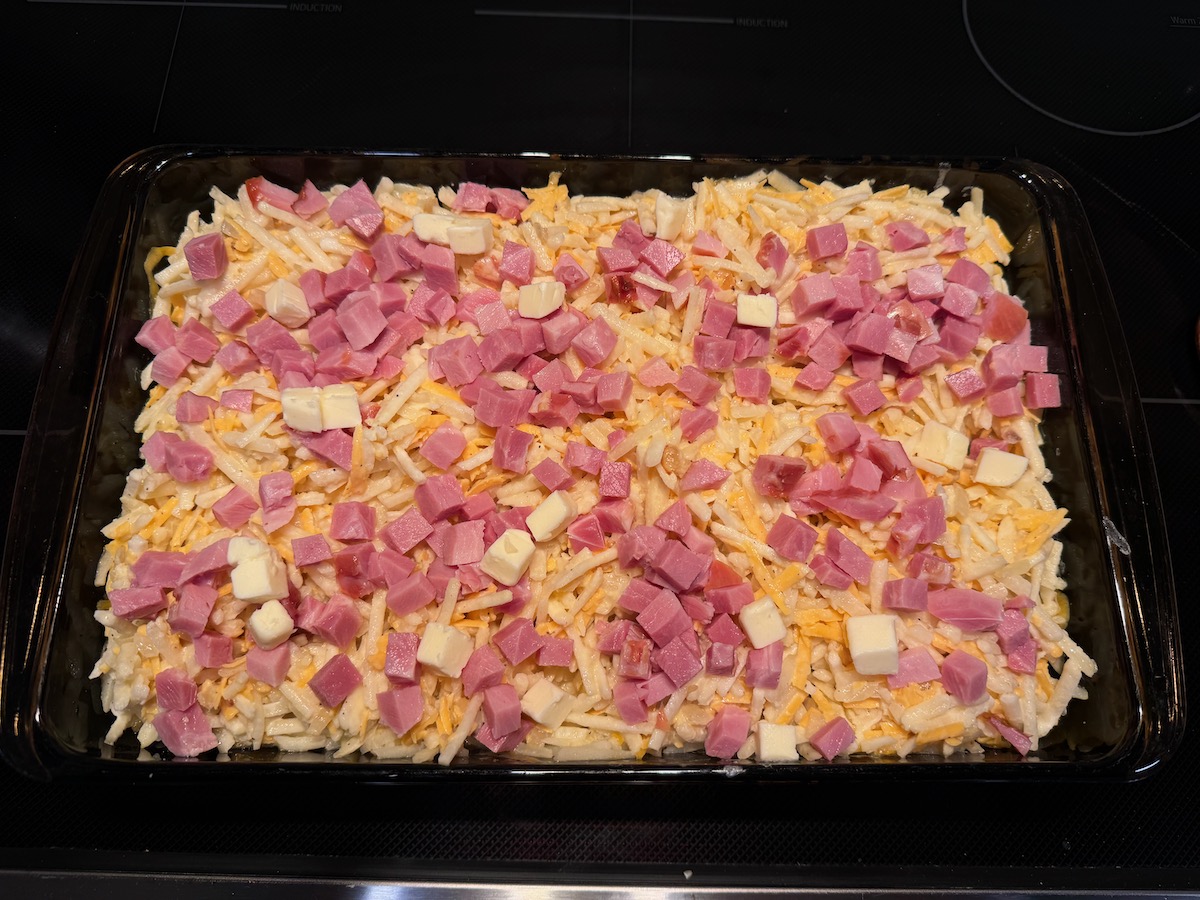
We will provide the cubed ham, the butter, and a chunk of cheese. The other ingredients you will need to provide. Below are some photos from food prep. The recipe begins below them.
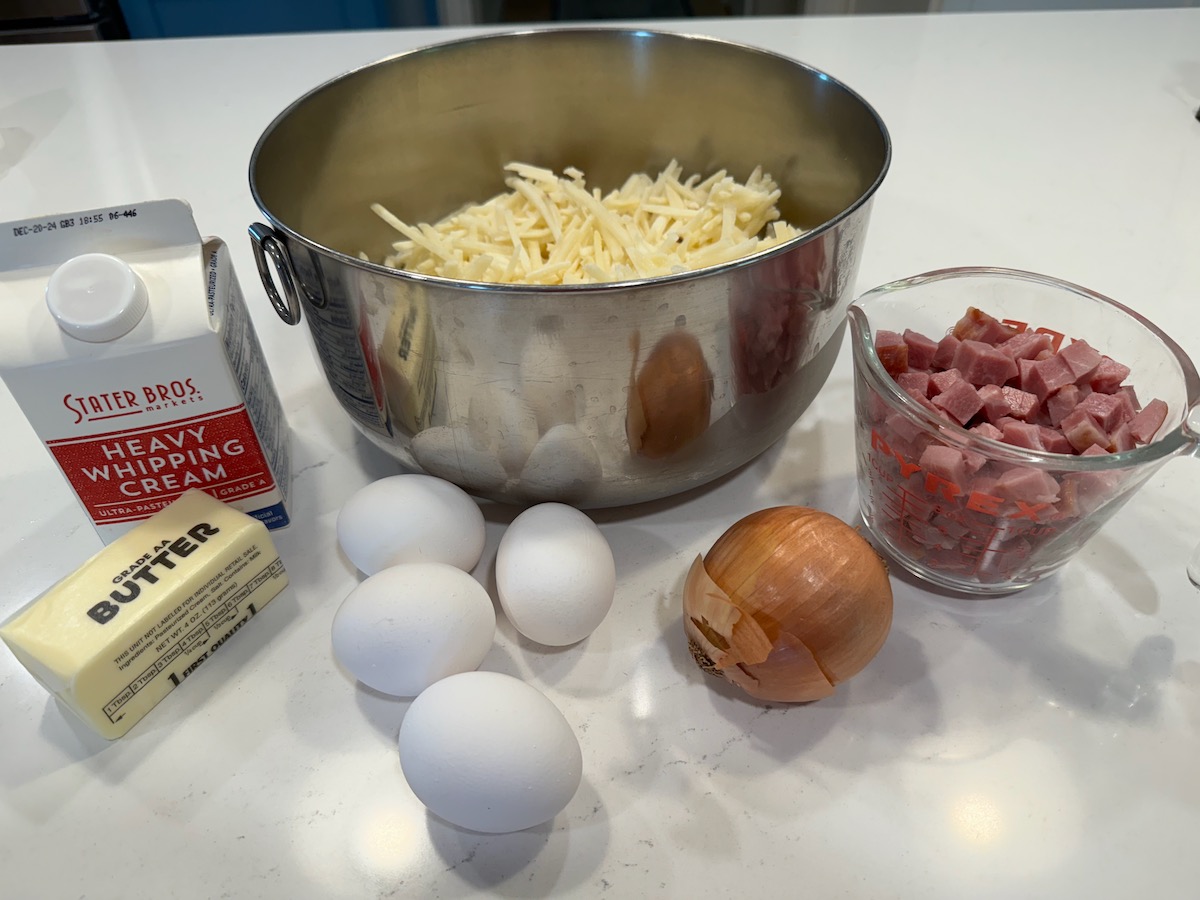
Pour mixture into glass pan, and smooth out.
Distribute cubes of ham, then bits of butter.
Last, spread remaining grated cheese over the top and bake.

Ingredients

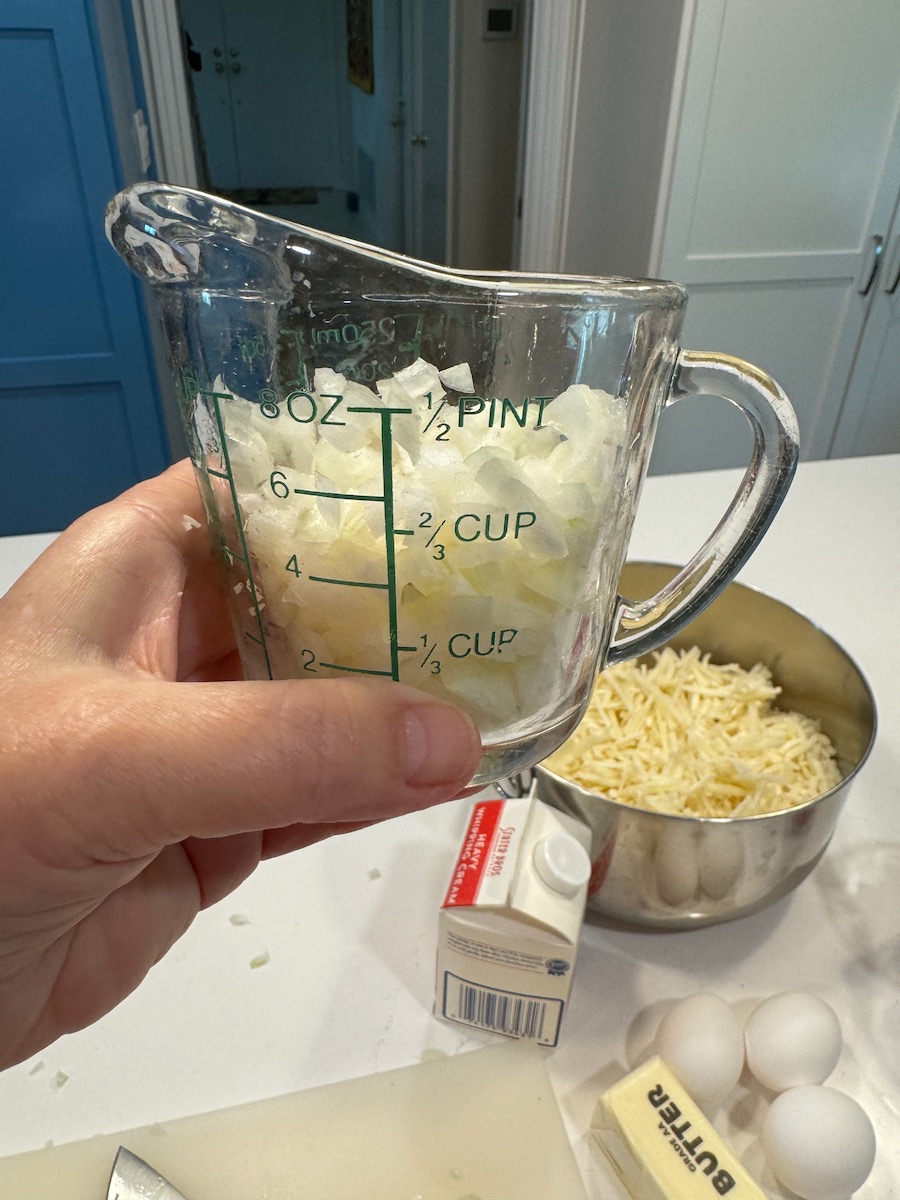
1 small yellow onion, small dice (about 1/2 to 2/3 cup)
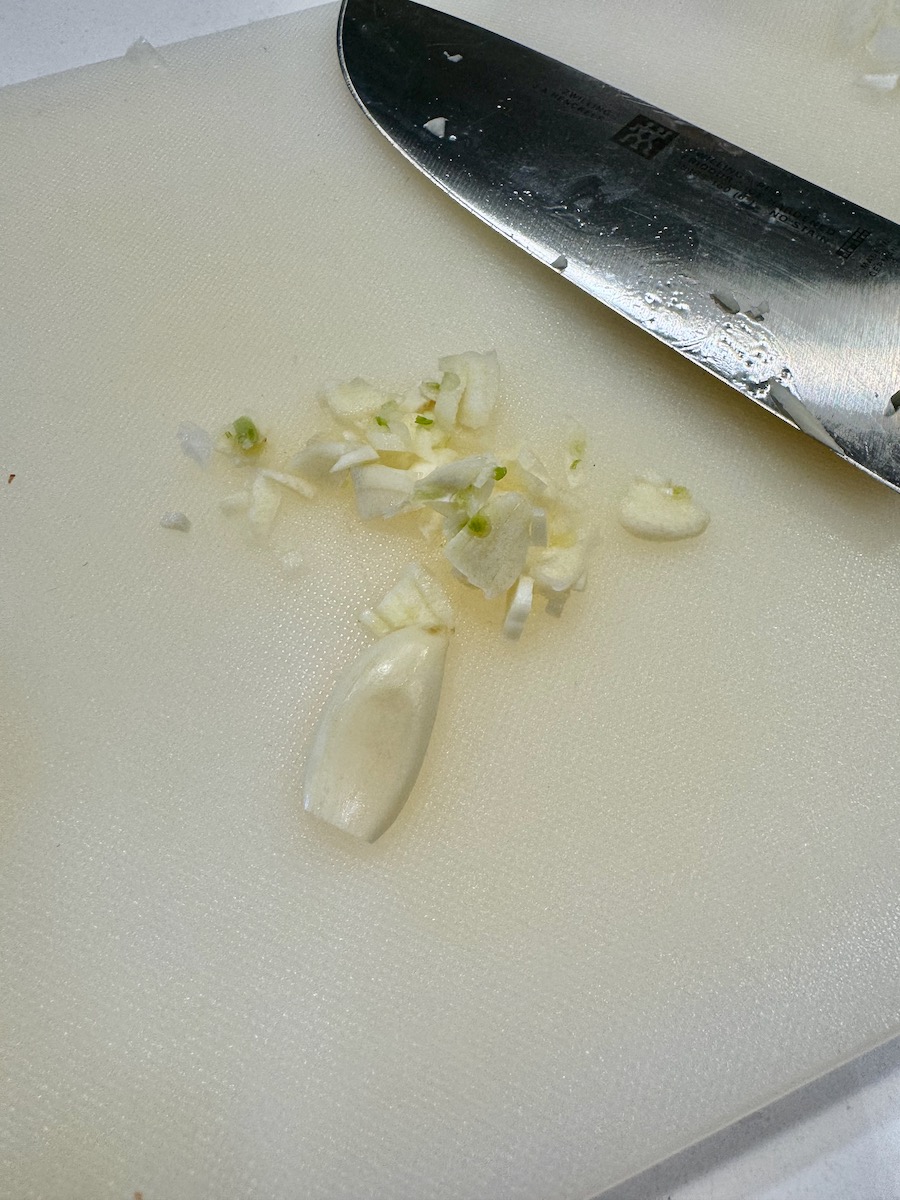
2 cloves garlic, grated or minced–but not crushed 
2 Tbs. extra virgin olive oil
6 Tbs. butter, divided into three parts of 2 Tbs each
4 eggs
1/2 cup heavy cream 
8 ounces grated mild Cheddar cheese, divided 
1/2 teaspoon ground pepper 
2 tsp Kosher salt [NOTE: if you are using table salt, cut back slightly on the amount, say 1 3/4 teaspoons.]
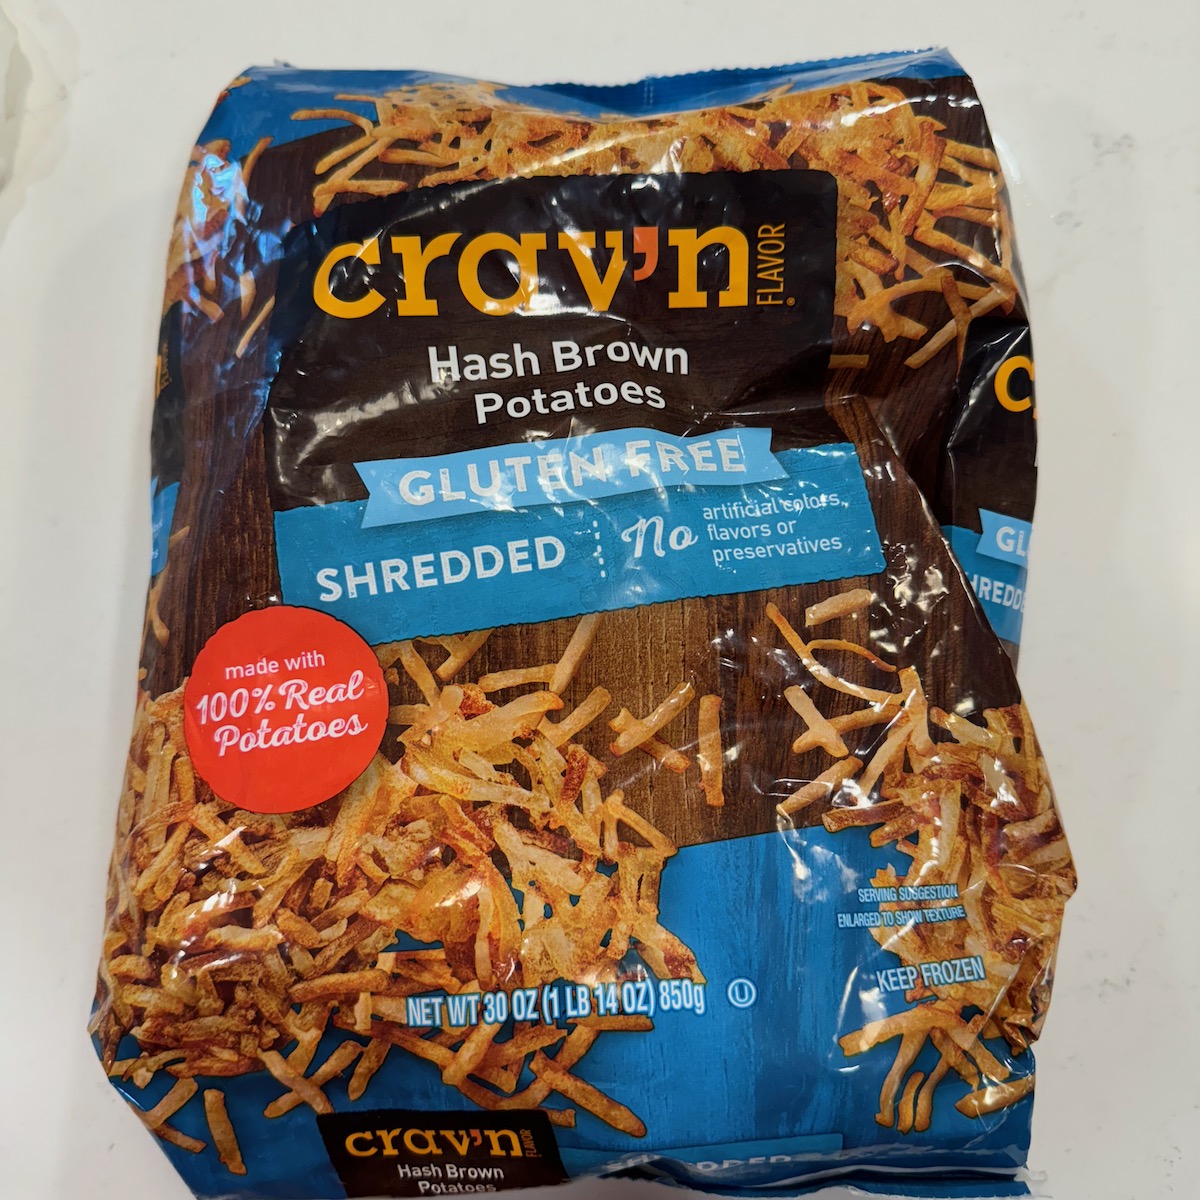
1 30-ounce bag frozen shredded hash brown potatoes 
8 ounces cubed good-quality ham

Directions

  1. Preheat your oven to 375 degrees while you get everything else prepped up.
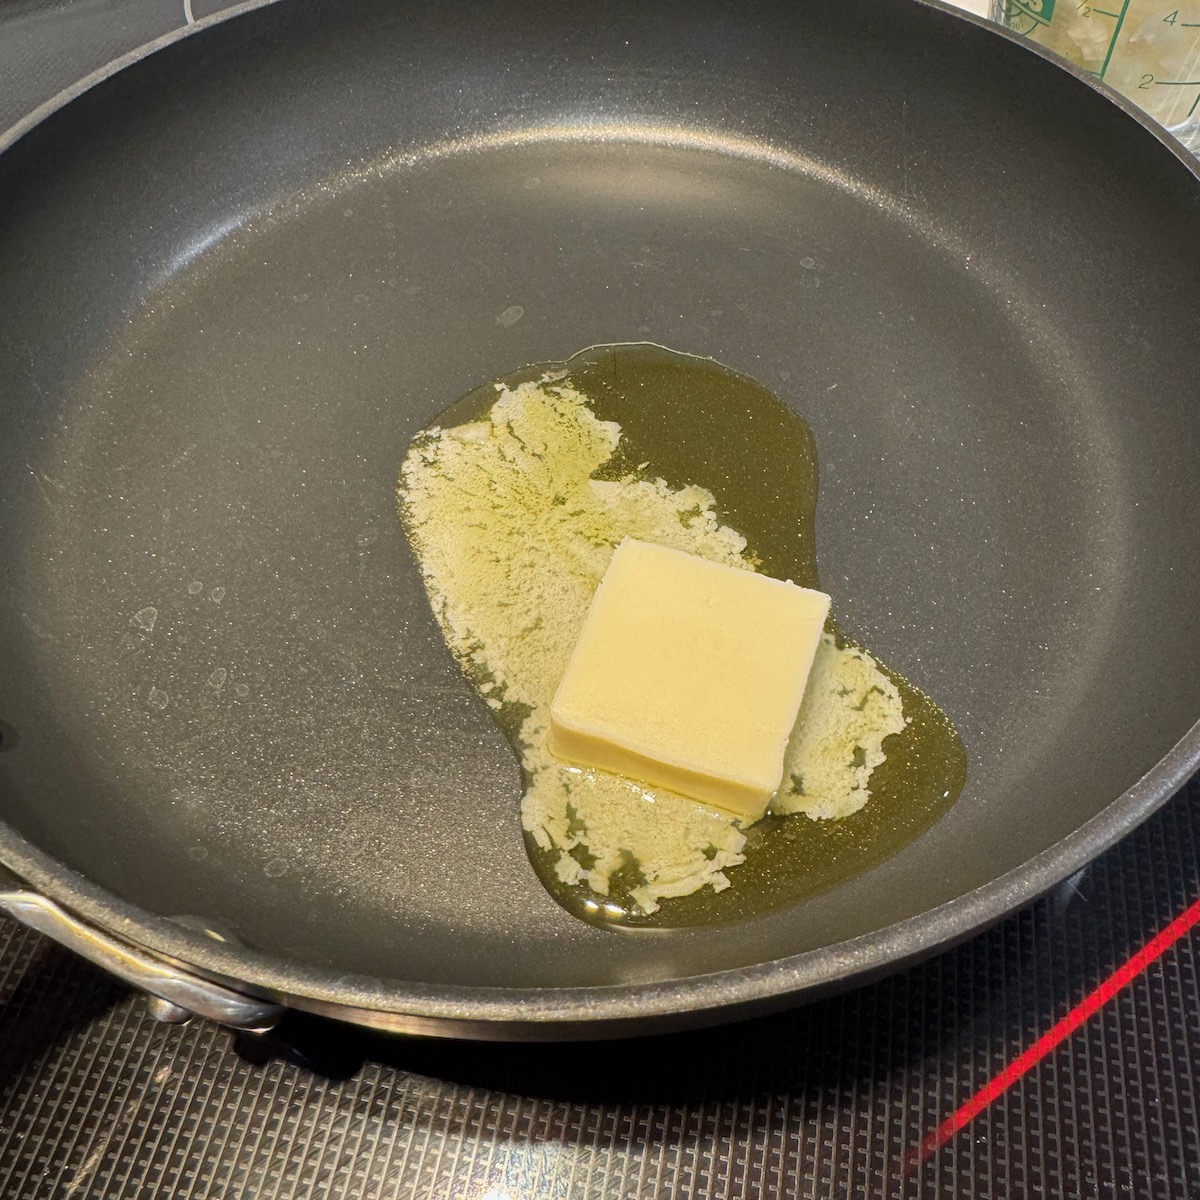
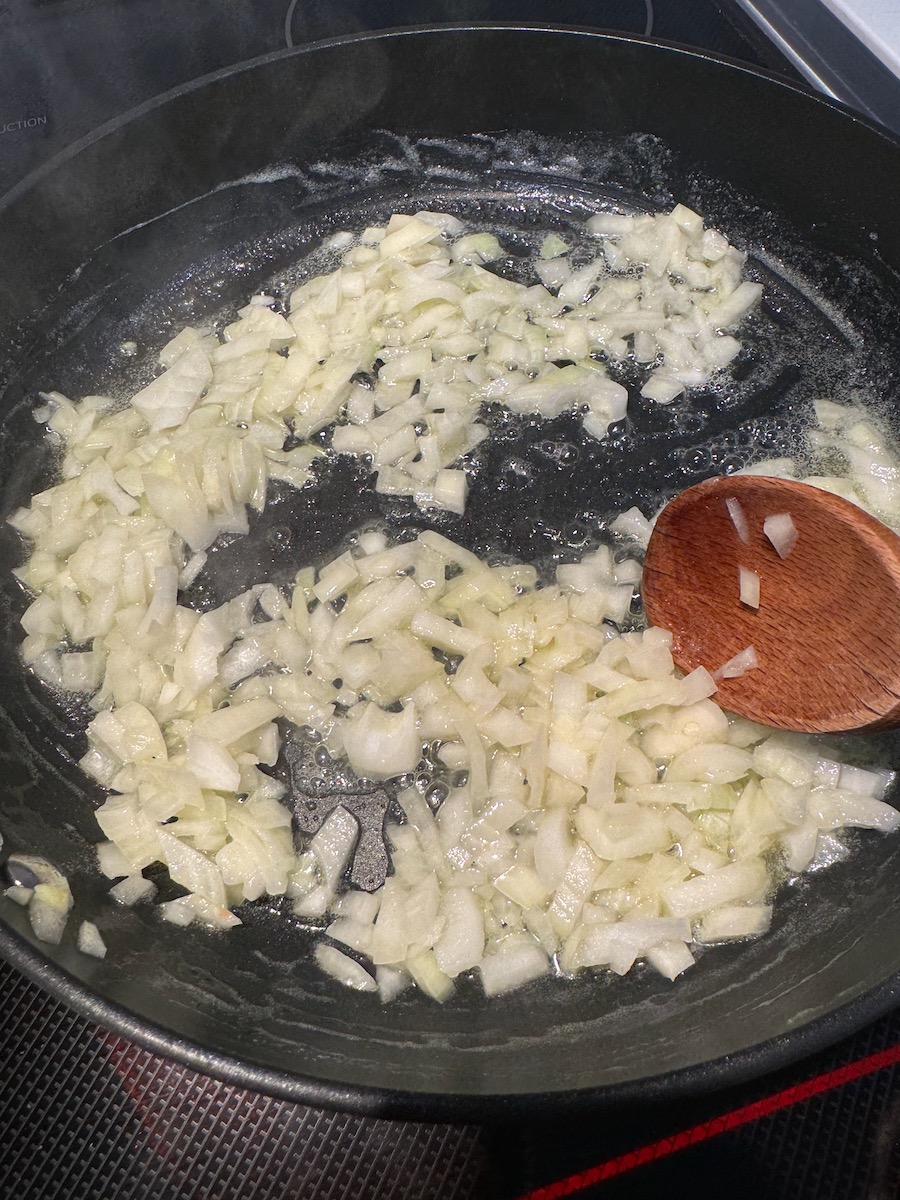
  2. Sauté the onion in 2 Tbsp. olive oil and 2 Tbsp butter, over medium heat for about 5 minutes, until tender but not browned.  Remove from heat and add the grated/minced garlic.  Stir it and allow it to sit in the warm pan with the onion. Set aside.
  3. Whisk together the egg, cream, salt, and pepper.
  4. Place your baking dish in the oven with 2 Tbsp of butter and let the butter melt and the pan get hot while you combine everything. Keep an eye on the butter so it doesn’t burn.
  5. In a large bowl add the potato shreds and 6 ounces of the grated cheddar cheese and toss.
  6. Add in the onion and garlic mixture and toss it again. 
  7. Pour the cream and egg mixture over the potato mixture, and toss well to coat every potato shred.
  8. Place the potato mixture into your hot baking dish and top with the cubes of ham. 
  9. Cut 2 Tbs. butter into small bits, then dot the casserole with butter. 
  10. Over the top of everything, add the remaining grated cheese (a couple of handfuls, or roughly 2 ounces).
  11. Bake for 35 minutes or until lightly browned in places.

Cover with foil and BRING TO CHURCH AT 9:30 A.M. while it’s HOT!

NOTE: It is not recommended to make this ahead, as the cook time will need to be adjusted (maybe even doubled) for a cold pan.  However all ingredients can be prepped in advance.  The casserole takes only about 10-15 minutes to throw together if ingredients are prepped.  Putting it in the hot pan with melted butter will yield a more satisfying crust on the bottom.
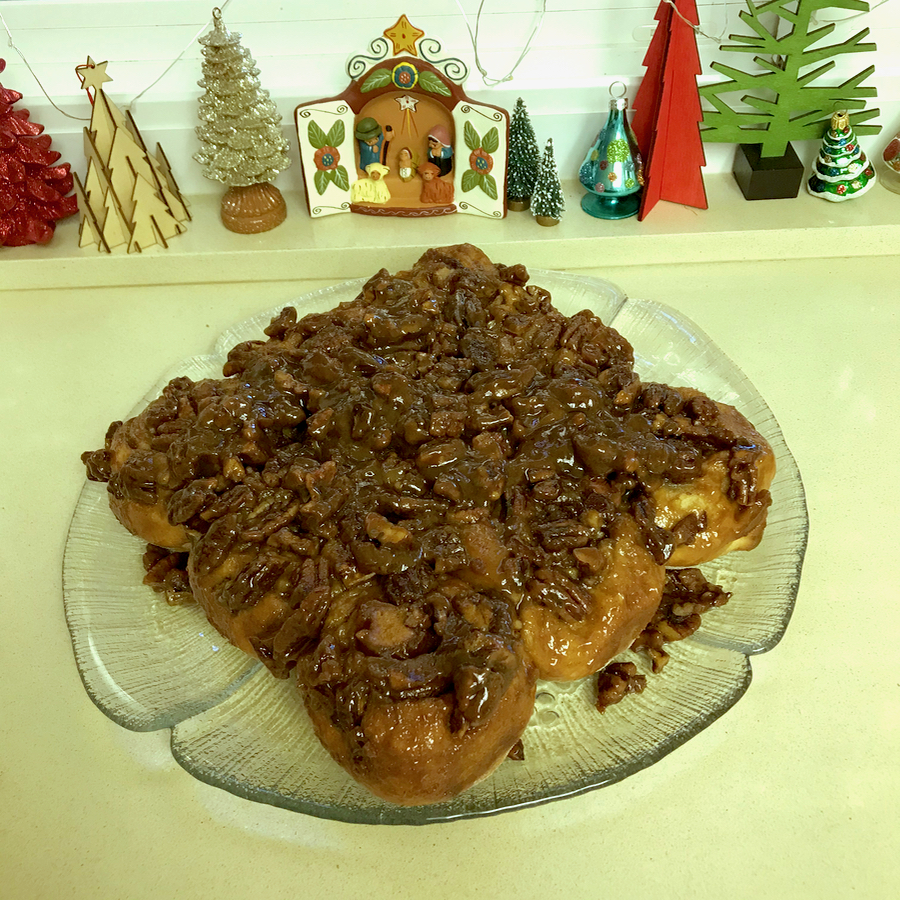
Sticky Pecan Rolls for Christmas Morning

These are a winner, all the way around. Perfectly sticky, soft dough, just the right amount of spice all combine for a perfect Christmas morning cinnamon roll. The original recipe comes from Joy Wilson, via the Washington Post, 2020.

Sticky Pecan Rolls

    If you want a fresh-baked batch of rolls when you wake up, proceed with the recipe through the step when you place the cut rolls into the pan with the sauce. Cover the pan with lots of plastic wrap and refrigerate overnight. In the morning, let the rolls come to room temperature for 30 to 40 minutes while you preheat the oven. Then bake as directed.

Ingredients

For the dough:
2¼ teaspoons instant yeast
3 tablespoons warm water
Scant 3 cups (360 grams) flour, plus more for dusting the counter
½ cup (120 milliliters) whole milk, at room temperature, or more as needed
⅓ cup (65 grams) lightly packed light brown sugar
1 large egg, lightly beaten
1 teaspoon vanilla extract
½ teaspoon kosher salt
4 tablespoons (57 grams) unsalted butter, at room temperature, cut into medium chunks

For the filling inside the pecan roll:
½ cup (99 grams) lightly packed light brown sugar
1 tablespoon ground cinnamon
1 teaspoon freshly grated nutmeg
⅛ teaspoon ground cloves
½ teaspoon kosher salt
6 tablespoons (85 grams) unsalted butter, at room temperature

For the sticky topping:
½ cup (120 milliliters) heavy cream
⅓ cup (113 grams) honey
2 tablespoons (28 grams) unsalted butter
¼ teaspoon kosher salt
1¼ cups (125 grams) coarsely chopped pecans

Make the dough

In the bowl of a stand mixer fitted with a dough hook, mix the yeast with the warm water until combined. Add the flour, milk, brown sugar, egg, vanilla and salt. Using a silicone spatula, stir the mixture into a shaggy dough.

Place the bowl on the stand mixer and mix on low speed, slowly adding chunks of butter as the dough comes together. [Note: This is kind of weird, and doesn’t look as if the butter will incorporate, but it does.] If the dough looks too dry, add an additional tablespoon of milk.  Increase the mixer speed to medium and knead the dough until it begins to pull away from the sides of the bowl, about 4 minutes.

Transfer the dough to a lightly floured work surface and knead by hand into a cohesive, relatively smooth ball, about 3 minutes.

Place the dough in a large, greased bowl, cover with plastic wrap and allow to rise in a warm place until doubled in size, 1 to 1½ hours.

Make the filling:

While the dough rises, in a medium bowl stir together the brown sugar, cinnamon, nutmeg, cloves and salt until combined. Reserve the room-temperature butter for use in assembling the sticky rolls.

Make the topping:

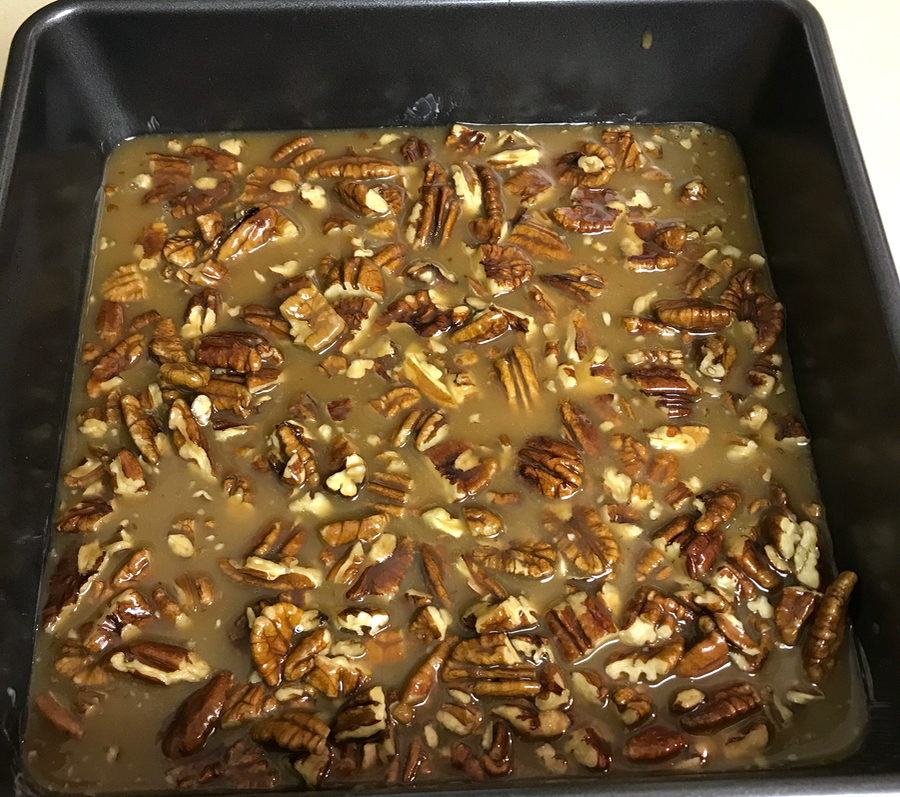
In a medium saucepan over medium heat, combine the cream, honey, butter and salt and bring to a simmer. Reduce the heat to low and let the mixture simmer gently until slightly thickened, about 3 minutes. Remove from the heat and stir in the pecans.

Generously flour a work surface and unwrap the dough onto it. Using a floured rolling pin, roll the dough into a rectangle about 12 by 15 inches. Spread the reserved butter over the dough and sprinkle the filling mixture on top. Starting with the long edge of the dough, lift and roll it into a tight log, seam-side down. Using a sharp knife, trim off the uneven edges. Slice the log into 9 equal pieces.

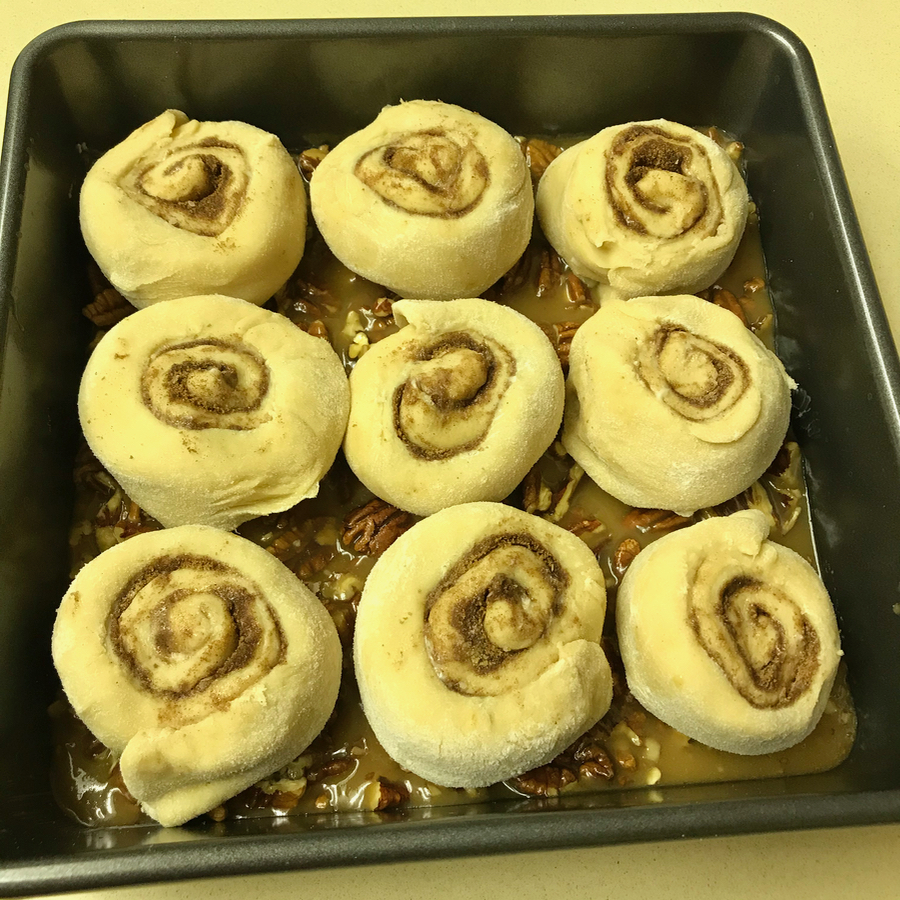
Pour the prepared pecan topping into a 9-inch greased square pan. Nestle the cut rolls over the topping. [Note: I slightly flattened out the rolls into a bit larger circle when I placed them in the pan.] Cover loosely with a clean kitchen towel and allow to rest while the oven preheats, about 20 minutes. (To store overnight, skip the 20-minute rest, cover the rolls with lots of plastic wrap and keep in the refrigerator overnight. Let come to room temperature before baking.)

Position the rack in the upper third of the oven and preheat to 375 degrees.

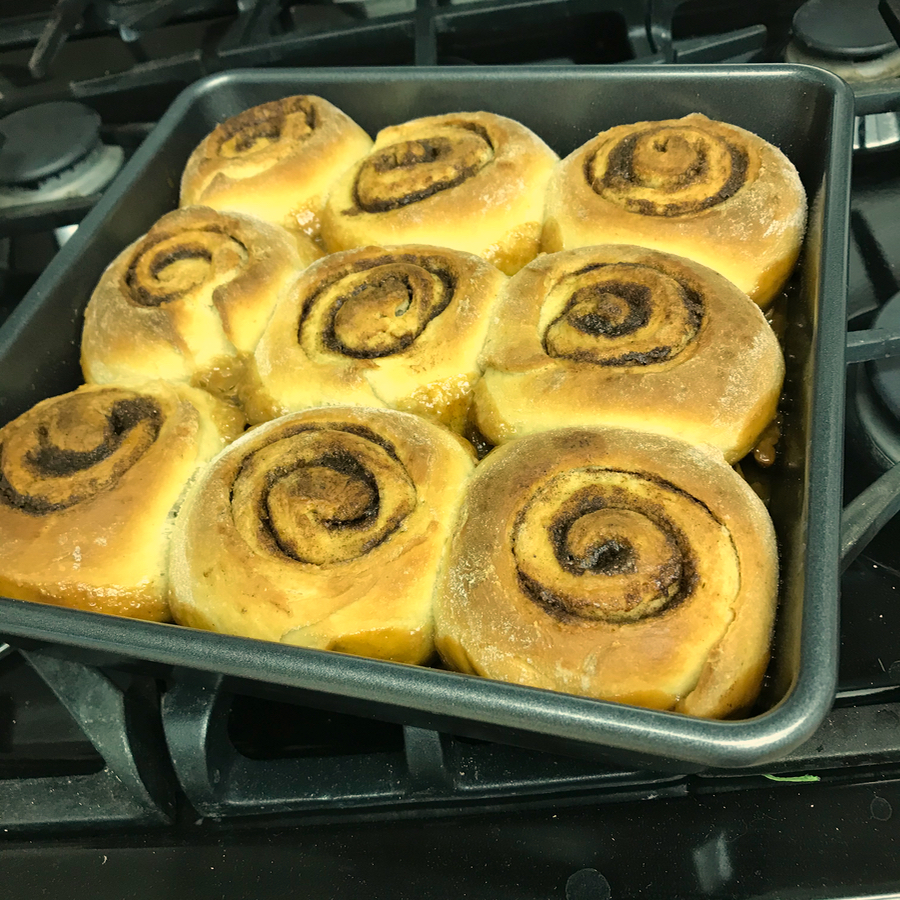
Uncover the rolls and bake for 30 to 32 minutes, until golden brown and bubbling. Remove from the oven and let cool in the pan for 10 minutes. While the rolls are still warm, run a butter knife around the edges of the pan and invert the entire pan onto a large serving platter. Scrape any nuts or caramel that remain in the pan on top of the rolls. Serve warm.

Nutrition Information

Calories: 420; Total Fat: 24 g; Saturated Fat: 12 g; Cholesterol: 65 mg; Sodium: 130 mg; Carbohydrates: 48 g; Dietary Fiber: 2 g; Sugar: 23 g; Protein: 5 g.

Scones

Best made with sultanas (or golden raisins) and served with double (aka clotted cream), these scones are a real treat.

Preheat oven to 425 degrees F.

Mix together the dry ingredients:

2 cups flour
2 teaspoons baking powder
sprinkle of salt
2 Tablespoons granulated sugar

Cut in 2 Tablespoons of butter, until pebbly.

(If adding in sultanas, use about 1/3 cup, and add them in now.)

Add 2/3 cup milk, stirring until dough holds together. Turn out onto floured board and knead five times.

Form dough into ball, flattening it slightly with rolling pin, but keeping it about 1″ to 1-1/2″ thick.  Cut into fourths.

Brush with milk and sprinkle with a little bit of sugar.

Bake at 425 degrees for 10-12 minutes.

Orange-Cranberry Bread

CranberryOrangeBread

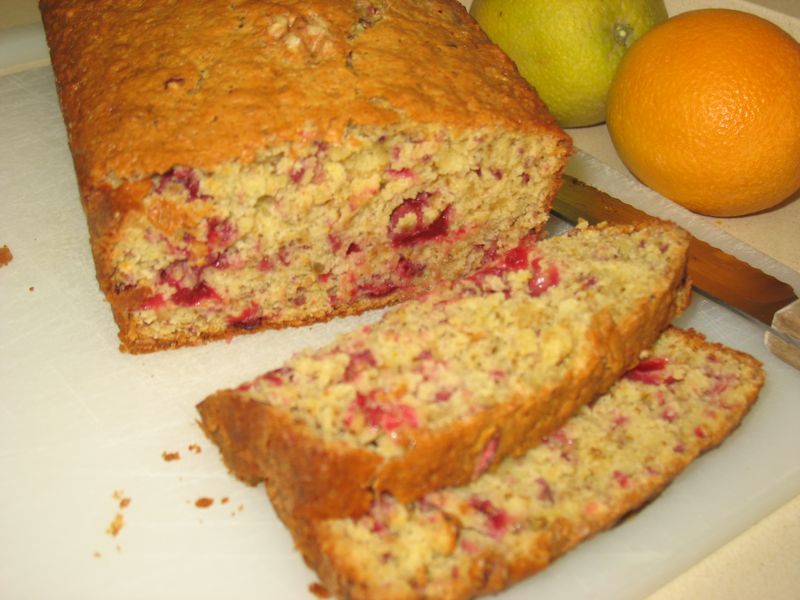
This is another of my mother’s great recipes, a moist bread so fresh-tasting with cranberries and orange flavor that you’ll find your day just won’t start quite right during cranberry season if you haven’t had a slice of this for breakfast.  But it’s also good for snacks, and a fairly guilt-free snack at that: with only one egg and two pats of butter, it’s low-fat, but with flavor.

CranberryOrangeBread_5

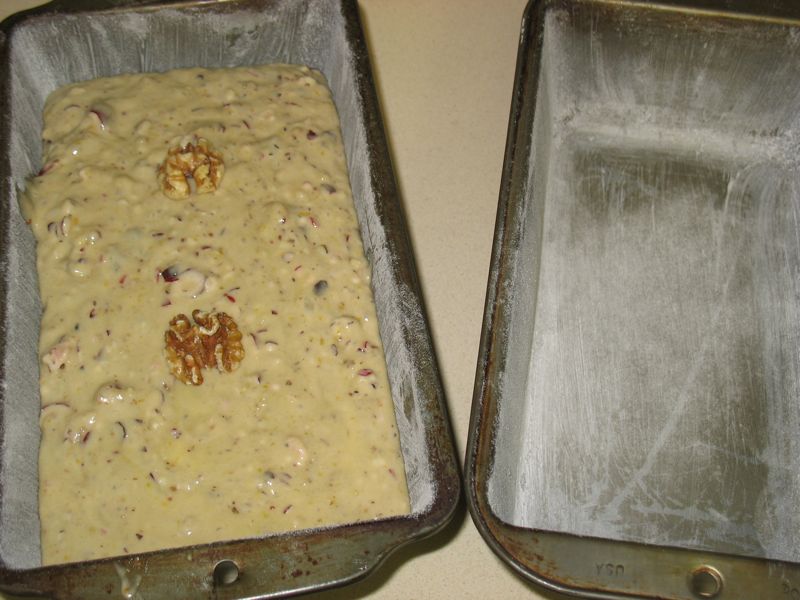
Although the recipe makes one loaf, why stop there?  All the photos below show me making up two loaves.

CranberryOrangeBread_1

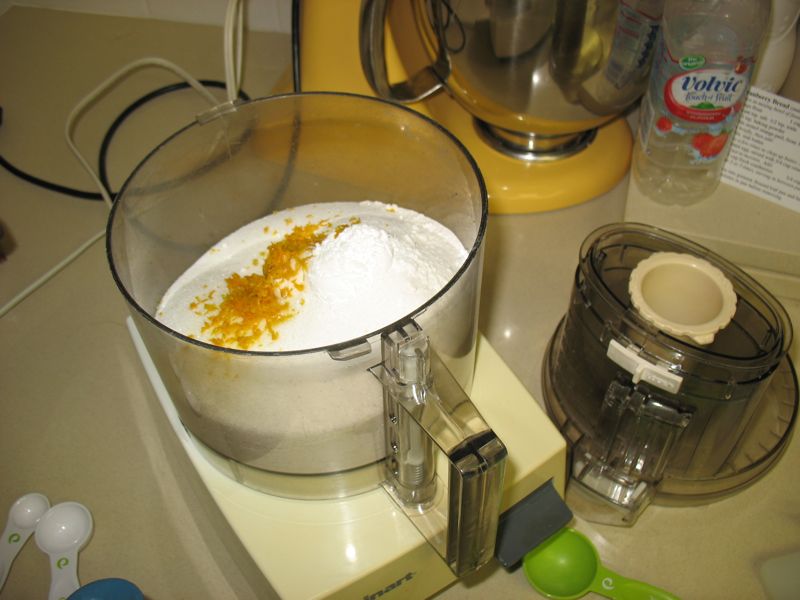
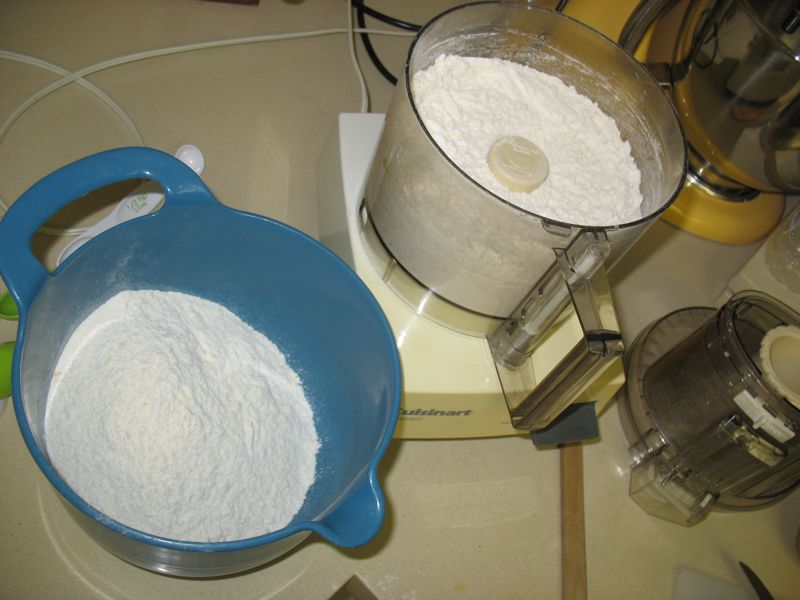
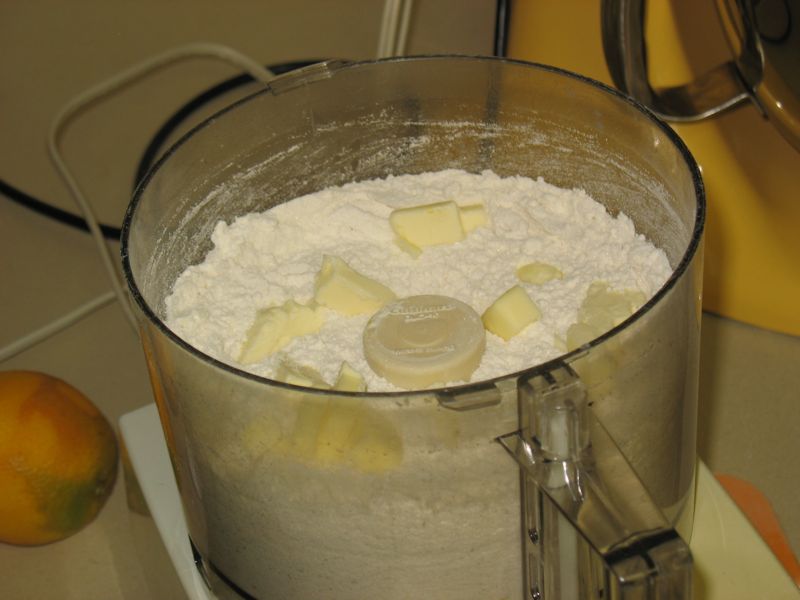
To make two, I first mix up the dry ingredients for one batch in the food processor…

CranberryOrangeBread_2

…then transfer it to a bowl and start the second batch.

CranberryOrangeBread_3

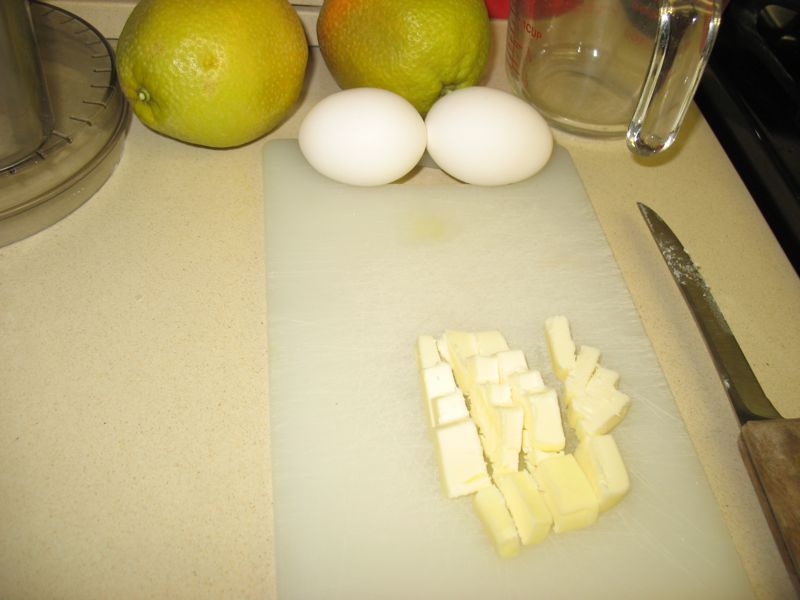
I cut up, then. . .

CranberryOrangeBread_4

…pulse in the butter, then follow the recipe as written.

When you finish with one batch, scrape out the bowl well, then pour in the reserved dry ingredients and start again.  No need to wash up in between.

Cranberry Bread (makes 1 loaf)

Place in mixing bowl of food processor:
2 cups flour
1 cup sugar
1 scant tsp. salt
1/2 tsp. soda
1 and 1/2 tsp. baking powder
1 Tbls. zested orange peel, from 1 large orange

Mix briefly, then add:
2 Tbls. real butter.

CranberryOrangeBread_9

Pulse a few times to chop up butter, then add:
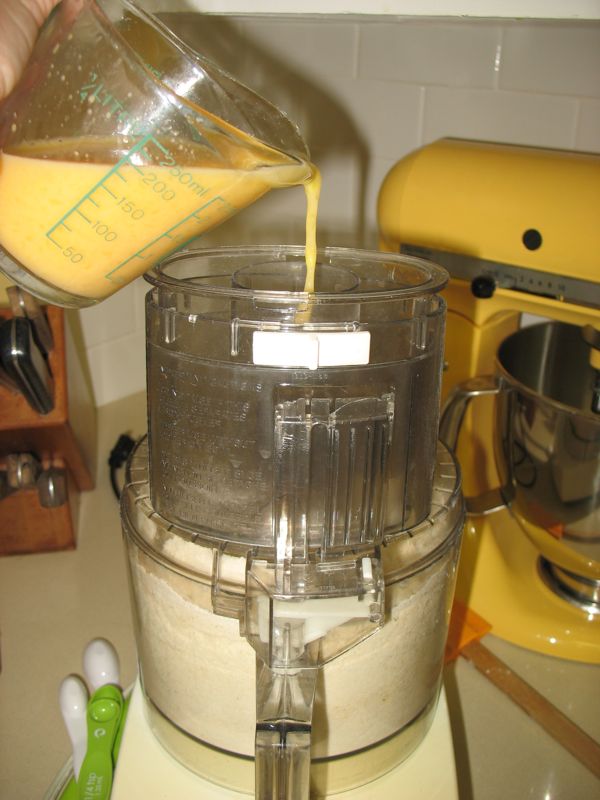
1 beaten egg, mixed with 3/4 cup orange juice.

CranberryOrangeBread_11

Mix just to moisten.  Add:
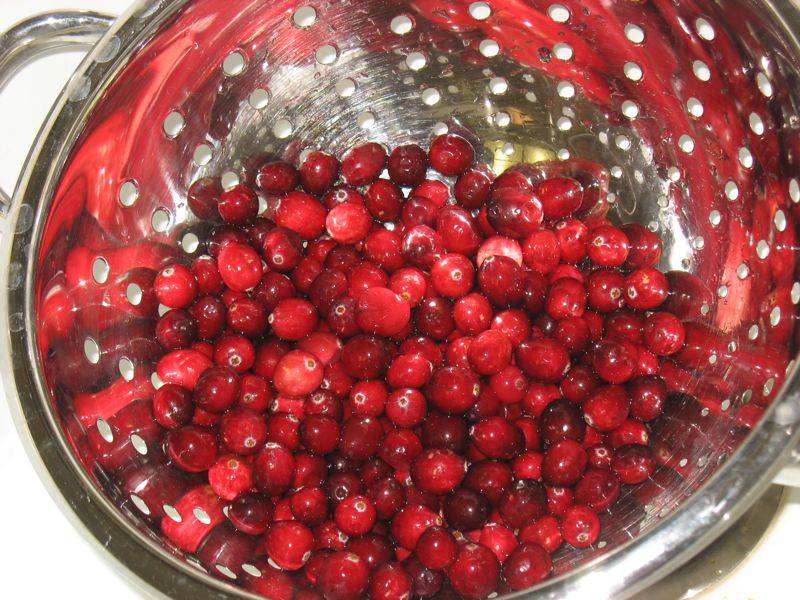
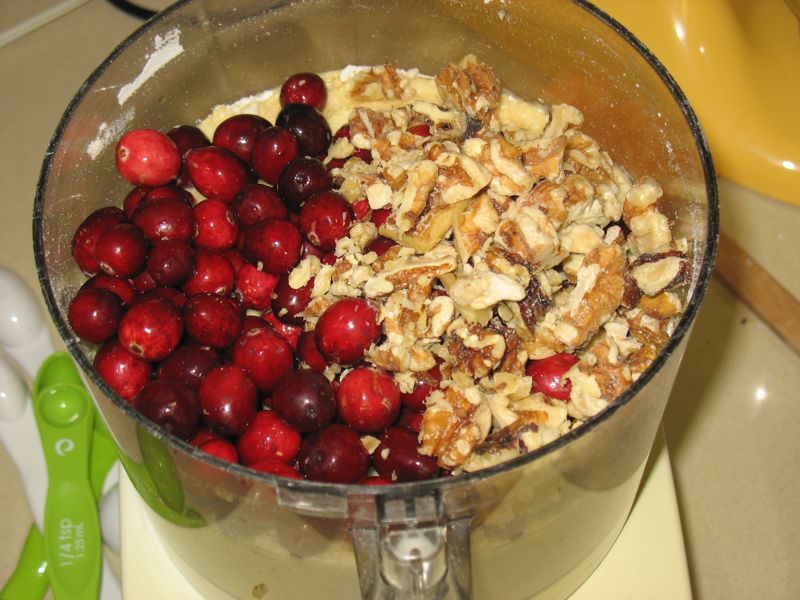
1 and 1/2 cups fresh cranberries
3/4 cup chopped walnuts.

Pulse 2 or 3 times, stirring in between pulses with spatula, if necessary.

CranberryOrangeBread_12

Spoon into greased, floured loaf pan and bake at 350°F for 60 minutes.  Cool 15 minutes in pan before removing.  Then it should pop right out.  Slice, wrap up for the freezer, or to share with a friend, and enjoy!

CranberryOrangeBread_7

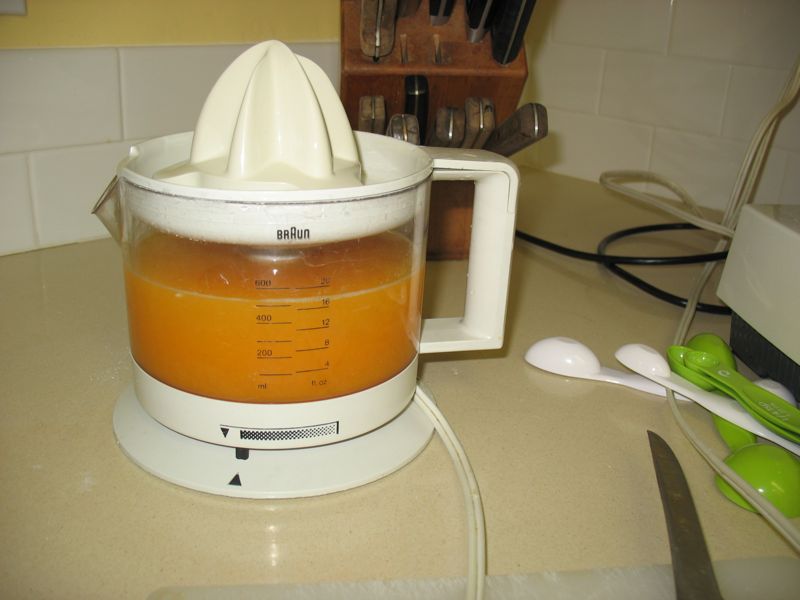
I used freshly squeezed orange juice. 

CranberryOrangeBread_6

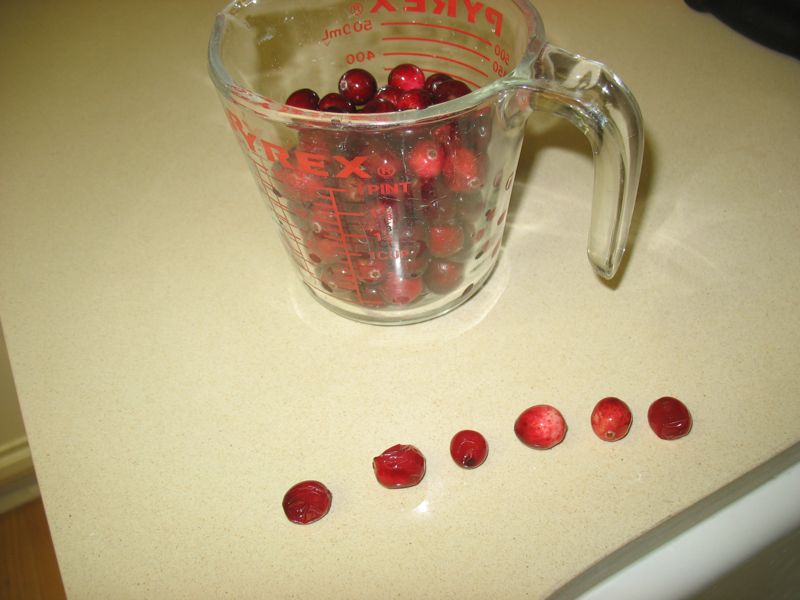
In front are the reject berries: soft, underripe, or nearly goners.

Buttermilk Waffles

Maybe I had some leftover buttermilk that first time I made these, or maybe I just wanted some waffles.  Who knows?  These waffles are from the pages of a well-used, splattered and worn cookbook: The Joy of Cooking.  It was  my go-to cookbook when I was a young bride of 19-and-a-half, alongside the red-checkered Better Homes and Gardens Cookbook. Years later I laughed out loud when in the movie Julie/Julia, the actress playing Irma S. Rombauer, the cookbook’s author, admits to not testing all the recipes.  I’d say this one’s been well-tested in my kitchen and it is a success every time.

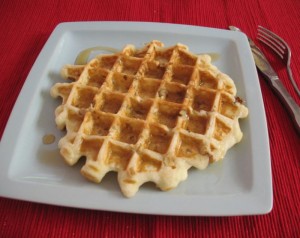
Recently we had the grandchildren over and Alex told me he didn’t like waffles.  “But, Alex,” I said.  “You haven’t had MY waffles.”  Above is his response to tasting them: a hearty thumb’s up.  He had nearly three.  We like them drizzled with warm REAL maple syrup, not that fake stuff in the grocery store (check Trader Joe’s).  That habit–of real syrup–was inherited from my father, who had shipped to him six 1-quart tins of real maple syrup from a farm in Vermont every year when we were growing up, and for many years after that.

Plug in your preferred waffle iron to heat.  If you are using it for the first time, have a bowl with some shortening in it along with a stiff pastry brush to season the grids.  As the Joy of Cooking notes: “Once conditioned, the grids are neither greased nor washed.  You may brush the iron out to remove any crumbs.  After use, merely wipe down the outside with a cloth well wrung out in hot water.”  Last thing from the cookbook: “You may think our waffle recipes heavy in fat.  But the richer the waffle dough, the crisper it becomes.  With the butter flavor baked in, there is then no reason for butter on top of it.”  Amen.  Just some warm syrup in a cute little pitcher.

In a large bowl, whisk together:
2 cups flour
1 and 1/3 teaspoons double-acting baking powder
1/2 teaspoon salt
1 tablespoon sugar
1/4 teaspoon soda

In a small bowl, beat until stiff, but not dry:
2 egg whites.  Set aside.

Using the same hand mixer and beaters, beat in another (separate) bowl until light:
2 egg yolks.
Add and beat:
1 and 3/4 cups buttermilk
6 tablespoons melted butter

Fold the egg yolk/buttermilk mixture into the dry ingredients with a few swift strokes.  Fold in the egg whites.

Bake in a prepared waffle iron, using a spoon to catch any excess that may ooze out.  After baking, there’s a temptation to open it too soon, and to split the waffle in half.  I usually watch to see if it is still steaming, and try and catch it at the end.  I lift the upper part with a light touch, and if there is too much resistance, I let it bake a little longer.  The only caveat is: if you haven’t seasoned the grids much, it may stick on the top as you raise the lid.  Have a fork handy to help it off, then put some shortening on the upper lid to season it some more.

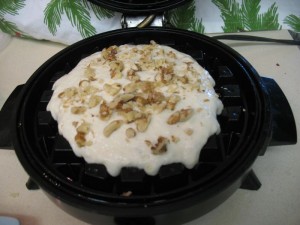
I show above a tradition of my mother’s: adding chopped walnuts, sprinkled over the top of the dough just before closing the lid to bake.  She has also added mini-chocolate chips on occasion, but the nuts are my very favorite.  Shown above is a Belgium-style waffle iron with big fat grids.  Not my favorite.

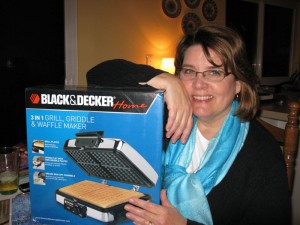
So, for my birthday my husband gave me an old-fashioned waffle iron with normal grids–more pockets for the syrup to collect in without the waffle getting soggy.  The yield in the big waffle iron (shown above) is about 5-6, but they break into fourths, so you can feed a few at once.  (But I usually always double the batch for a crowd.)  I keep the baked, but not yet eaten, waffles in the oven at about 200 degrees while I’m serving breakfast, then throw the uneaten ones directly into the freezer.  After they are frozen, I place them in ziploc baggies and we toast them in our toaster whenever we want a waffle.

White Chocolate-Orange Scones

I had these scones on the morning of the Royal Wedding–very fitting.  My friend Judy had combed the internet for a treat for us to eat while we watched the Royal Wedding off of her TiVo, and combined two recipes to create this yummy treat.  She served it with fruit with a yogurt/honey topping and some orange juice.  These scones are a little sweeter, said her husband, than anything they’d serve in Britain, and I agree.  The texture is more biscuit-like, but I think they are delicious and was happy to have such a treat while we critiqued the hats and swooned over the festivities.

Royal Wedding White Chocolate Scones

1 3/4 cups flour

1/3 cup sugar

2 tsp. baking powder

1/2 tsp salt

1-2 Tbsp. orange zest

1 stick butter, chilled and cubed (1/4 lb.)

2/3 cup white chocolate chips, coarsely chopped

1/2 cup orange juice

Directions:

1. Preheat oven to 400º F. Spray a cookie sheet with nonstick cooking spray.

2. Whisk together the flour, sugar, baking powder, salt, and zest. Using a pastry blender, cut it the butter until the mixture resembles coarse crumbs. Stir in the chocolate chips. Gradually mix in the orange juice, one or two tablespoons at a time, to form the dough.

3. Turn out the dough on a floured surface. If necessary, knead briefly to form a compact ball. Pat into a 9-inch circle that is about ½ inch thick. Use a 2 ½-inch biscut cutter to cut out 12 scones, reforming leftover dough as needed. Transfer scones to cookie sheet.

4. Bake in oven about 12 minutes.

Granola

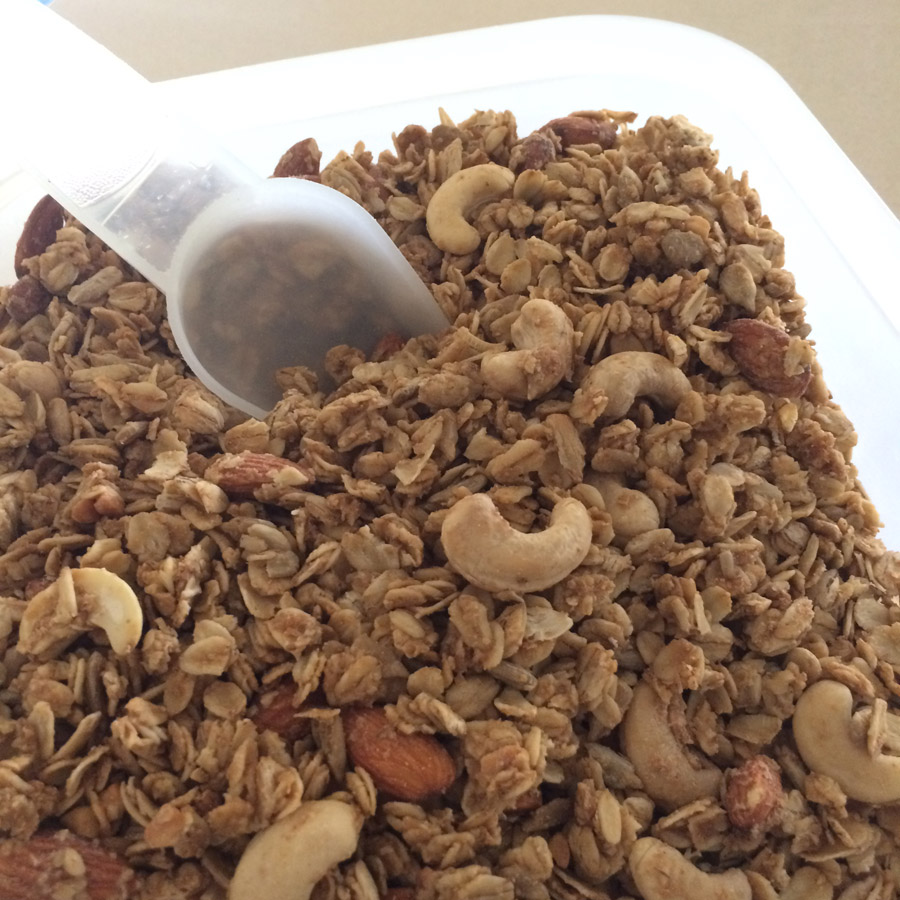
granolaThis recipe started at The Seven Wives Inn in St. George, UT, a long long long time ago.  I asked for the recipe from my father, after I tasted the granola at his house one day–apparently he and Mom had it on a jaunt down there when they stayed at the Inn.  I don’t even know if the Inn still exists, at any rate, I’ve changed the recipe over the years to reflect my changing tastes.

8 cups whole rolled oats (NOT the quick kind)
3/4 cup brown sugar
1/4- 1/3 cup wheat germ
8 oz raw almonds (1 cup)
8 oz. raw cashews (1 cup)
1/2 cup sunflower seeds

Mix in bowl.

Heat together until bubbly (I put everything in a 2-cup liquid measuring cup, then microwave it for two minutes and stir it well):
5/8 cup water
5/8 cup oil
1/4 cup honey
1/2 cup peanut butter

Add 1 tsp. vanilla and pour over dry ingredients. Mix well and spread on two large cookie sheets. Bake in 200 degree oven for about two hours (I switch tray positions after 1 hour and stir a little bit). Store in airtight container. (If it’s a humid day, I turn the oven off and let it sit in there for a while—another 1/2 hour or so. If you live in a dry climate, you may need to adjust the cooking time downward.)

2017 Note: I modified the liquid ingredients to lower the amount of honey.  The original amounts were all 1/2 cup.