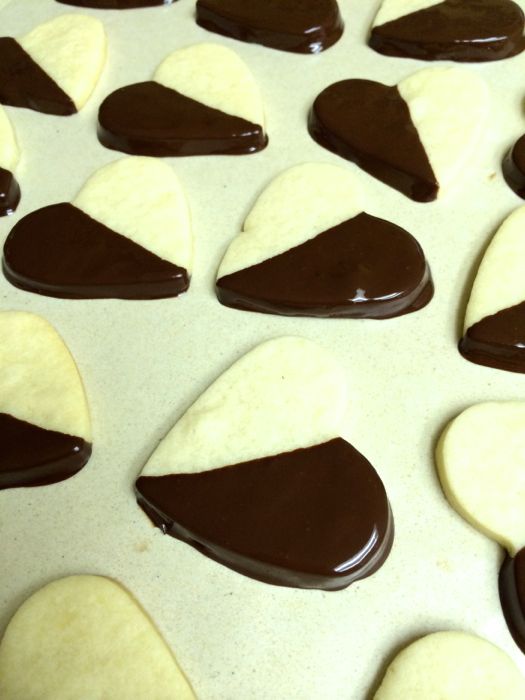
Chocolate-dipped Valentine Cookie

Chocolate-dipped Valentine Cookies

I had planned to make biscotti for the church ladies this week, then remembered that they all sort of nibbled around the corners of that cookie, not wanting to make it sound crunchy, even though outside of their happy mouths no one can hear the crunching, so thought I’d try and find a Valentine Cookie that was quieter.  I found this while searching and proceeded to make them up as directed.  Except I tripled them–Kids, Don’t Try This At Home!  Just make them in a single batch and you and your mixer will be much happier.

I also noticed in the comments that many substituted out the peppermint extract for almond extract.  I think that would be a better choice, as I found the peppermint in full strength to impart an almost bitter taste to the cookie.

I also have an ancient sugar cookie recipe that mixes the ingredients a little differently: cut the butter/cream cheese into the flour, add the eggs/liquids, and go from there.  I am thinking that would have been a lot easier than the mess I made in the kitchen today.

Ingredients:
1 cup butter, softened
1 (3-ounce) package cream cheese, softened
3/4 cup sugar
1 egg
1 teaspoon peppermint extract
3 cups all-purpose flour

Glaze
1 (12-ounce) package (2 cups) real semi-sweet chocolate chips
2 tablespoons shortening

Directions

Combine all cookie ingredients except flour in large bowl. Beat at medium speed, scraping bowl often, until creamy. Add flour; beat at low speed until well mixed. Divide dough in half; wrap each half in plastic food wrap. Refrigerate 2 hours or overnight until chilled.

Heat oven to 375°F. Roll out dough, one-half at a time (keeping remaining dough refrigerated), on lightly floured surface to 1/4-inch thickness. Cut out cookies with 2 1/2-inch heart-shaped cutter. Place 1 inch apart onto ungreased cookie sheets. Bake 7-10 minutes or until edges are very lightly browned. Remove from cookie sheets to wire cooling rack; cool completely.

Melt chocolate and shortening in 1-quart saucepan over low heat, stirring occasionally, 4-6 minutes or until melted. Dip half of each heart into chocolate. Place onto waxed paper-lined cookie sheets; refrigerate until chocolate is firm. Store refrigerated.

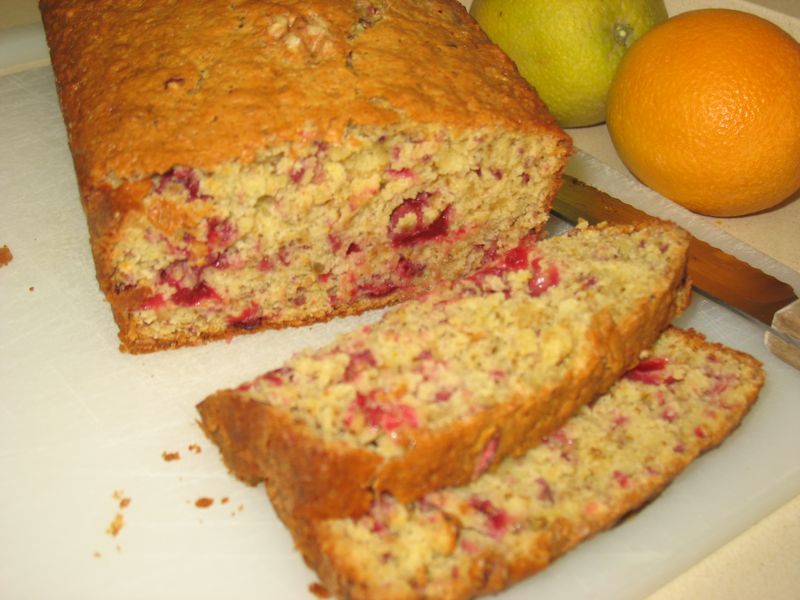
Orange-Cranberry Bread

CranberryOrangeBread

This is another of my mother’s great recipes, a moist bread so fresh-tasting with cranberries and orange flavor that you’ll find your day just won’t start quite right during cranberry season if you haven’t had a slice of this for breakfast.  But it’s also good for snacks, and a fairly guilt-free snack at that: with only one egg and two pats of butter, it’s low-fat, but with flavor.

CranberryOrangeBread_5

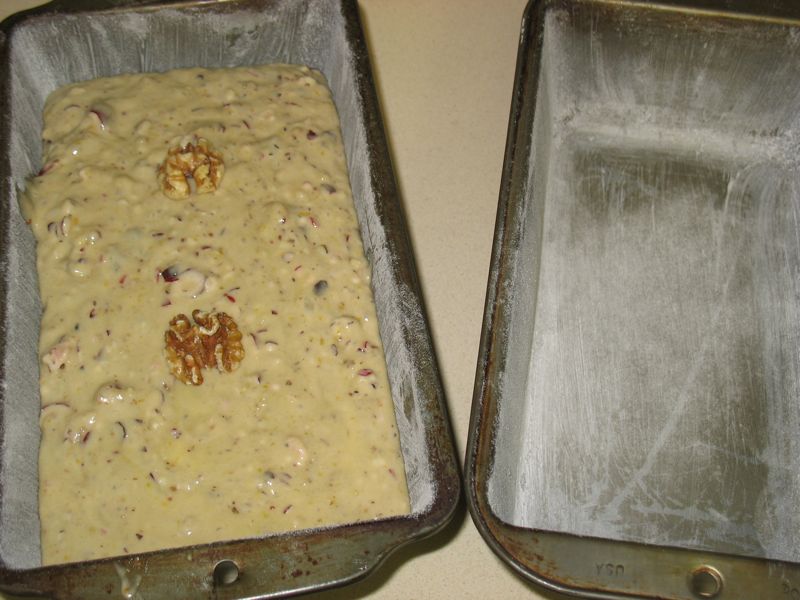
Although the recipe makes one loaf, why stop there?  All the photos below show me making up two loaves.

CranberryOrangeBread_1

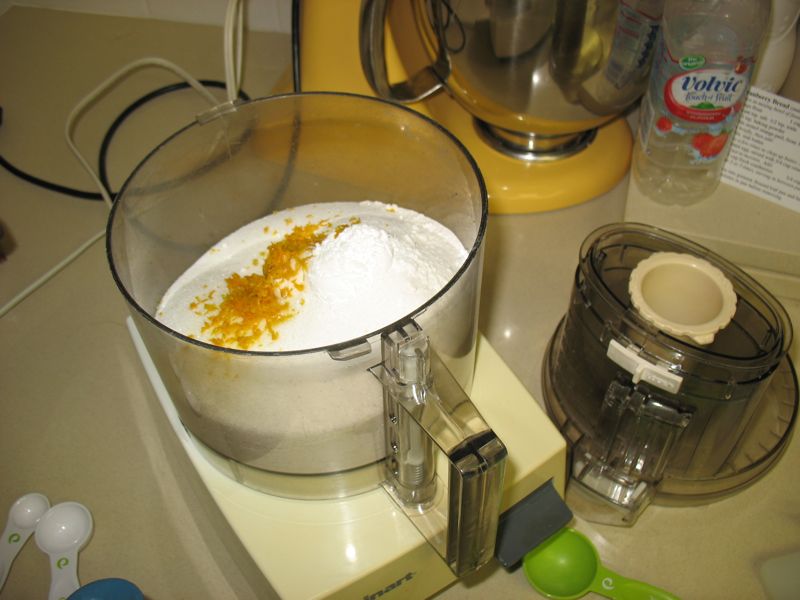
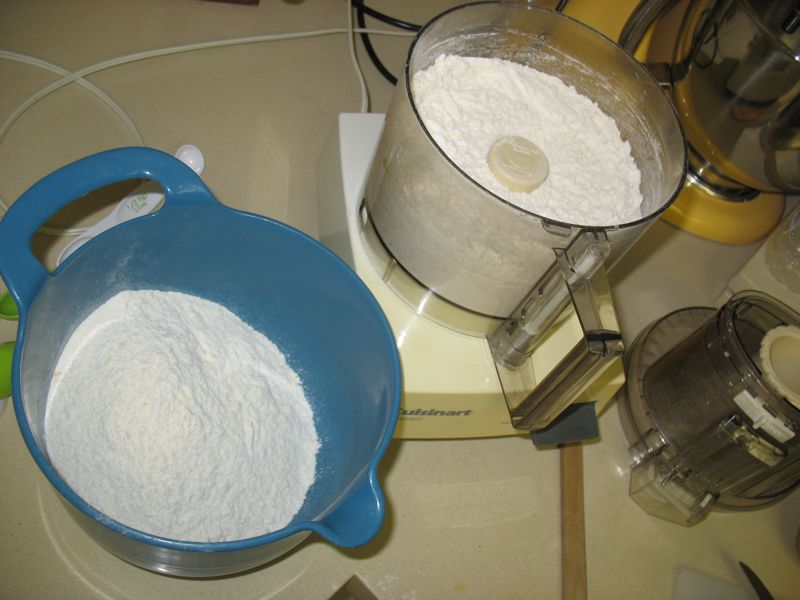
To make two, I first mix up the dry ingredients for one batch in the food processor…

CranberryOrangeBread_2

…then transfer it to a bowl and start the second batch.

CranberryOrangeBread_3

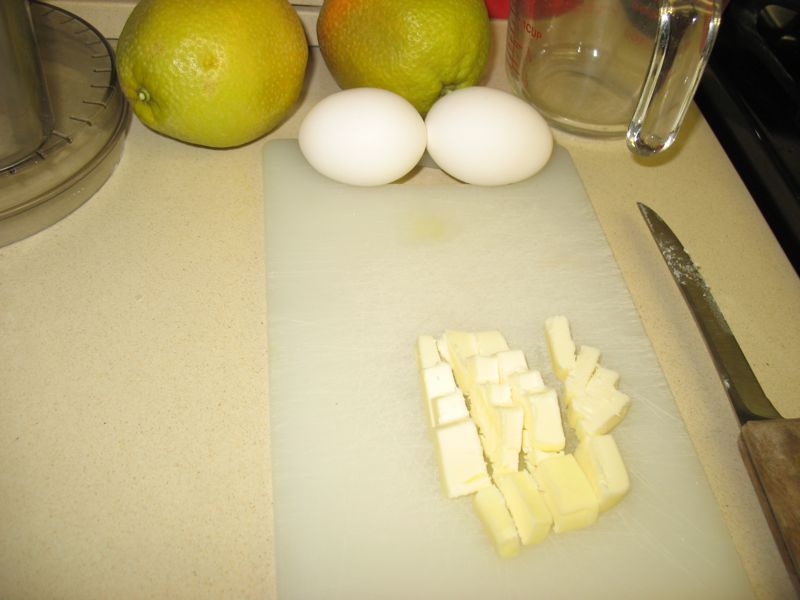
I cut up, then. . .

CranberryOrangeBread_4

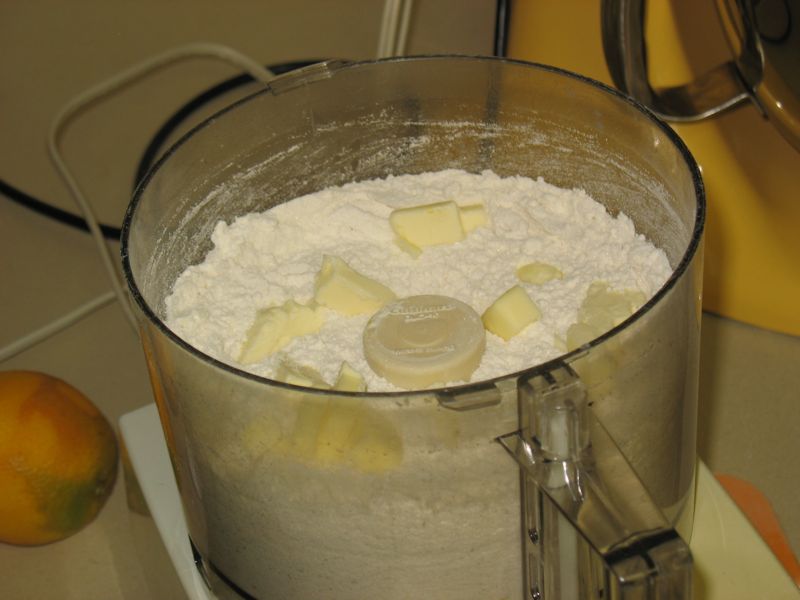
…pulse in the butter, then follow the recipe as written.

When you finish with one batch, scrape out the bowl well, then pour in the reserved dry ingredients and start again.  No need to wash up in between.

Cranberry Bread (makes 1 loaf)

Place in mixing bowl of food processor:
2 cups flour
1 cup sugar
1 scant tsp. salt
1/2 tsp. soda
1 and 1/2 tsp. baking powder
1 Tbls. zested orange peel, from 1 large orange

Mix briefly, then add:
2 Tbls. real butter.

CranberryOrangeBread_9

Pulse a few times to chop up butter, then add:
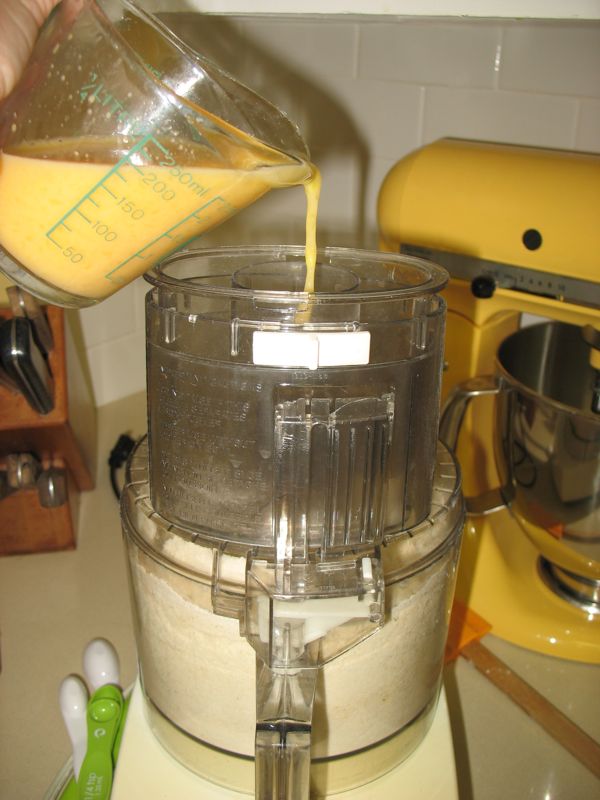
1 beaten egg, mixed with 3/4 cup orange juice.

CranberryOrangeBread_11

Mix just to moisten.  Add:
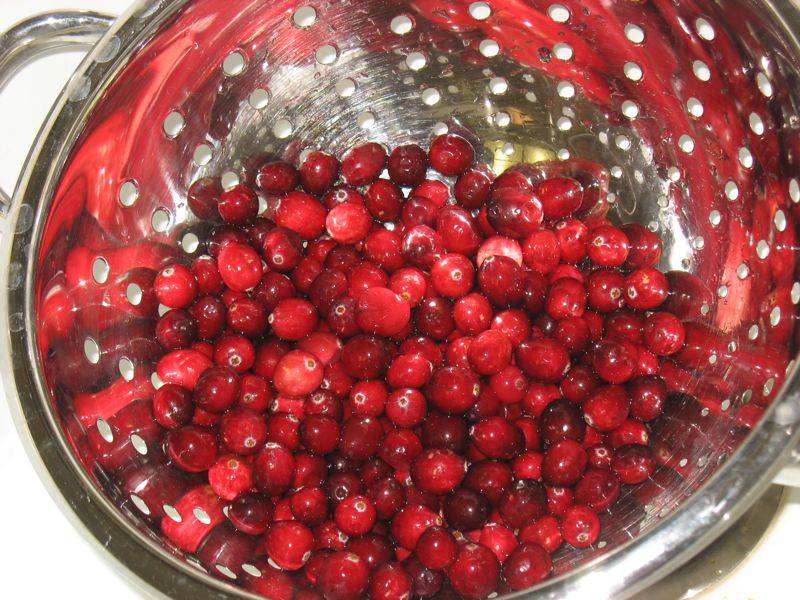
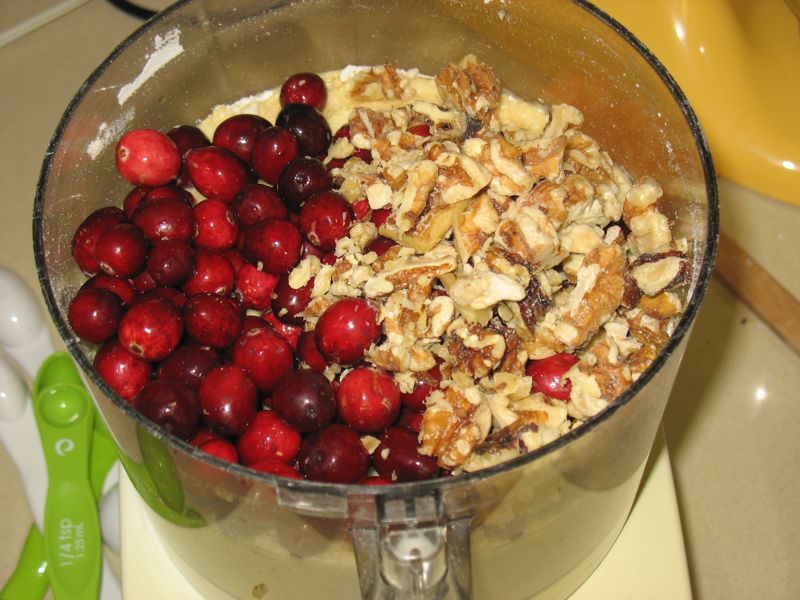
1 and 1/2 cups fresh cranberries
3/4 cup chopped walnuts.

Pulse 2 or 3 times, stirring in between pulses with spatula, if necessary.

CranberryOrangeBread_12

Spoon into greased, floured loaf pan and bake at 350°F for 60 minutes.  Cool 15 minutes in pan before removing.  Then it should pop right out.  Slice, wrap up for the freezer, or to share with a friend, and enjoy!

CranberryOrangeBread_7

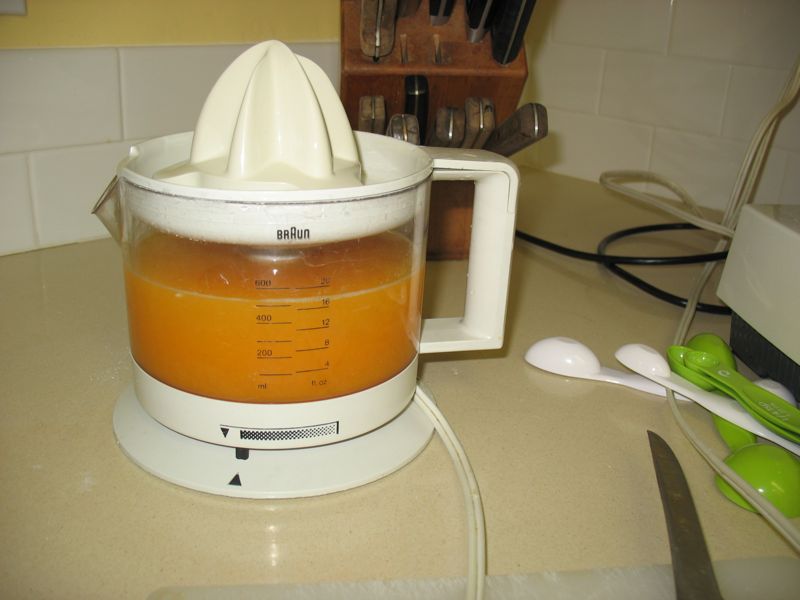
I used freshly squeezed orange juice. 

CranberryOrangeBread_6

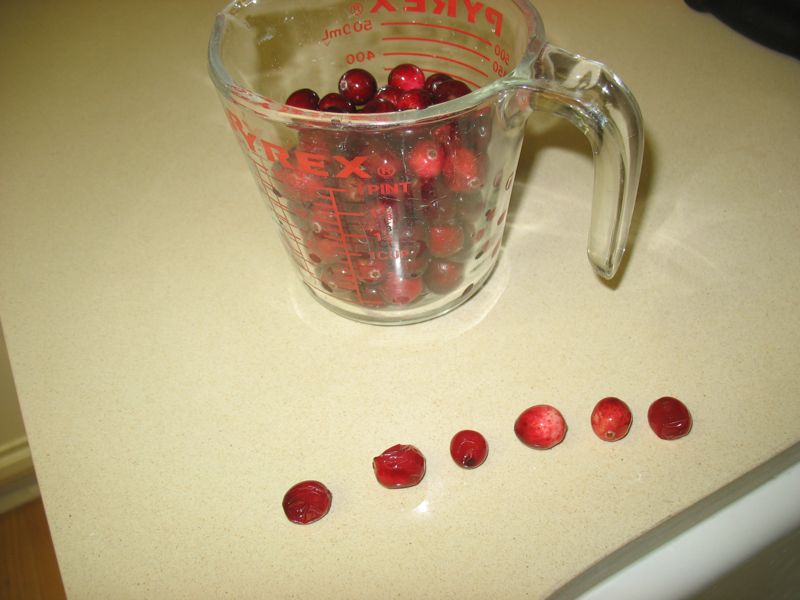
In front are the reject berries: soft, underripe, or nearly goners.

Mom’s Mint Surprise Cookies

IMG_1882

I don’t know where my mother got this recipe, or if she invented it herself, but it’s a cookie I always associate with her and with holiday baking. When I baked up a batch and brought them as a gift to each child at her 75th birthday party, all of us children nodding a knowing smile.

As a child I loved them warm, right out of the oven, or set in the sun on cooler day to warm the mint chocolate surprise waiting inside the spiced cookie.  I liked nibbling the edges of the cookie, freeing me to separate the two halves like those sandwich cookies, and lick off the chocolatey goodness before finishing up the cookie.  However you choose to eat them, they are a winner.

IMG_1871

You’ll need these: Trader Joe’s UFO’s Mint Chocolate Wafers.  Better get two bags because the wafers seem to disappear quickly.

UPDATE: I went in to Trader Joe’s yesterday (December 2013), and they no longer make, nor carry these.  I’m leaving this post up anyway, as it is a good childhood recipe, and maybe someone, somewhere, will make these again!

UPDATE, APRIL 2014: I found some Dark Chocolate Mint Wafers at Kitchen Krafts.  I’ll try them out and see if they work okay.

Barbara Sessions’ Mint Surprise Cookies

2/3 cup shortening
2/3 cup butter
1 cup brown sugar
1 cup white sugar
1/4 cup honey
2 eggs
1/2 cup whole wheat flour
3  1/2 to 4 cups white flour
2 tsp. each: salt, soda, cinnamon, cloves, ginger
12 oz. bag Trader Joe’s UFO’s Mint Chocolate Wafers

Cream shortening, butter, sugars and honey.  Add eggs, beating well after addition.  Mix together whole wheat flour, 1/2 cup white flour and spices.  Blend and add to creamy mixture.  Add the rest of the flour, depening on the size of eggs you used. Chill.

IMG_1872

Wrap one Tablspoon dough around one chocolate mint wafer.

IMG_1876

Bake 375 degrees F for 10-12 minutes.  Let cool on rack, if you can stand to wait.  They freeze well.

IMG_1883

Sugar Cookies

Sugar Cookies

This recipe is for plain old sugar cookies.  The kind that you roll out and cut with shapes, while your granddaughters (and you) try to sneak the dough.  I first made this recipe about 40 years ago while in high school, when we had to bake giant football-shaped cookies for the football players, a fund-raiser hosted by Girls for Gunn.  I was in leadership that year, so took over my mother’s kitchen making 8″ cookie footballs, decorating them with icing, cutting cardboard to fit and stretching plastic wrap over them to deliver on the morning of Homecoming. I have made it multiples of times since, first with my own children and now with my grandchildren.

You can make it ahead and store it in the refridgerator; it may need a few minutes to warm up a bit before you can roll and shape them.  These cookies are good with a shake of sugar over them just before putting them into the oven, or, if you leave them plain, decorated with frosting and sparkles/candycorn/M&Ms, or what have you.  These granddaughters were fascinated by the physics of placing candy corn on the uncooked cookies, then watching the corn melt into strange and unusual formations while in the oven.

Elizabeth Eastmond’s Sugar Cookies           

3 cups sifted (or stirred) flour
1 cup sugar
1 and 1/2 teaspoons baking powder
1/2 teaspoon salt
1 cup soft butter (don’t use margarine)
1 egg, slightly beaten
3 Tablespoons cream
1 teaspoon vanilla extract

400° F oven  Yield: approximately 72 cookies

Sift flour, sugar baking powder, salt into mixing bowl.  Using electric mixer (or pastry blender) cut in butter until particles are fine.  Add egg, cream and vanilla extract.  Blend thoroughly.  Gather dough into ball.  Chill, if desired, for easier handling.

Roll out on floured surface 1/2 at a time to a thickness of 1/8 to 1/4 inch.  (The thinner the cookie, the crispier.  The thicker the cookies, the softer they will be.)  Cut into desired shapes; place on ungreased cookie sheet. {If you don’t plan to frost them, sprinkle them with granulated sugar before baking.} Bake 400°F for 5-8 minutes or until golden.

Roasted Carrot Salad

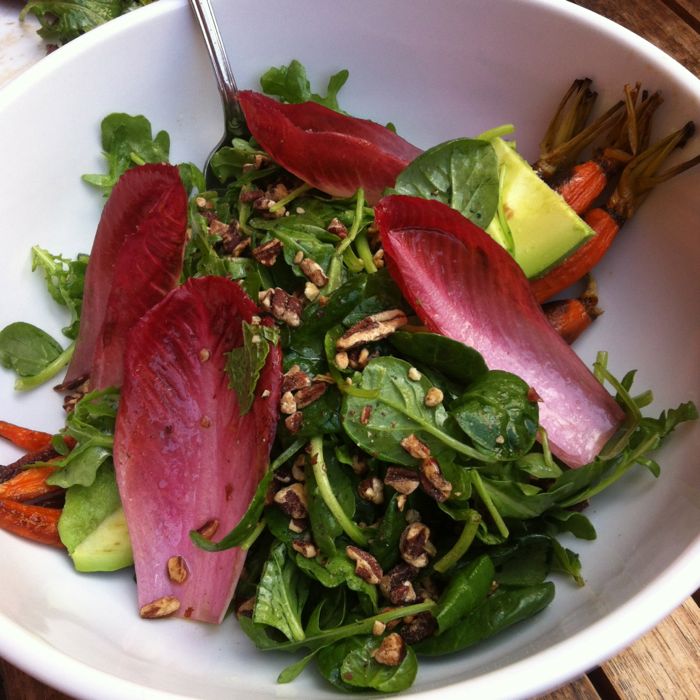
Rstd Carrot Salad

Dave and I have gone twice to Sycamore Kitchen in Los Angeles for lunch, and had two different kinds of salads, with a sandwich.  Everything’s been top-notch.  I wanted to try and replicate the Roast Carrot Salad we had, as it was so unusual with its carrots peeking out from a frothy mixture of greens and toasted pecans.  I could tell the carrots had some sort of marinade on them, so started hunting on the internet for something comparable.  To my surprise, Sycamore Kitchen had posted their recipe on a Meatless Mondays column, written for the LAWeekly blog.

It has a really mellow flavor, this combination of avocado and roasted carrots, and I was happy to recreate it from their very own recipe, which is below.

Roasted Carrot and Avocado Salad with Pecans

From: Karen Hatfield
Serves: 4-6 people

2 ounces ginger root (I used a lobe about the size of my entire thumb)
1 ounce peeled garlic cloves (I used about 3-4 large cloves)
¾ cup soy sauce
½ cup rice wine vinegar
¼ cup lemon juice
2 tablespoons dark brown sugar
1 teaspoon chile flakes
24 young carrots with tops (about 1-inch in diameter, about 8-inch in length)
¼ cup vegetable oil
2 Hass avocados
4 cups arugula
2 cups tatsoi (didn’t have this, so substituted some baby spinach leaves)
2 heads red Belgian endive
12 large basil leaves (Opal basil recommended)
24 mint leaves
Lemon juice and olive oil to taste
Salt and pepper
1 cup toasted pecan pieces

1. Cut the ginger into 1-inch pieces. Using the back of a sturdy saucepot crush ginger and garlic and place in a large mixing bowl. Add soy sauce, rice wine vinegar, lemon juice, dark brown sugar, and chile flakes in a bowl; whisk until the sugar has dissolved. Reserve at room temperature for up to 4 hours. This will be the marinade for the roasted carrots.

2. Preheat oven to 425°F. Peel carrots and trim the tops to leave only one inch of green. Wash the area where the top meets the carrot as this is where dirt is the trickiest to remove. Dry well and spread carrots on a sheet tray (or two if needed) so that they are in a single layer, not touching.

3. Drizzle vegetable oil over and lightly season with salt (not too aggressive, the soy sauce with contribute more salt later). Roast the carrots in the oven until tender, turning only when the bottom side takes on a deep caramelization. The time will depend on the oven, but it usually takes between 12 to 25 minutes.

4. When the carrots are cooked, transfer them to a roasting pan large enough to snuggly fit all the carrots in a single layer. Pour marinade over and allow the carrots to stand in a warm place (like on top of the oven) for at least 15 minutes and up to 1 hour.

5. Meanwhile, peel, seed and slice avocados to about ¼-inch thick and reserve. Trim the red endive and separate into leaves. Place endive leaves in a bowl with the arugula and tatsoi. Tear the basil and mint leaves into large pieces and add to the lettuces. Season all with a little lemon juice, olive oil, salt and pepper and toss gently

6. Divide the carrots evenly among serving plates keeping them together and parallel. By now, the marinade should have coated the carrots; but if desired, spoon a little extra over the carrots, being careful not to include the crushed ginger or garlic pieces.

7. Place avocado slices on top of the carrots. Carefully arrange the salad in a perpendicular row over the carrots so that the tops and bottoms of the carrots are still showing. Sprinkle the toasted pecans over the whole salad and drizzle a little bit of olive oil over the top to finish. Serve immediately.

The biggest time-consuming part was the prep of the marinade, in terms of my labor.  The rest was merely waiting for the carrots to roast (I had to turn the oven up to 450 for the last few minutes to get them to carmelize properly).  You could do the carrots ahead of time, but after their resting time in the marinade, I would drain them if you are going to store them in the fridge overnight.  Trust me, the taste is still very strong, even without the soaking in the marinade.  We had more carrots than needed for our salads (I halved the recipe) and I enjoyed them as a snack, right from the fridge the next day.

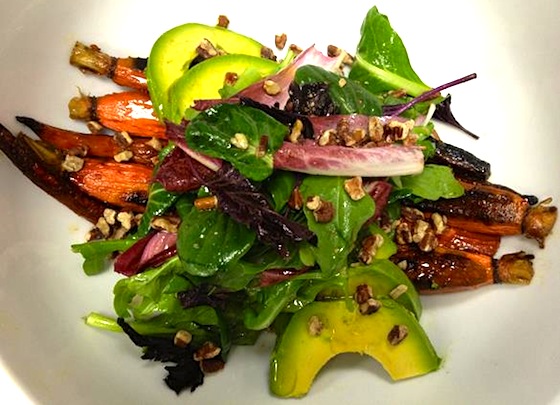
The photo above is the one I took on the day we ate there.  Here’s the photo they submitted with their recipe:

roasted-carrot-salad

Lime Sugar Cookies

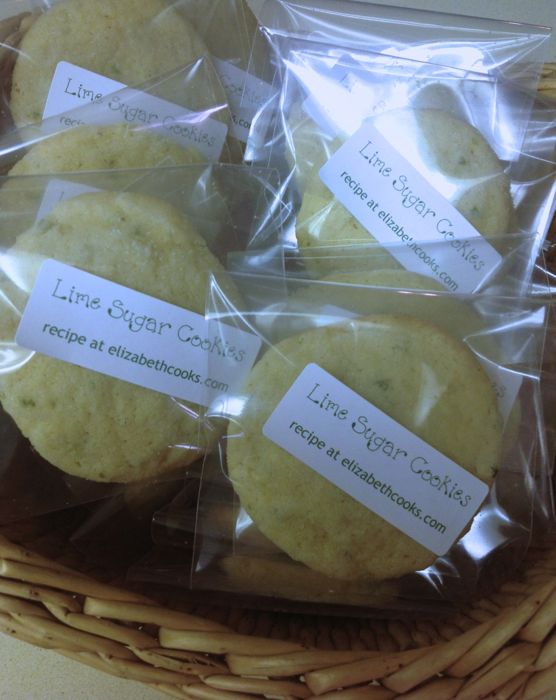
Lime Sugar Cookies

It’s been unbearably hot here this past couple of weeks, and it came time to make a treat for the ladies at church and all I could think about was cool things: icy drinks, ice cream, and lime, because for some reason I associate lime with cool summery things.  And I usually make the ladies a cookie, so I went hunting for a recipe.  What I present below is a variation of a recipe found on Epicurious (first published in Gourmet Magazine in July of 2000), incorporating a few of the reviews.

Lime Sugar Cookies_1

While I don’t usually like cookies that take too many steps (I believe you’re just supposed to throw stuff into a mixing bowl, then onto the cookie sheet, then pop the resulting warm baked treat into your mouth), this extra step of making lime sugar is a good step to add, for these cookies are pretty tender, and getting the lime-infused sweetness into them and onto them adds to their appeal.

Lime Sugar Cookies_2

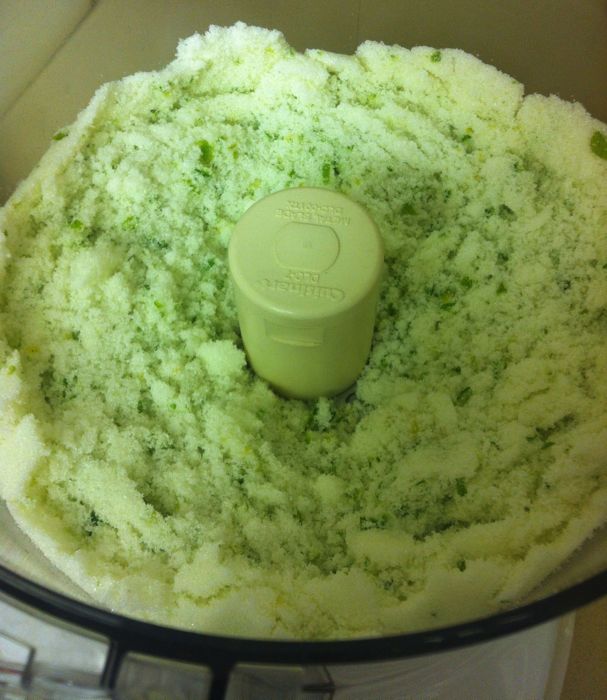
If you don’t have a food processor, I suppose you could use a rasp to grate the lime peel, then blend into the sugar WELL, and it will probably work.  This batch made about 55 cookies.  Last caveat: the dough is really soft and must be chilled for easier handling, so while these are easy to whip up, be sure to chill them at least four hours.  As far as shaping goes, I used a small cookie dough scoop to get them uniform; alternatively you could roll the dough into the size of a golf ball with your hands.

First make your Lime Sugar
9 limes
2  1/2 cups sugar

Preparation
Remove zest from limes in strips with a vegetable peeler being careful not to strip off the white pith along with the zest (a little won’t matter, but pith imparts a bitter flavor). Unchopped, the zest measures a healthy one cup (see photos above).  Place sugar in the food processor, add lime peels and grind until mixture is pale green with bits of zest still visible. Lime sugar may be made 3 days ahead and kept, chilled, in an airtight container, but could also be frozen for longer storage.  NOTE: The sugar becomes aerated in the food processor; do not pack when measuring.

Now make the Cookies
2 and 1/4 sticks (18 tablespoons) butter, softened
6 tablespoons cold vegetable shortening
3 cups lime sugar
3 large eggs
3 teaspoons vanilla
3 3/4 cups all-purpose flour
3 teaspoons baking powder
1 and 1/2 teaspoons salt

Preparation

Beat together butter, shortening, and lime sugar with an electric mixer until light and fluffy. Beat in eggs and vanilla. Combine flour, baking powder, and salt together then add gradually to the egg mixture; beat on low speed until just combined.

Cover and chill dough until firm, at least 4 hours.

Preheat oven to 375°F.

Mix 1 cup granulated sugar with 1/2 cup lime sugar in a bowl.  Using a small cookie scoop about the size of a golf ball, scoop balls of dough into the sugar mixture, then roll to cover well. (At our house, we put the sugar mixture in a ziploc bag, add the dough balls to that and shake gently to cover them in sugar.)

Lime Sugar Cookies_3

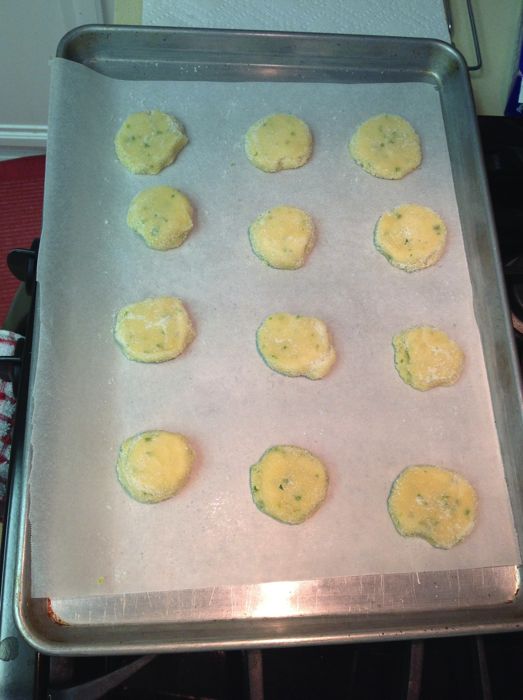
PROPERLY PLACED COOKIES

Shake off excess, then place 2-3 inches apart on parchment-lined cookie sheet.  Press lightly with bottom of a drinking glass to flatten slightly.

Bake cookies in batches in middle of oven 11 to 12 minutes, or until pale golden with slightly dark golden edges. (Don’t overbake.)  Immediately transfer with a metal spatula to a rack set. Cool cookies.  Dough can be made 2 days ahead and chilled, wrapped well in plastic wrap.  Cookies keep in an airtight container at cool room temperature 2 days.

 Lime Sugar Cookies_4

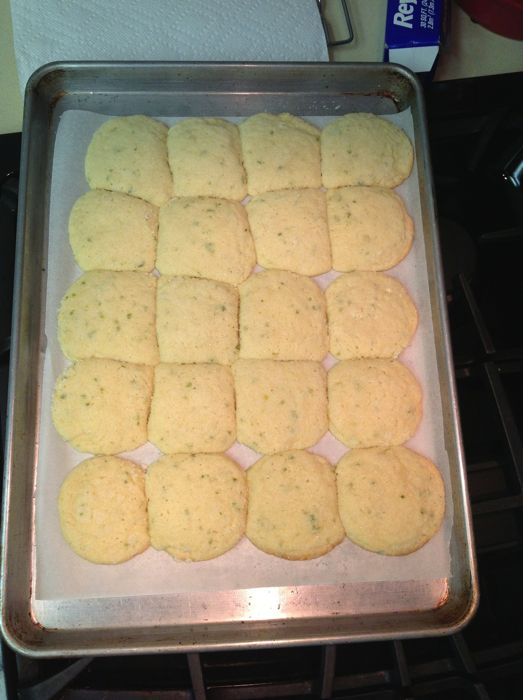
FAIL.

This is why you shouldn’t crowd the cookies.  They were still good, but required 13 minutes to cook and were slightly square. Confession: I still packaged them up and gave them out, but put the prettier ones on top.

Cherry-Arugula Salad

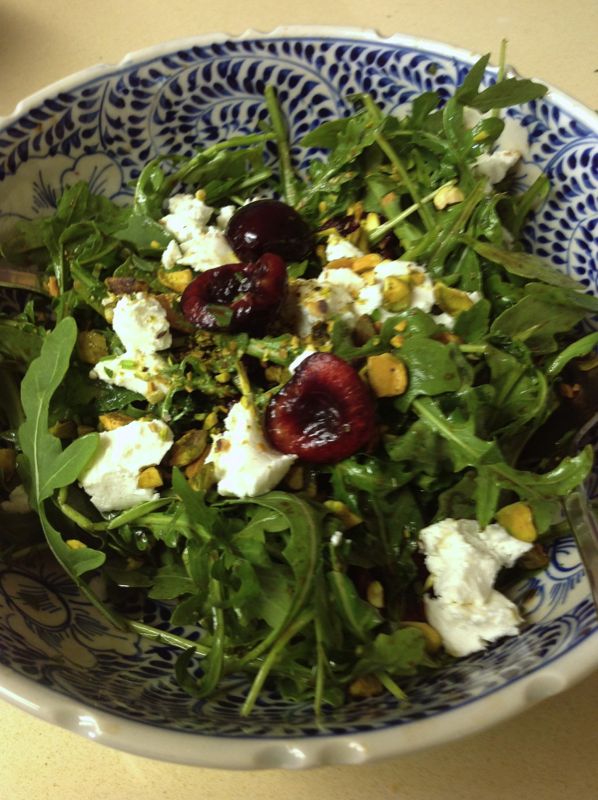
Cherry-Arugula Salad

Bedridden from a foot surgery, I fantasized about getting up and cooking and about what I’d make when I could finally get out of bed.  An article in the New York Times about cherries was published just about that time, and a friend picked up the ingredients for me to make this creation from Martha Rose Shulman (whose recipes I generally adore).  It was just the ticket for bringing some new flavors to our menu which had been, for a week or more, built around prepared freezer meals from the grocery store.  It was wonderful!

It has a strong flavor so don’t serve something delicate with it–to go along with this, try seasoned barbequed chicken thighs and a sturdy side dish.  But the combo of the tangy vinaigrette alongside some brilliantly flavorful cherries and creamy chevre was heaven.

 1 6-ounce bag baby arugula
16 cherries, halved and pitted
Scant 1/4 cup pistachios or almonds, (about 1 ounce), lightly toasted and chopped
1 tablespoon chopped fresh tarragon
1 tablespoon sherry vinegar
1 teaspoon balsamic vinegar
Salt and freshly ground pepper
3-5  tablespoons extra virgin olive oil
2 ounces goat cheese, crumbled

Combine the arugula, cherries, half the nuts and the tarragon in a large bowl.

Whisk together the vinegars, salt and pepper and olive oil. Toss with the salad. Arrange on a platter, sprinkle the goat cheese and remaining pistachios over the top, and serve.

Yield: 4 servings.

Cook’s Note: I didn’t have sherry vinegar, so I used rice wine vinegar with about 2 teaspoons sugar, for a substitute.

Nutritional information per serving: 212 calories; 18 grams fat; 5 grams saturated fat; 2 grams polyunsaturated fat; 10 grams monounsaturated fat; 11 milligrams cholesterol; 9 grams carbohydrates; 2 grams dietary fiber; 87 milligrams sodium (does not include salt to taste); 6 grams protein

Quick and Easy Pie Crust

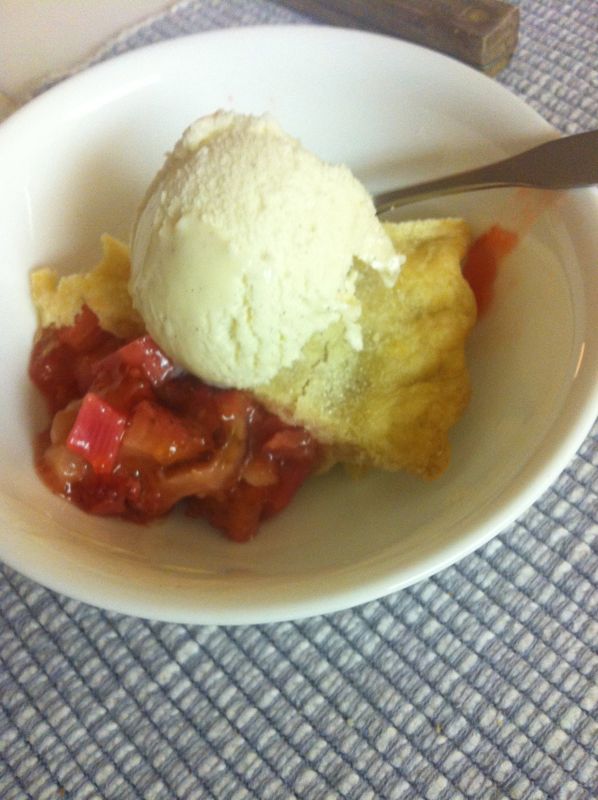
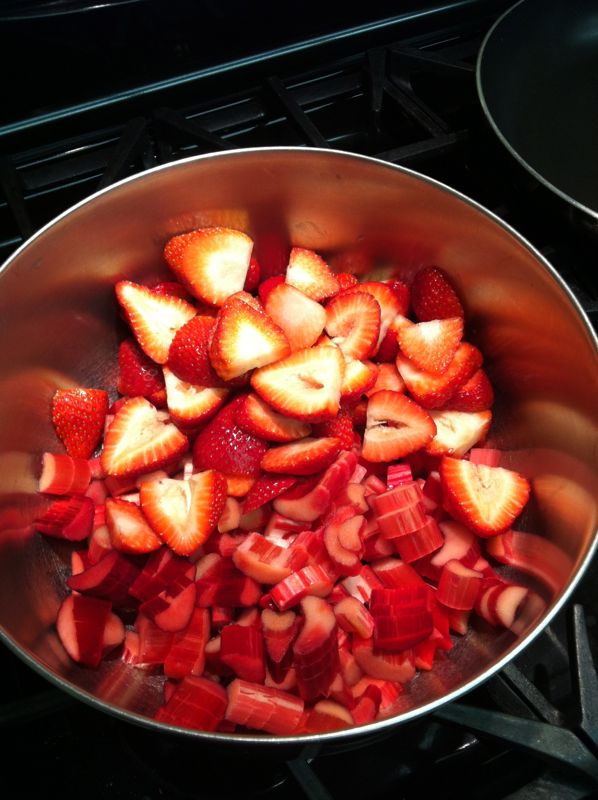
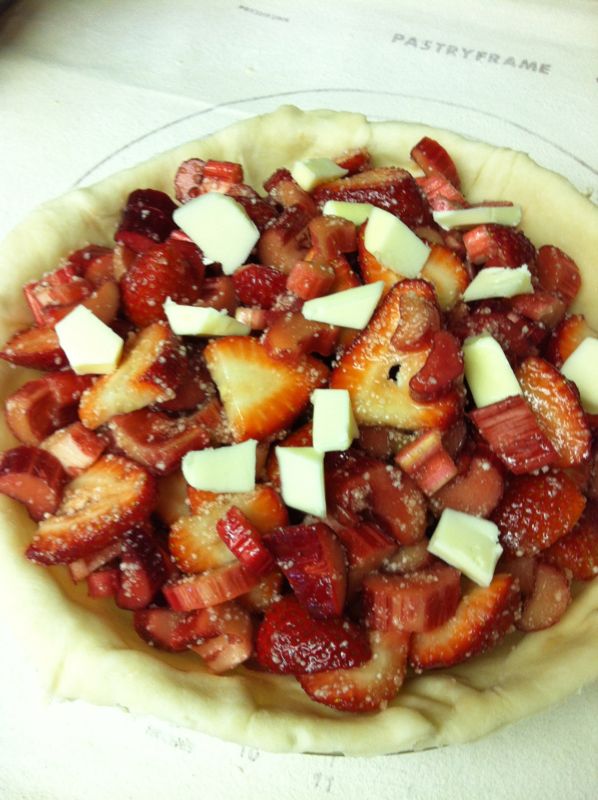
Strawberry Rhubard Pie

Based on the old-fashioned taste test, this is a winner pie crust recipe, and it’s easy, too.  And it tastes WAAAAAY better than those things you buy in the store, although if you have broken your hand or something, you’ll just have to buy those instead.  This recipe makes a one-crust pie shell.  For a two-crust pie, please double.

In a medium bowl, place:
1  1/2 cups flour
1/2 teaspoon salt

Blend together, then cut in 1/2 cup shortening until the pieces look like little peas.  Here’s a video, with an annoying beep, with the cook using a pastry blender, OR, here’s a video, with narration, of the cook using two knives.

pastry blender

I’ve done both (the pastry blender is easier).  Pictured above is my favorite kind.  If the dough stuff gets caught in the loops, just run a knife over it to get it out.  You’ll know what I mean when you use it.

Toss in 3-4 Tablespoons of really cold water, about 1 Tablespoon at a time, fluffing and tossing with a regular dinner fork, until the dough starts to hold together in clumps, and when you try to gather it together in a ball with your hands. . . you can.  The less you work your pie crust, the more tender it will be.  And the least amount of water you can put in keeps it from being soggy.

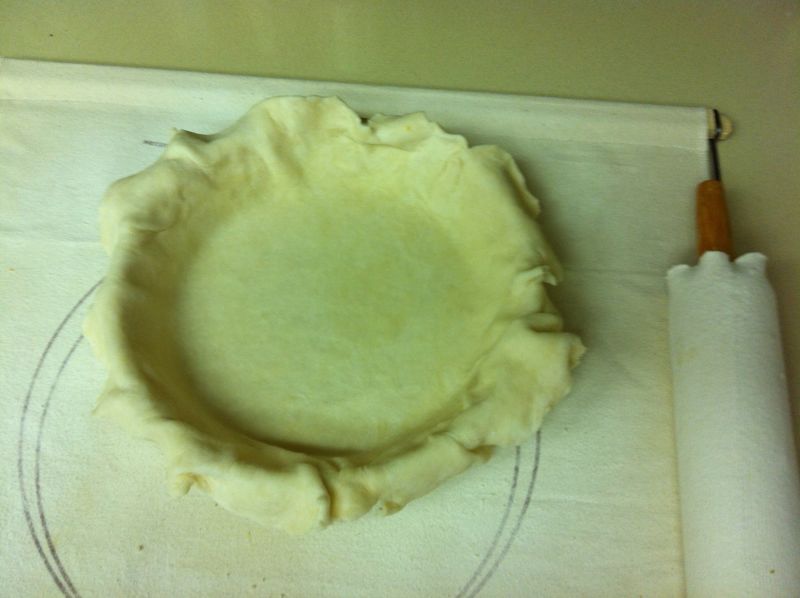
getting dough into pie plate

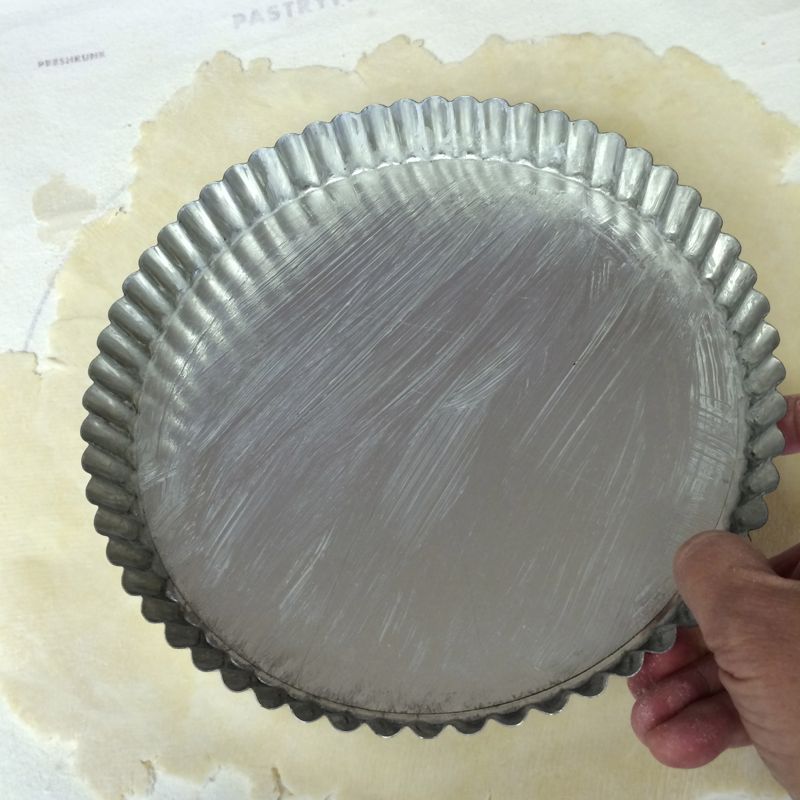
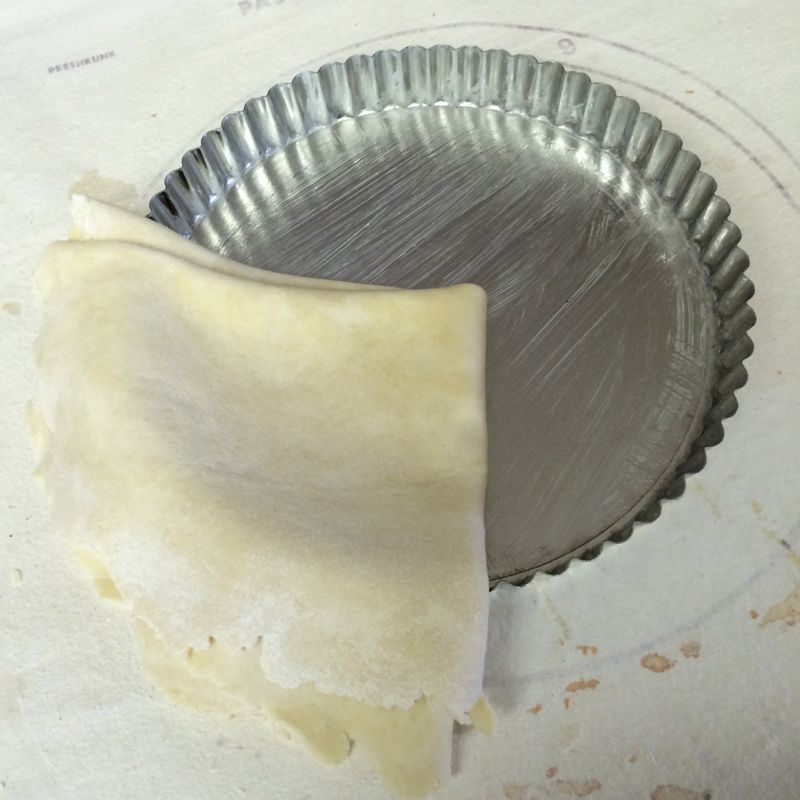
Roll it out to the desired size, usually about 11″ round for a regular pie, then roll it back onto your rolling pin, and lift it onto your pie plate.  This website has some pretty good pictures of the process, including the cutting in business (it’s where the picture above was taken from).

Crust

Follow the directions in your recipe for baking and filling, but generally, if you are going to cook an unfilled pie crust, you’ll need to weight it down with a square of tin foil, on which you’ve placed uncooked rice or beans.  Bake for about 10 minutes at 425 degrees.

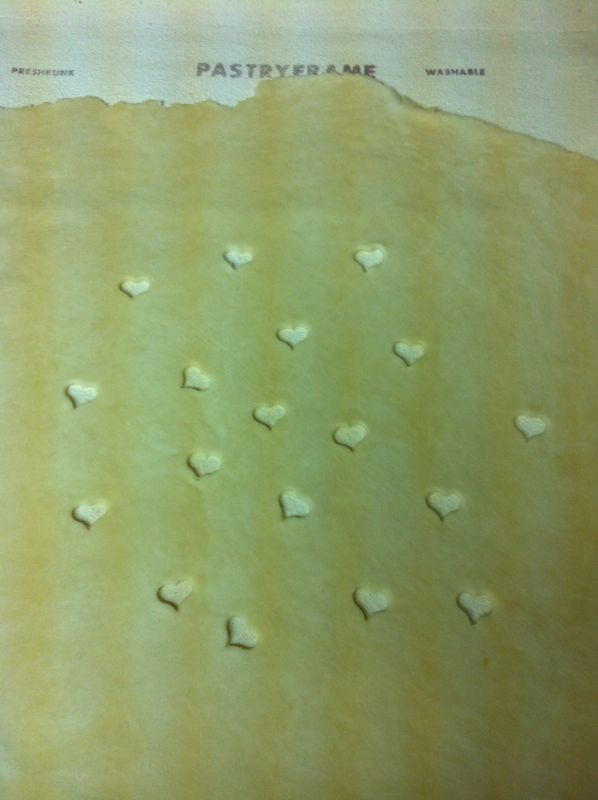
Above you see my Foley Pastry Frame, which is a square of canvas stretched between two bars and held in place by wire thingies.  I also have a stockinette for my rolling pin.  I wash this only when it becomes heavily spattered with food, and believe it or not, I store it in the freezer to make sure the cupboard moths don’t find it.

And one last detail: I think a rolling pin with ball bearings makes life easier, but you get to choose.

Tortellini en Brodo

Translated, this means tortellini in broth.

We arrived in Bologna on a rainy October night, and asked the hotel desk for a dinner recommendation.  Da Nello, he said.  A restaurant just off the main square.  And then he said, “Tortellini en Brodo is very good.  My favorite this time of year.”  Apparently this soup is served when the weather turns cold, and since Bologna is the birthplace of the tortellini, I thought I should try it.

This is a photo of the soup that night.  They brought me this steaming bowl of tortellini and a jar of grated Parmesan cheese, which the server indicated that I should sprinkle over the top.  The tortellini were very small–about the size of my thumbnail and chewy rather than soft.  I doubted this serving would fill me up, but by the end, I was happy, warm and in possession of a new traditional recipe.

We found the food in the Emilia-Romaga region to be simple, yet incredibly flavorful.  I think it is because they use very high quality ingredients.  So when you prepare this ready-in-ten-minutes soup and because there are only three elements, be sure to use high quality ingredients.

Ingredients
1 quart low-salt chicken broth, good quality. [Note: I use Swanson’s and have good results.]
1 8 oz. package fresh tortellini from the grocer’s, often found near the deli section

Preparation
Heat the broth to a low bubbling boil, then slide in the tortellini.  Cook for 5-8 minutes until pasta is tender (but don’t overcook).  Serve with freshly grated parmesan cheese (not the stuff in the green bottle–use high quality, please).

Tortellini Soup

When it’s raining or cold outside, it’s a Soup Night inside.  And this one is a good candidate because it is chunky, hearty and has lots of vegetables and flavor.  It is — as are all soups — generally better the next day, so you can use that as your excuse for making a big batch and serving it twice.

This soup was originally published in Bon Appetit, but I have made changes over the three billion times I’ve made it.  Well, maybe I haven’t made it that many times, but I’ve made it for our own supper, potlucks, soup parties and everytime I bring it somewhere, someone asks for the recipe.  Here it is.

Italian  Sausage  Soup  with  Tortellini–Yield: 8 servings, 1 1/2 cups each
(That’s the official name, but we just call it Tortellini Soup.)

1 lb. Italian sausage (I use Jimmy Dean’s Sage sausage as a back-up.)
1 coarsely-chopped onion
2 garlic cloves, sliced
4 cans (14.5 oz)  beef broth
1/2 cup water
2 1/2 cups (5 medium) chopped, seeded, peeled tomatoes, or 1 1/2 pounds Roma tomatoes (see note below)
1 cup thinly sliced carrots (about 3)
1/2 tsp. basil leaves
8 oz. can tomato sauce
1 1/2 cups sliced zucchini (about 2 medium–8″ long)
1 bag of dried tortellini (8 oz)
1 pepper, preferable a sweet red or golden pepper

Grated Parmesan Cheese (I used cheddar tonight, which is what you see above.)

If sausage comes in a casing, remove casing and brown sausage in a 5-qt. soup pot.  Remove sausage; drain.  In 1 Tbs. of drippings, sauté onions and garlic until tender.  [Cook’s note:  I just throw in the onions and garlic to the almost browned sausage and keep stirring.]

(They call for peeled seeded tomatoes.  Sometimes I do peel mine, but other times, I just cut them  up, then pop out the seeds with my thumb.)

Add beef broth, water, tomatoes, carrots, basil, tomato sauce and sausage.  Bring to a boil.  Reduce heat; simmer uncovered 30 minutes.  Skim fat from soup.

(If you use the full 16 oz. package of dry torrellini, you will have less of a soup and more of a casserole; try using just half of the package for a more soupier soup. Fresh tortellini can also be used, but it won’t be as delicious, as the dry pasta soaks up the broth and flavors of the soup.)

Stir in zucchini, tortellini and pepper.  Simmer covered an additional 35-40 minutes or until tortellini are tender.  Sprinkle Parmesan cheese on top of each serving.

NOTE: I added crimini (brown) mushrooms this time around, cuting them into chunks.  This is strictly optional.  If you use the Jimmy Dean’s sausage instead of the Italian, add a pinch of red pepper flakes to amp up the flavors.