Faculty Open House December 2010

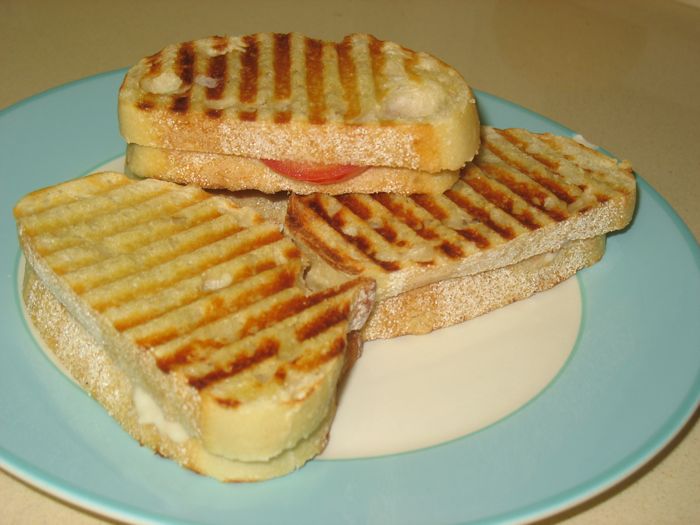
The Faculty Open House 2010 menu was  little simpler than last year’s, but we still tried to have a hot dish, various cold dishes, sweets and snacks.   Our Wow item this year was Make Your Own Paninis, with a variety of toppings.  Here are some photos from that event.  Look above, in the tab marked Find the Recipes, to –um– find the recipes.

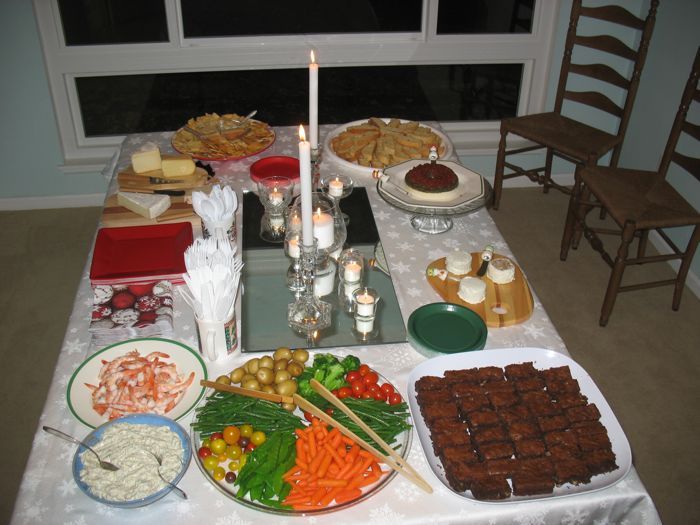
The dining room table had (from lower left, going clockwise):

Shrimp with Dill Dip
Cheeses
Chips and Hummus
Biscotti (large white round platter at upper right)
Pesto Ring (purchased from Costco–see last year for the real thing)
Trio of Goat Cheese
Outrageous Brownies
Blanched Raw Vegetables

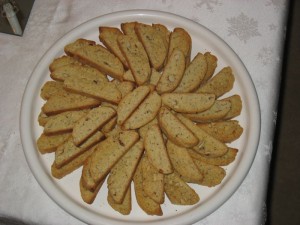
Biscotti

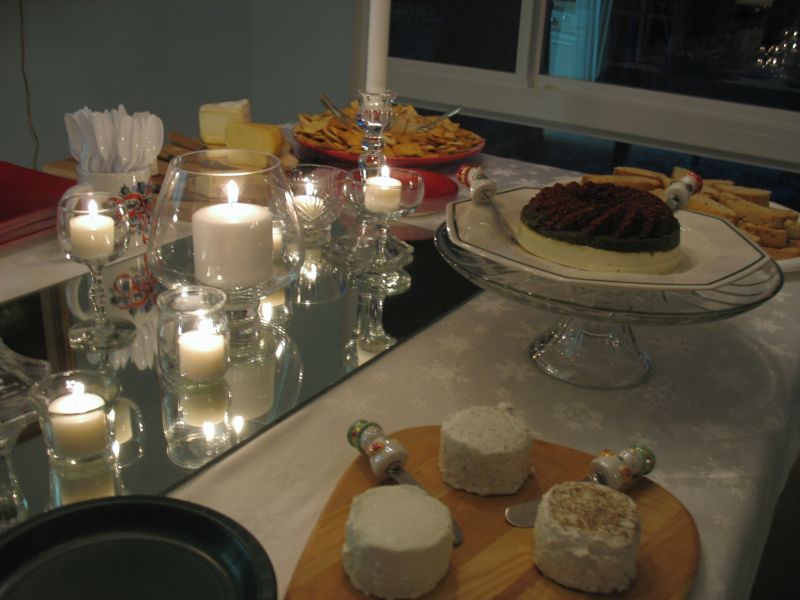
Candlelit version

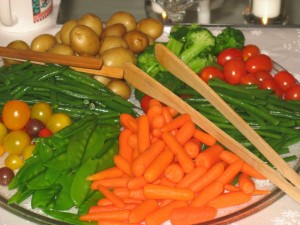
I blanched many of the vegetables:carrots, pea pods, green beans, broccoli, and boiled up some small white rose potatoes. I then added heirloom and regular grape tomatoes to give variety and color to the platter.

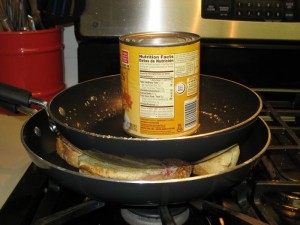
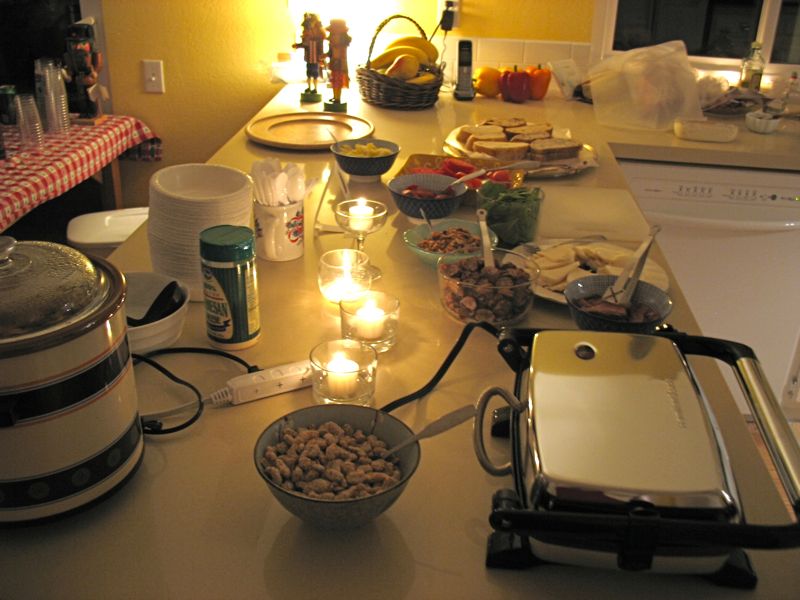
The Tortellini Soup pot is on the left, and the Make Your Own Panini grill and fixings are on the right.  In the background you can see the checkered tablecloth where we had our sodas all line up for people to try.  Yes, we are an alcohol-free party.

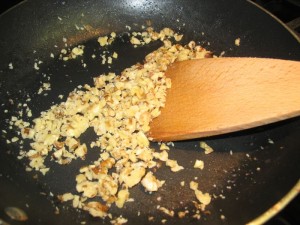
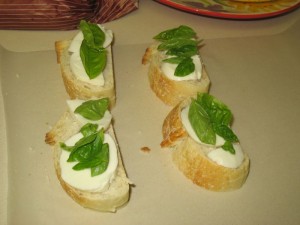
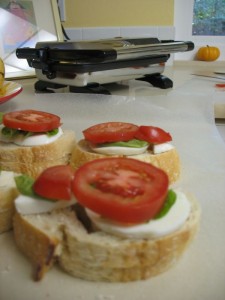
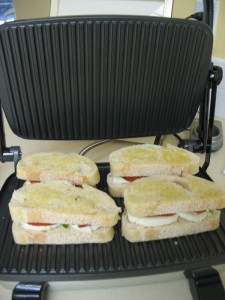
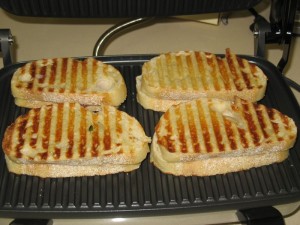
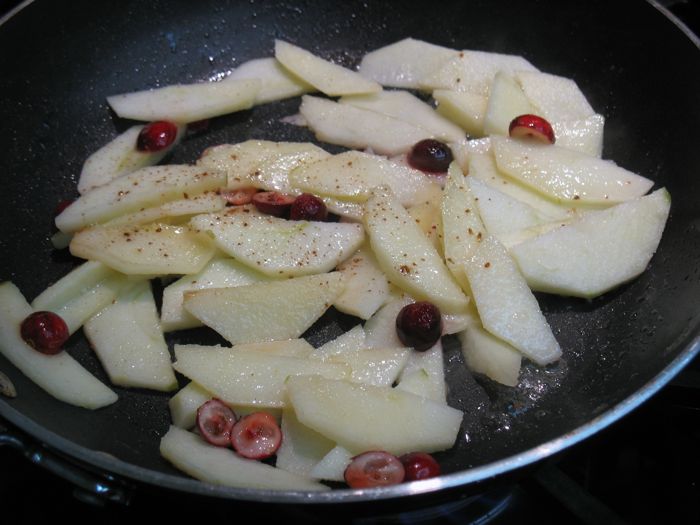
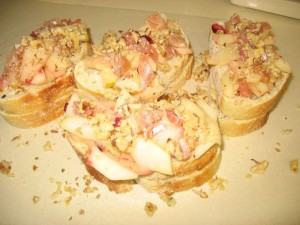
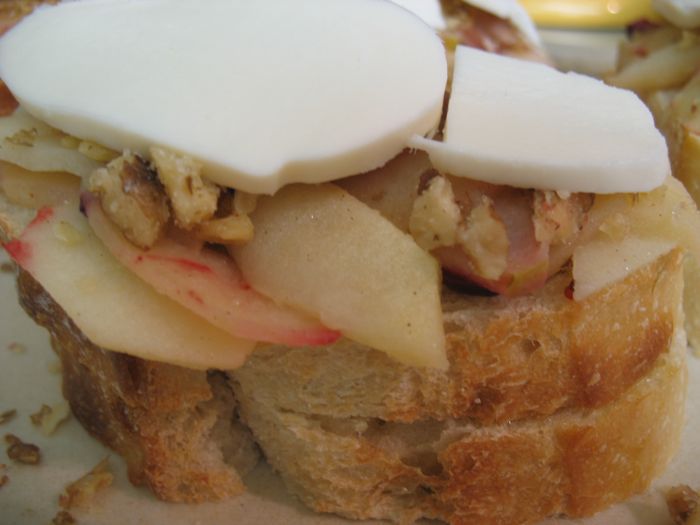
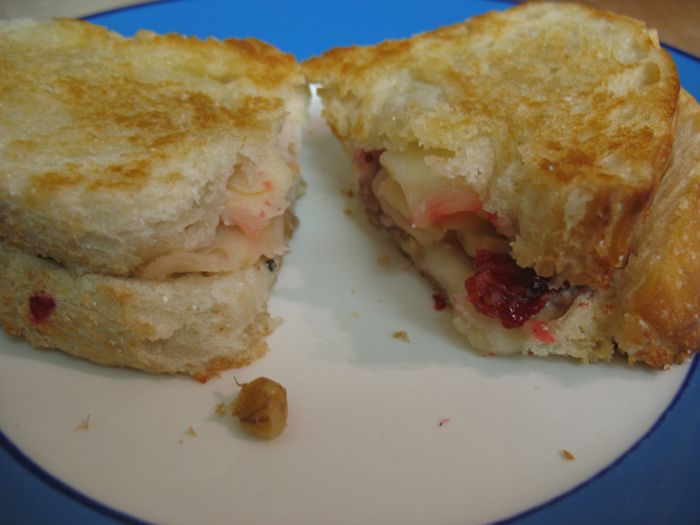
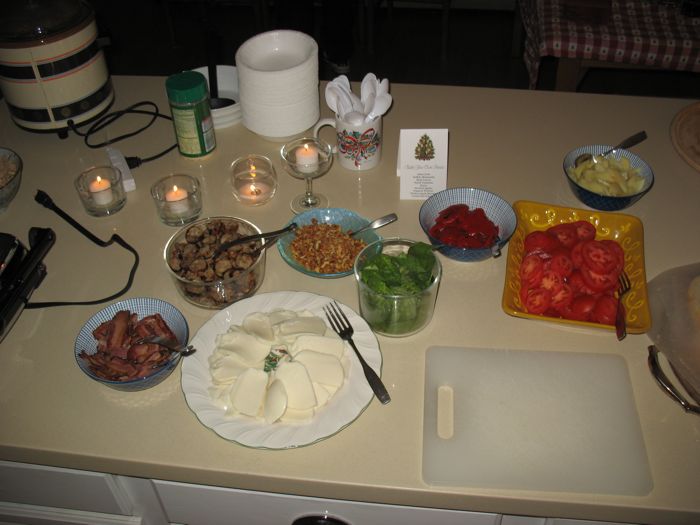
I’d prepared (boiled, then grilled) some chicken-apple sausage, then cut it up into “nickel-slices.”  We also had some crisp bacon (from Trader Joe’s–the best!), buffalo mozzarella, sugared walnuts, fresh basil leaves, sliced tomatoes, grilled red peppers, and lightly sauteed apples.  On the left we’d brushed olive oil on one side of a pair of slices of La Brea breads (Costco), placing the oiled sides in.  The idea was to build your own, then grill it.

Desserts (Barefoot Contessa’s Outrageous Brownies and Biscotti) were in the other room.  I learned that if you cut the brownies smaller, they go faster (last year they were big chunks and no one took any–this year I cut them smaller and a lot were gone by the end of the evening).

It was lovely evening of people enjoying each other’s company.

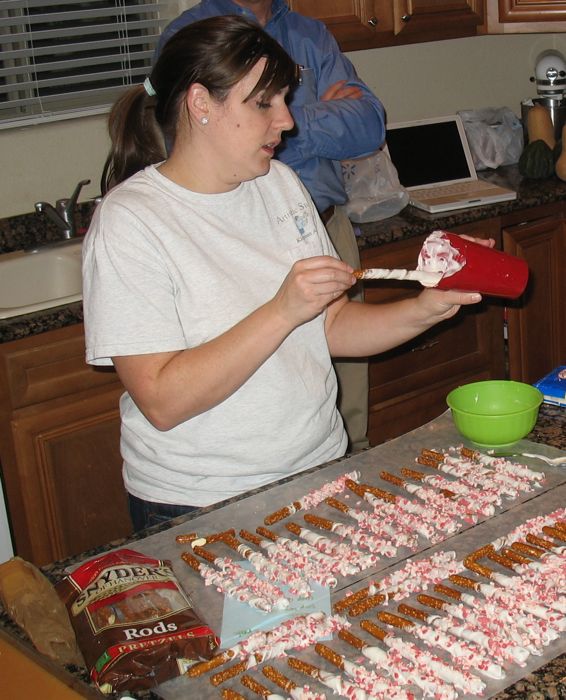
Dipped Pretzel Rods

This is no rocket science.

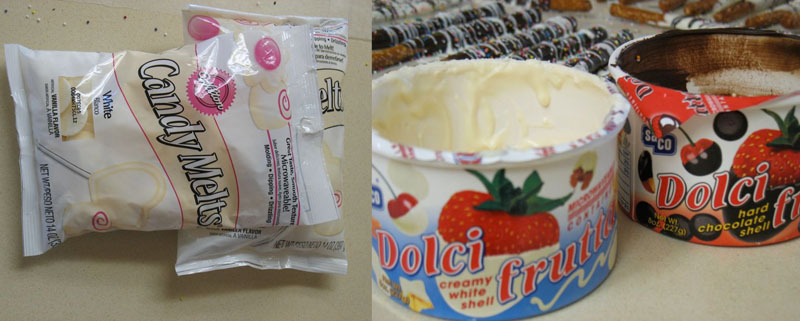
Buy chocolate blobs at Michaels (I think they have three different flavors), or melting chocolate bricks (Stater’s Brothers), or melting chocolate cups (grocery store).

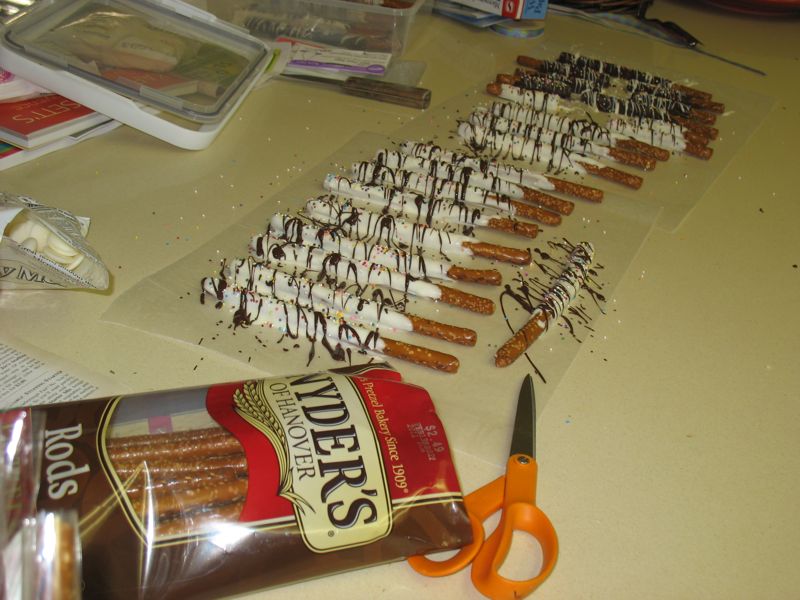
Buy pretzel rods (I found Snyders at Walmart and at Stater’s).  Look at bags and buy the bag with the least broken sticks–but after being dipped, they’re good too. Notice the mess–you can always clean up later.

Buy sprinkley things.  Buy skinny bags for pretzels (Michaels).  Follow the pictures below.


First, dip them in the melted chocolate of your choice–white or dark. We kind of hold the pretzel over the bowl and goop it on.

My daughter likes to use a tall cup.  Before laying them down, take a spoon and stroke the chocolate off one side, then lay the pretzel down on that side.  If you don’t stroke some off–it makes a gigantic puddle.  Sometimes I throw the cake sprinkles on right now.

Take a fork, dip it into the contrasting chocolate and wiggle it over the pretzel rods.  A thinner (warmer) chocolate consistency is better.  My mother just ate her last two from Christmas, so obviously they keep a long time.

The ONLY tricky thing here is not over-microwaving the chocolate.  Then you have sludge.  If this happens, stir in a spoonful of plain shortening into the chocolate, stirring well.  You may have to add a couple of spoonfuls if you’ve really nuked the chocolate too long.  But that should fix it.

Then after they’re set (doesn’t take too long), load them up into their little bags and tie the top with a ribbon.

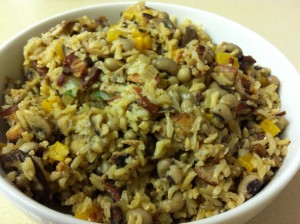
Hoppin’ John

A million years and another life ago, I lived in Texas and across the street from me lived Margaret Hall, a “live one” as my Dad might say.  She lived life at full throttle, including cooking.  Because she had lived so many places with her husband, she had recipes from all over, but for some reason this one stands out–maybe it was her favorite?  She gave it to me with the admonition that I MUST eat black-eyed peas on New Year’s day–for good luck in the coming year.  (It didn’t work that year–her husband left her for another woman.  Talk about a woman scorned!  It was instructive.)

I have never made this recipe the same way twice.  I give you Margaret’s basic Hoppin’ John recipe, then directly after that, how I made this year’s version.

Hoppin’ John (to serve at New Year’s for Good Luck)

Prepare each ingredient separately:

1/2 cup brown rice (prepare according to package directions)
1/2 package Jimmy Dean Sage Sausage
1/2 lb. bacon, cut into 1/2″ pieces, cooked and drained
1/2 onion, chopped
3-4 celery stalks, chopped (I saute these last two ingredients in a small amount of the bacon grease)
1 to 1  1/2 cans black-eyes peas, undrained.

Add all to crock pot. It is ready when hot, about 2-3 hours. Rice can be white, brown or wild (I use brown rice). This is mild, add dashes of Tobasco until spicy enough or use spicy sausaage. I serve with blue corn chips or Fritos or hefty corn chips.

This Year

This year I sauteed up a yellow bell pepper with the onion, and used fresh black-eyed peas, found in the produce section of my grocery store. Instead of the sage sausage, I used some cooked chicken-apple sausage that we had left over from our holiday party.  I also sauteed crimini and shiitake mushrooms, and added them to the mix.

I gave it four-to-five shakes of Tobasco, added some salt and pepper and wrapped it up and put it in the fridge to mellow the flavors, while I started to take down Christmas.  I wasn’t happy with the flavor, though–too bland.  Then I remembered Bayou Blast–a comglomeration of spices that I use when I make dishes for Mardi Gras (scroll down the the bottom of the linked page for the recipe).  I added in 3/4 teaspoon of those spices–a little a time, stirring well after each–and that did the trick.

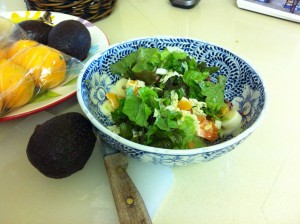
Serve it with your choice of bubbly (mine’s Martinelli’s) and an Everything Green Salad.  This one has chopped leafy green lettuce, chopped napa cabbage, mandarin oranges from my friend’s tree, pine nuts, chopped tomato, palm hearts and (soon) avocado.  A light dressing of oil, vinegar, salt and pepper will complement the ingredients.

Happy New Year!

Old-fashioned Gingerbread Cake

Merry Christmas to all!

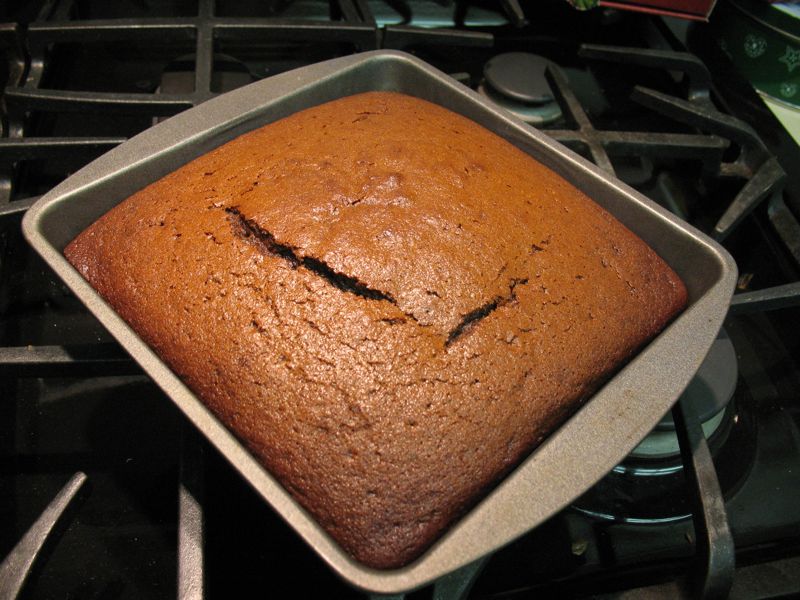
Perhaps there is no more evocative scent for Christmas than that of ginger–specifically baked into shaped cookies, houses and cakes.  I’d always made a gingerbread using oil, but this year I took on the challenge to make it without oil.  It was a switch I should have made a long time ago, and I was glad for the chance to try a new recipe.  As you can see, we haven’t cut into it yet, but the batter was yummy (yes, it’s true that I come from a long line of beater-lickers).  Serve with Elizabeth’s Lemon Butter Sauce, and maybe a dab of soft home-made whipped cream?  I wish you visions of sugarplums dancing in your head.

This is from the yellow Gourmet Cookbook, edited by Ruth Reichl.  It’s a winner to have in a collection.

Old-fashioned Gingerbread

Ingredients
2 cups all-purpose flour
1 teaspoon baking soda
1 1/2 teaspoons ground ginger
1 teaspoon ground cinnamon
1/4 teaspoon ground cloves
1/2 teaspoon salt
1 stick (1/2 cup)  real butter, softened
3/4 cup packed light brown sugar
2 large eggs
1/2 cup molasses (not blackstrap)
2/3 cup hot water

Preparation

Preheat oven to 350°F.

Sift together flour, baking soda, spices, and salt into a bowl.

Beat together butter and brown sugar in a large bowl with an electric mixer at moderately high speed until pale and fluffy, 3 to 5 minutes. Add eggs 1 at a time, beating well after each addition, then beat in molasses. (Batter may look separated.) Mix in flour mixture at low speed, then water, mixing until batter is smooth, about 1 minute.

Pour batter into a buttered 9-inch square metal baking pan (2 inches deep). Bake in middle of oven until a tester comes out clean, 35 to 40 minutes. Cool in pan on a rack, about 20 minutes, then serve warm with Elizabeth’s Lemon Butter Sauce.

Cook’s Note: When I doubled it, I put it into a greased 9″ x 13″ x 2″ pan and baked it for 45 minutes, or until it tested done with a toothpick.  There will be a slight sinking in the middle, but it’s not pronounced.

Three-Potato Gratin

This recipe was originally published in Bon Appetit in November of 2006, but of course, I’ve made some changes (which are in the recipe below).  This is so good and so perfect that people will fight over the leftovers.  I’ve never had any Thanksgiving Day recipe like that.

Ingredients
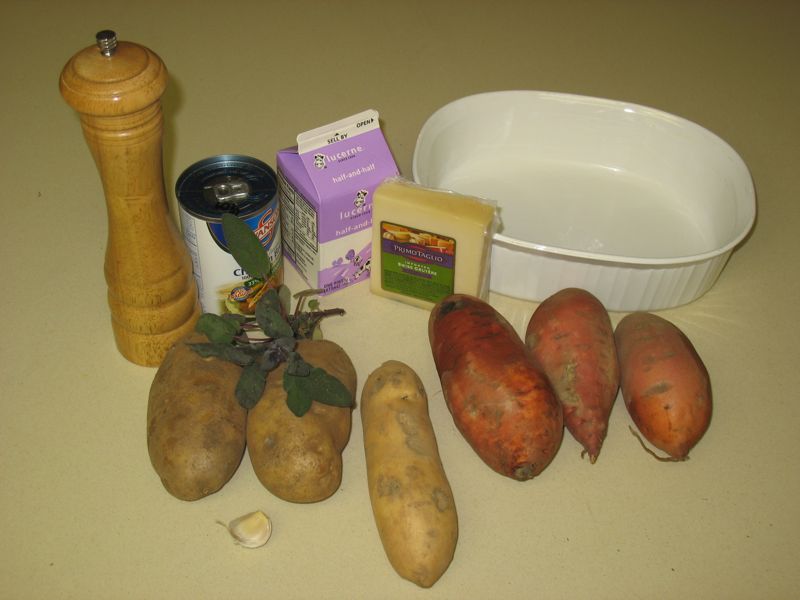
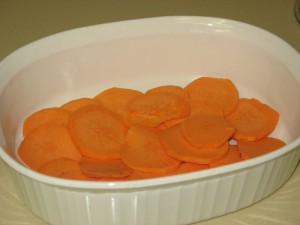
3 pounds mixed russet potatoes and sweet potatoes, peeled and very thinly sliced
[I used 3 sweet potatoes, 2 russet potatoes, and 1 yam & the color was gorgeous!]

Butter for baking dish and foil

1 1/2 cups heavy whipping cream
1/2 cup chicken broth
1 tablespoon chopped sage
1 minced garlic clove
1 teaspoon kosher salt
ground black pepper
1 cup grated Gruyère cheese (or mild Swiss cheese)

Preparation

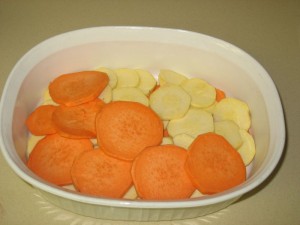
Layer potatoes in a buttered 11×7-inch baking dish, alternating the type of potato on each layer.

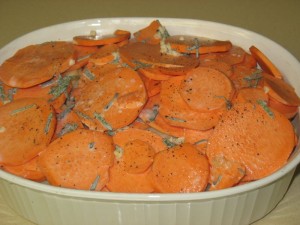
Combine heavy whipping cream, chicken broth, chopped sage, garlic, and salt; pour over potatoes. Sprinkle with pepper. Cover with buttered foil; bake at 425°F for 35-45 minutes. Sprinkle with Gruyère cheese. Bake uncovered until brown and bubbling, about 25 minutes. Let rest before serving.

I put this in the microwave for about 15 minutes first, in order to heat up the liquids and get a jump-start on the baking.

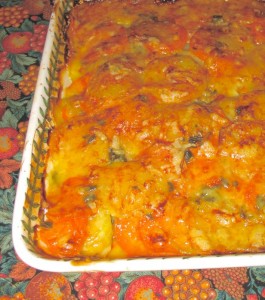
Here it is in all its cheesy, rich goodness.

International Tacos

We wanted an interesting meal that we could cook outside on our barbecue for Labor Day.  I told my husband I wanted “to smell” Labor Day–envisioning a day where all the menfolk of the world were outside standing watch over smoking meat, the smells wafting up and over each neighbor’s fence so that our series of backyards would all meld together in a glorious burst of Backyard Barbecue. It’s the unofficial end of summer, with most of us either already back in school, or heading there soon, so I wanted our meal to be a bit festive.

However, when we chose the recipe from a New York Times grilling article, we were stymied by the ingredient “Ponzu sauce.”  We’d never heard of it, but some of the other recipes in the same article called for ingredients that seemed to be stricly East coast fare.  We hit three grocery stores looking for this and didn’t find it.  Back at home, we googled Ponzu sauce, and found a recipe and proceeded.  I’ve switched out the proportions below.

Marinade:
1/2 cup low-sodium soy sauce
1/4 cup fresh orange juice
2 tablespoons fresh lime juice
2 tablespoons fresh lemon juice
1 tablespoon water
1 tablespoon sesame oil
3 tablespoons brown sugar
1 1/2 teaspoons five spice powder
1 large clove garlic, diced or crushed
1 tablespoon honey
1/8 teaspoon crushed red pepper

Pork:
5 half-inch thick, boneless pork chops (about 1.5-2 pounds total)

Combine all marinade ingredients in a medium size bowl. Place the chops in a shallow baking dish or large zip lock bag. Evenly coat the chops with the marinade, place covered in the refrigerator to marinate for 4 to 8 hours.

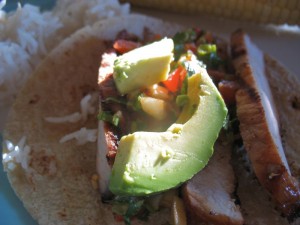
Preheat grill so it has a steady heat (hot coals, not ravaging flame). Allow pork to come to room temperature (but don’t let it spoil, 30 minutes out of the fridge or cooler is perfect). Cook chops on each side until golden brown with a slight char, for about 3 to 5 minutes on each side, flipping only once. Slice and serve with warm corn tortillas, avocado, Sriracha and Ginger Scallion Salsa.

We also threw in some basmati rice that was leftover from another meal, and so we christened these “International Tacos.”  We had to go to a dinner party later that week, so we froze the leftovers, and then reheated them–they were still good!


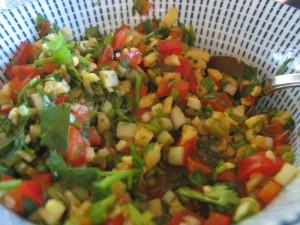
Ginger Scallion Salsa:
1/4 c. fresh ginger diced teensily–really tiny
1/4 c. green onions diced (roots and rough green ends trimmed off)
2 Tbs cilantro finely chopped
1 cloves garlic finely diced
1 Tbs. rice wine vinegar
1/2 tablespoon Sriracha or other Asian hot sauce
dash of salt

Simply dice all ingredients and gently mix together. Cover and refrigerate for an hour or so to allow flavors to meld.


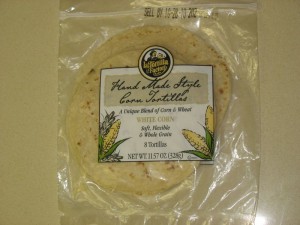
We served these on some thick, hefty corn tortillas from La Tortilla Factory, a new brand our store has been carrying.  They also come in regular corn and they don’t fall apart!  Avoid the usual and look for the best.

And lastly, when we were visiting Washington DC last month, strolling around Balducci’s Grocery Store in Alexandria, VA, look what we found.  Yep, East coast for sure.

Tomato Bruschetta on Crostini

When I saw the movie Julie/Julia, I really wanted that recipe for the bruschetta Julie and her husband eat in the first scenes.  Of course, he was acting, but the way he went over the moon for the crisp slices of baguette topped with fresh tomato made it all the more appealing.

We’d had some “bruschetta pomodora” together, Dave and I, on our last trip to Italy in Montepulciano–a little town in the hills (above).

I’d also had a wonderful version earlier, while lunching in Florence (above). All of those appeared to depend on fresh tomatoes (not grocery store), good quality bread, and high-grade olive oil, and not much else.

Fast forward to today.  A perfect trio of happenings all conspired to deliver to our dinner plates the same meal.  First, some ciabatta bread from Kneaders Bakery in Orem, Utah had survived the trip home, and after a sojourn in the freezer, Dave pulled it out trying to decide what to do with it.  Second, our neighbor, Julie, had too many tomatoes and brought over two large red toms along with a handful of little yellow pears tomatoes.  Third, a version of this recipe appeared in the Sunday Magazine and I ripped it out immediately.

Ingredients:
2 large red tomatoes, handful of golden pear tomatoes, or 2 lbs. assorted heirloom/garden tomatoes, diced
2 cloves garlic, chopped or pressed through a press (if you do that, scrape what’s left behind, and press it through again)
1/4 to 1/2 cup basil leaves, thinly sliced (adjust as needed–we used about 10 leaves from our garden plant)
3 Tbsp red-wine vinegar (or several splashes)
1/4 cup olive oil
salt and fresh pepper

Crostini

Place the tomatoes, garlic, vinegar, 1/4 cup olive oil and the basil into a medium bowl and stir to combine.  Season with salt and pepper and let sit at room temperature for 30 minutes to allow the flavors to meld.

Prepare the crostini. You can either follow the directions in the linked recipe (it’s on this site), or grill it on the outside barbeque grill, or do what Dave did: lay out the thinly sliced bread (about 3/8″ thick) on a cookie sheet.  Brush with olive oil, and broil under high heat until golden brown and crisp.  He took out the center crostini that were done first and redistributed the others more evenly under the heat.

Build your bruschetta: mound the tomatoes, including some of their juices, up onto the bread and eat immediately.  We made each delicious serving at the time of eating, as the bread quickly soaks up the juices and would get soggy if it sat at all.

Optional: add in about 1/2 thinly sliced red onion.  We decided that our servings in Italy didn’t have onion, so we left it out.

Another Optional: place a slice of fresh mozzerella cheese (the kind that’s sold with liquid around it–a soggy looking thing) on top of the crostini before you place the tomatoes over it.  We had that, and the meal was amazing.  And we weren’t even acting!

History of the Terms (from Wikipedia):
Bruschetta (Italian pronunciation: [brusˈketta]) is an appetizer from central Italy whose origin dates to at least the 15th century. It consists of grilled bread rubbed with garlic and topped with extra-virgin olive oil, salt and pepper. Variations may include toppings of spicy red pepper, tomato, vegetables, beans, cured meat, and/or cheese; the most popular recipe outside of Italy involves basil, fresh tomato, garlic and onion or mozzarella. Bruschetta is usually served as a snack or appetizer.

And this interesting note: Following a semantic shift, some Americans use the word “bruschetta” to refer to the topping instead of the dish. Many grocery store chains in the United States sell bottled “bruschetta,” which is typically tomatoes, onion, garlic, and herbs.

Definitely not as good as the one we enjoyed tonight.

Peach Upside-down Cake

Once again, Dorie Greenspan writes a winner recipe.  This time it is a recipe for a peach upside-down cake, but it’s lighter than usual, and uses a granulated sugar mix for the fruit, rather than a brown-sugar mixture.  We had a few extra peaches (okay–confession–I bought extra just so I could make this), a few raspberries and when it came out of the pan, Dave and I couldn’t resist taking a small slice.  (Okay.  Confession.  We each had one more right then, promising to save the rest for later on tonight.)  I like the lightness of this–not so gooey, sicky sweet like that old pineapple standby.  (But I confess I liked that too, in its day.)

Ingredients:
1 cup all-purpose flour
1 teaspoon baking powder
1 teaspoon ground cinnamon
1/4 teaspoon salt
1 3/4 sticks (14 Tablespoons) unsalted butter, at room temperature (mine was neither unsalted nor room temperature)
granulated sugar, divided into 6 Tablespoons (part I) and 1/2 cup (part II)
2 large eggs
1/4 teaspoon almond extract
3/4 teaspoon vanilla extract
1/3 cup whole milk (we only have skim milk around here, so I poured in about 1 Tablespoon cream into a measuring cup and filled up the rest with skim milk)

3 large peeled and pitted peaches, sliced
a few raspberries for color (optional)

Center a rack in the oven and preheat the oven to 350 degrees F.  Put an 8×2-inch pan on a baking sheet.  Warning!  This is taller than the usual pan we have in our cupboards.  I bought mine at Michaels last time they included a coupon in the newspaper.

Whisk together dry ingredients.

Melt 6 TBLS of the butter in a small saucepan.  Sprinkle in 6 TBlS of the sugar and cook, stirring, until the mixture comes to a boil.  Pour this evenly over the bottom of the cake pan, then scatter the raspberries over the butter mixture.

Beginning at the outer edge, ring the pan with the peach slices, ending at the center, fitting the raspberries in and around as you go.  (I had to take a picture of this step–it looks very pretty just sitting there.)  Set aside.

Working with a stand mixture, fitted with a paddle attachment (or with a hand mixer in a large bowl), beat the remaining stick (8TBLS) of butter on medium speed until smooth.  Add in the remaining 1/2 cup of sugar and continue to beat until pale and creamy, about 3 minutes.  (Don’t fret if yours doesn’t do this–mine didn’t either, but I think it was because the butter was cold.)  Add the eggs one at a time, beating for 1 minute after each addition and scraping down the bowl as needed.  Pour in the vanilla/almond extract.

Reduce the mixer speed to low and half of the dry ingredients, mixing only until they disappear into the batter. Mix in the milk, then the rest of the dry ingredients, scraping the bowl as needed.  Spoon the batter over the fruit, and smooth the top with a rubber spatula.

Bake for 40-45 minutes, or until the cake is golden and a thin knife inserted into the center of the cake comes out clean.

Remove it from the oven and run a blunt knife between the sides of the pan and cake.  Let sit for at least 15 minutes to allow the peach juices to absorb into the cake, then invert on a serving platter.

Yum! This is one of those recipes that isn’t terribly glamorous, but that will disappear very quickly, as you can see by our photo above.  Very quickly.  Greenspan, who wrote the book from which this recipe was taken (Baking From My Home to Yours), made this first in a cranberry-nut version.  You can bet I’m going to try that come fall, when the cranberries hit the shelves.  Check back for that one, but in the meantime, go buy Dorie Greenspan’s book.
Quinoa, Corn and Edamame Salad

I first read this recipe in the New York Times, in a special article on summer salads with recipes by Martha Rose Shulman.  I subjected Dave, my husband, to a series of these, and he declared this one to be a winner.  It’s pretty–green and red–and crunchy, but not a wildly out of control crunch–just pleasant fresh vegetable munching.  While this is a summer salad, I could also see it served as cold side dish at a holiday buffet, as the colors are so beautiful. Regarding the “optional” feta cheese: we tried it both ways–with and without.  Adding the feta cheese brings a creaminess, a certain “mouth” satisfaction to the dish.  I recommend it.

For the salad:
1 cup quinoa, cooked (I made it with chicken broth, but water works as well.  Click **here** for basic quinoa cooking directions.)
1/2  of a 16-ounce bag of WHITE frozen corn
1 small red onion (about 1/3 cup), cut in small dice
1 red bell pepper, cut in small dice
1/2 cup thinly sliced celery, from the tender inner stalks
4 or 5 radishes, sliced
1/2 cup fresh or thawed frozen edamame
2 ounces mild feta, cut in small dice (about 1/2 cup), or crumbled.  I buy the bricks, then crumble it.
1/2  jalapeño chile, seeds and membranes removed, minced finely
1/3 cup chopped cilantro

For the dressing:
2 tablespoons fresh lime juice (about 1 small lime, depending on size)
1 garlic clove, finely minced or pureed
1/4 cup extra virgin olive oil
Salt to taste

Soak the onion in cold water to cover for five minutes. Drain, rinse and drain on paper towels.  **I have no idea why this step is here, but I did it.  Must be some kitchen chemistry.

Combine all the salad ingredients in a large bowl. Whisk together the dressing ingredients and toss with the salad. Serve.

Yield: Serves four main dish, and six side dish servings.

Advance preparation: The quinoa freezes well and the assembled salad will keep for a day in the refrigerator.

Here’s our version. I served it with a delicious foccacia from the local bakery, which was topped with tomatoes, potatoes and dill.  We were full after our meal, and our leftovers the next day were even better.

Nutritional information per serving (four servings): 359 calories; 18 grams fat; 2 grams saturated fat; 0 milligrams cholesterol; 43 grams carbohydrates; 6 grams dietary fiber; 25 milligrams sodium (does not include salt added during cooking); 10 grams protein