Tortellini en Brodo

Translated, this means tortellini in broth.

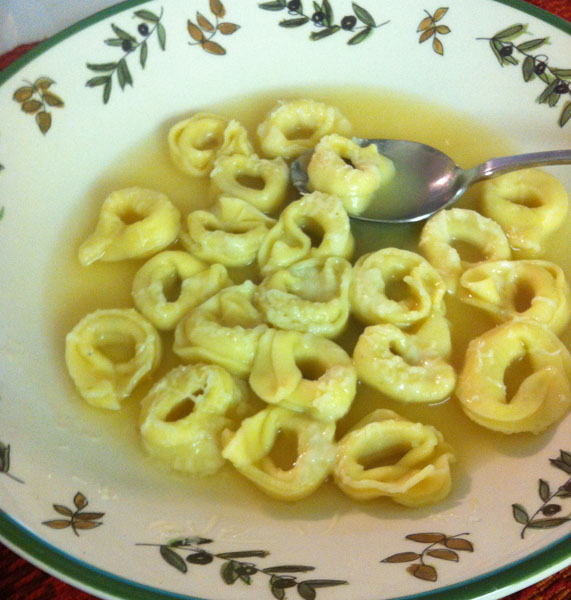
We arrived in Bologna on a rainy October night, and asked the hotel desk for a dinner recommendation.  Da Nello, he said.  A restaurant just off the main square.  And then he said, “Tortellini en Brodo is very good.  My favorite this time of year.”  Apparently this soup is served when the weather turns cold, and since Bologna is the birthplace of the tortellini, I thought I should try it.

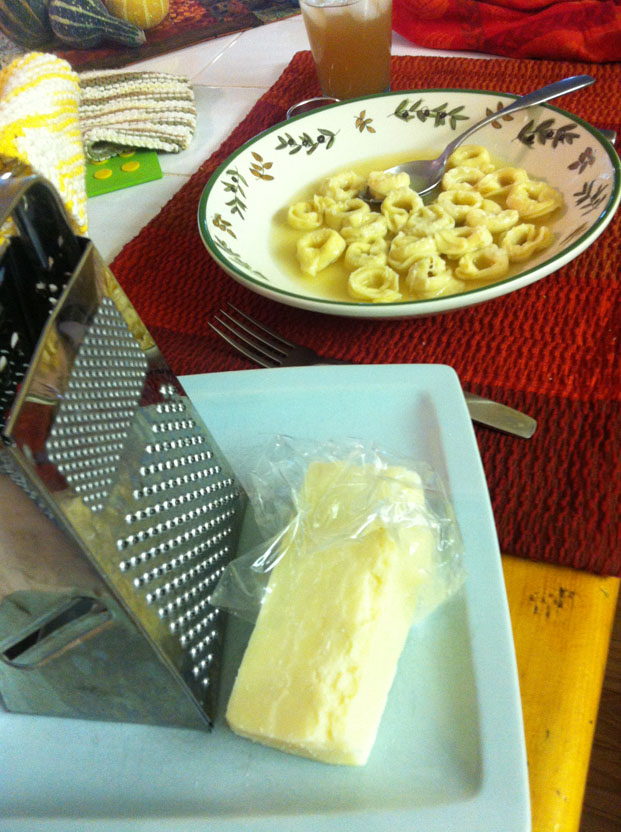
This is a photo of the soup that night.  They brought me this steaming bowl of tortellini and a jar of grated Parmesan cheese, which the server indicated that I should sprinkle over the top.  The tortellini were very small–about the size of my thumbnail and chewy rather than soft.  I doubted this serving would fill me up, but by the end, I was happy, warm and in possession of a new traditional recipe.

We found the food in the Emilia-Romaga region to be simple, yet incredibly flavorful.  I think it is because they use very high quality ingredients.  So when you prepare this ready-in-ten-minutes soup and because there are only three elements, be sure to use high quality ingredients.

Ingredients
1 quart low-salt chicken broth, good quality. [Note: I use Swanson’s and have good results.]
1 8 oz. package fresh tortellini from the grocer’s, often found near the deli section

Preparation
Heat the broth to a low bubbling boil, then slide in the tortellini.  Cook for 5-8 minutes until pasta is tender (but don’t overcook).  Serve with freshly grated parmesan cheese (not the stuff in the green bottle–use high quality, please).
Tortellini Soup

When it’s raining or cold outside, it’s a Soup Night inside.  And this one is a good candidate because it is chunky, hearty and has lots of vegetables and flavor.  It is — as are all soups — generally better the next day, so you can use that as your excuse for making a big batch and serving it twice.

This soup was originally published in Bon Appetit, but I have made changes over the three billion times I’ve made it.  Well, maybe I haven’t made it that many times, but I’ve made it for our own supper, potlucks, soup parties and everytime I bring it somewhere, someone asks for the recipe.  Here it is.

Italian  Sausage  Soup  with  Tortellini–Yield: 8 servings, 1 1/2 cups each
(That’s the official name, but we just call it Tortellini Soup.)

1 lb. Italian sausage (I use Jimmy Dean’s Sage sausage as a back-up.)
1 coarsely-chopped onion
2 garlic cloves, sliced
4 cans (14.5 oz)  beef broth
1/2 cup water
2 1/2 cups (5 medium) chopped, seeded, peeled tomatoes, or 1 1/2 pounds Roma tomatoes (see note below)
1 cup thinly sliced carrots (about 3)
1/2 tsp. basil leaves
8 oz. can tomato sauce
1 1/2 cups sliced zucchini (about 2 medium–8″ long)
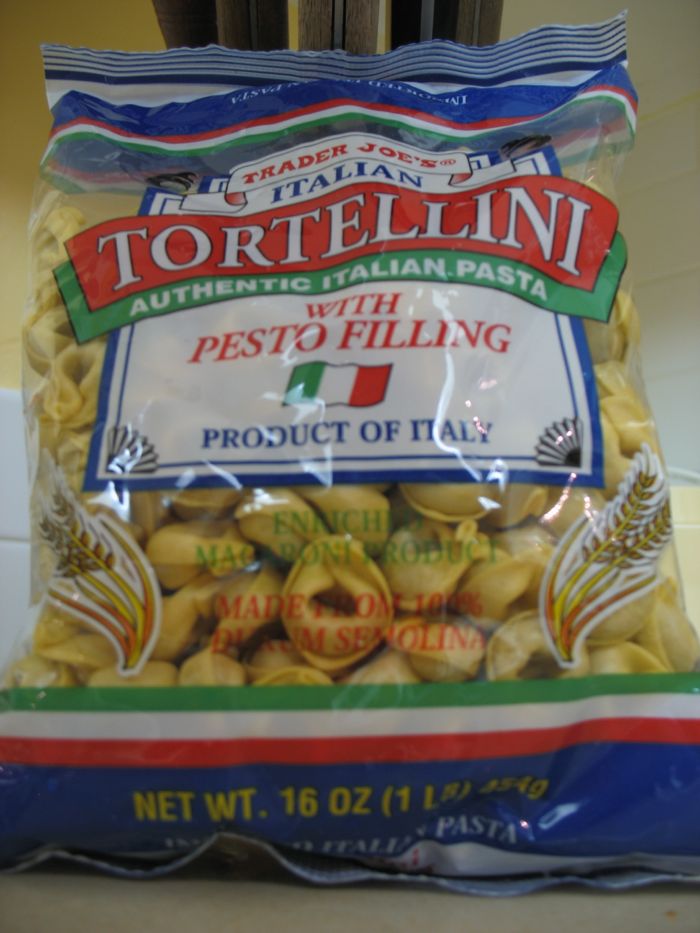
1 bag of dried tortellini (8 oz)
1 pepper, preferable a sweet red or golden pepper

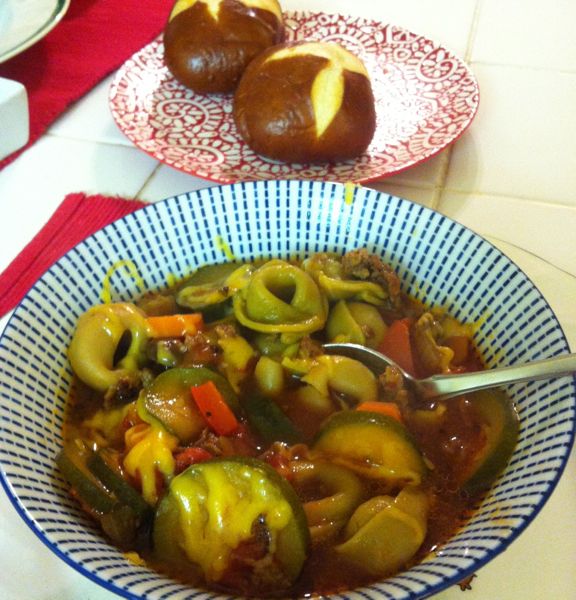
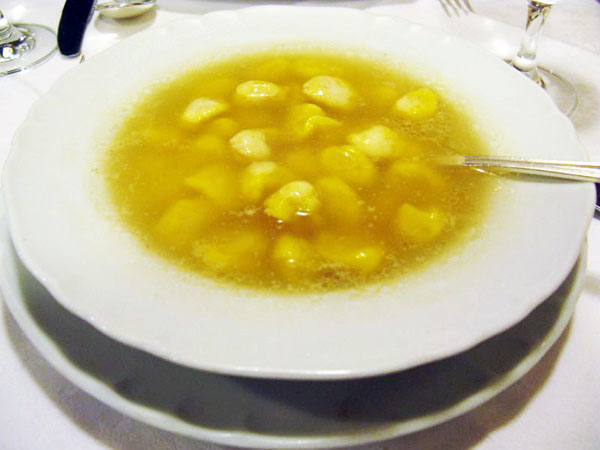
Grated Parmesan Cheese (I used cheddar tonight, which is what you see above.)

If sausage comes in a casing, remove casing and brown sausage in a 5-qt. soup pot.  Remove sausage; drain.  In 1 Tbs. of drippings, sauté onions and garlic until tender.  [Cook’s note:  I just throw in the onions and garlic to the almost browned sausage and keep stirring.]

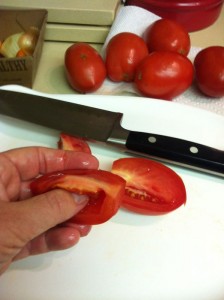
(They call for peeled seeded tomatoes.  Sometimes I do peel mine, but other times, I just cut them  up, then pop out the seeds with my thumb.)

Add beef broth, water, tomatoes, carrots, basil, tomato sauce and sausage.  Bring to a boil.  Reduce heat; simmer uncovered 30 minutes.  Skim fat from soup.

(If you use the full 16 oz. package of dry torrellini, you will have less of a soup and more of a casserole; try using just half of the package for a more soupier soup. Fresh tortellini can also be used, but it won’t be as delicious, as the dry pasta soaks up the broth and flavors of the soup.)

Stir in zucchini, tortellini and pepper.  Simmer covered an additional 35-40 minutes or until tortellini are tender.  Sprinkle Parmesan cheese on top of each serving.

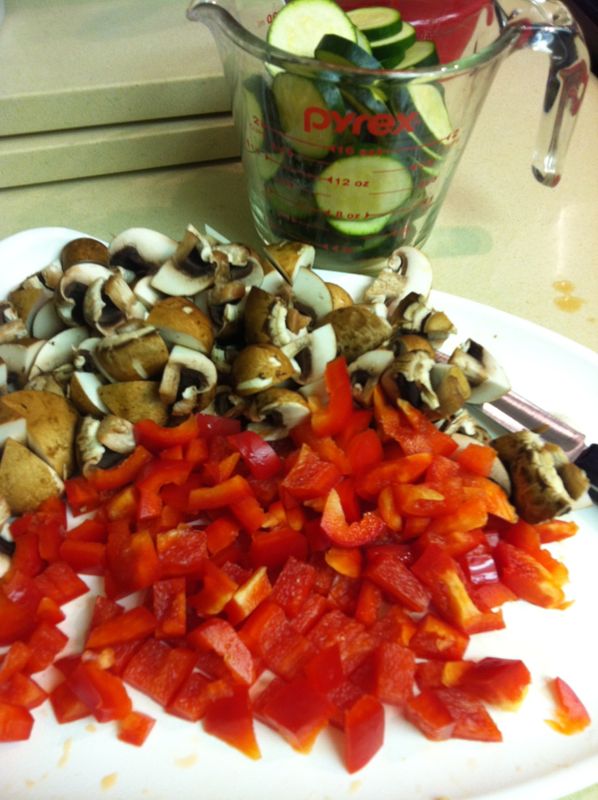
NOTE: I added crimini (brown) mushrooms this time around, cuting them into chunks.  This is strictly optional.  If you use the Jimmy Dean’s sausage instead of the Italian, add a pinch of red pepper flakes to amp up the flavors.

Reindeer Christmas Cookies

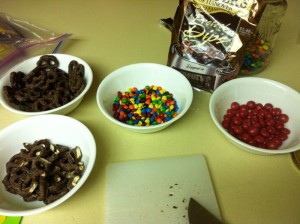
My daughter informed me that these are all over Pinterest, but I found them by following a series of links to *this* page, where I swear this cook has photoshopped her cookies to look that good.  Or maybe she’s just a better baker than I am, or maybe it’s because I substituted a cube of butter for some of that shortening — thinking it would taste better — but forgot how soft it makes cookies.  So note to self: don’t swap out the shortening.  Now, prep your stuff.

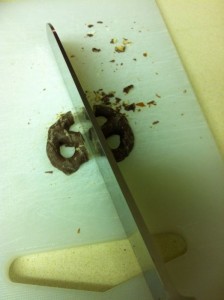
I couldn’t find baby chocolate-dipped pretzels, so if you think I was going to dip them all, you don’t know me very well.  Spend your time where it counts, and improvise the rest.  So I cut all my sort-of-mini pretzels in half.  Antlers are kind of hoary looking, aren’t they?

I purchased minty white chocolate M&Ms for the nose.  They come in a package with red and white.  We ate all the white ones, while saving the red ones for this project.  I had also purchased mini M&Ms for the eyes.  We decided we liked brown and blue, and that the reindeer with the green eyes looked like Zombie Reindeer (so that would be for a different holiday).

Make up a double batch of the dough in the Christmas Kiss cookies. Roll them into 1-inch balls, but I have to admit that I used my cookie scooper, which I think is 1 and 1/2 inches. Place a couple of scoops of sugar in a large plastic baggie, drop in the balls of cookie dough, and shake lightly to coat them with sugar (so much easier than rolling them around in a dish).

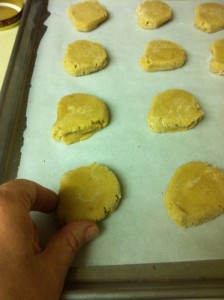
Flatten them slightly with the bottom of a glass, then pinch their “nose” slightly, to get that elongated shape.  Bake for 8 to 10 minutes, then remove from the oven.  QUICKLY set in a matching pair of antlers, then do the nose, then the eyes last.  Or get someone to help you: my husband did all the antlers while I was throwing on noses and eyeballs.

Let cool on the cookie sheet.  When mostly cool, transfer to a rack.

NOTE: you can see I used parchment paper on this batch.  You can buy it in rolls from the grocery store or (now) from Costco.  If you don’t use parchment paper, the world won’t end.  However, you may want to transfer your cookies to the cooling rack when they are still sort of warm, instead waiting until they are really cool.

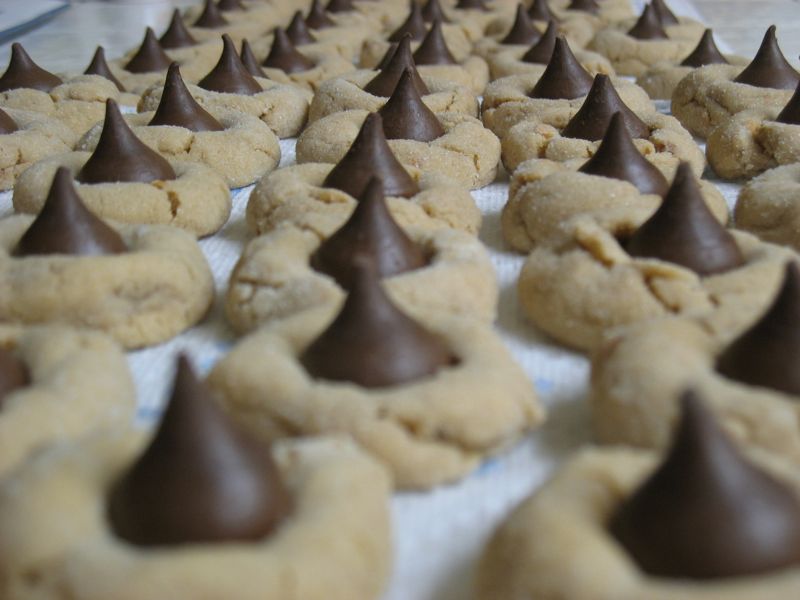
Christmas Kiss Cookies

Cream together:

1/2 cup peanut butter
1/2 cup shortening
1/2 cup white sugar
1/2 cup brown sugar.

Add:

1 egg
2 Tablespoons milk
1 teaspoon vanilla extract (not flavoring, use extract!).

Mix together then add to creamed mixture:

1 3/4 cup flour  (I use 3/4 cup whole wheat flour, and 1 cup white flour)
1 teaspoon baking soda
1/2 teaspoon salt

Form into balls about 1 inch in diameter, roll in granulated (white) sugar.  Bake in 350 oven for about 8-10 minutes or until set.  Take out of oven and immediately press a chocolate kiss into center.  Remove to wire rack  to cool.  Kisses will get soft as they take on the heat of the cookies, but will firm up again as the cookies cool.